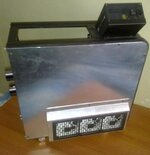
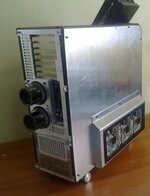
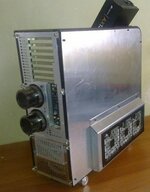
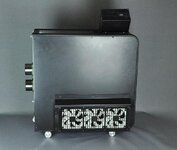
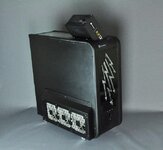
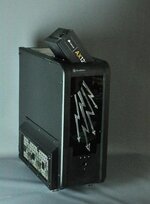
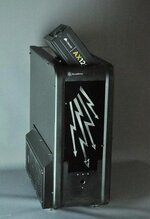
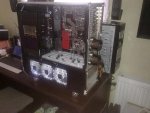
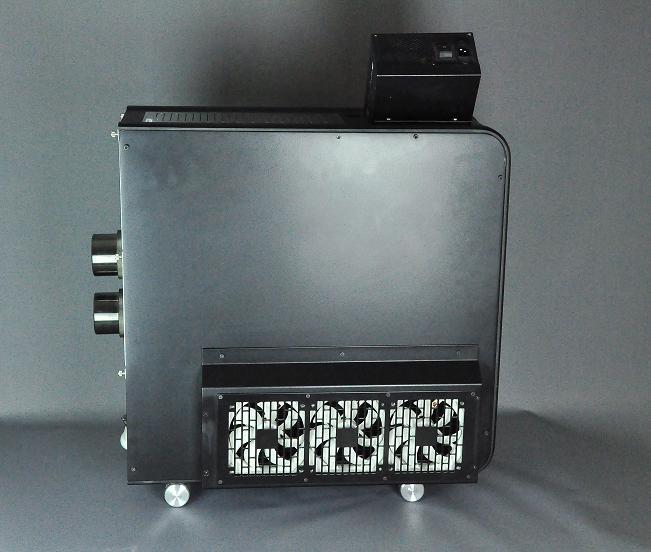
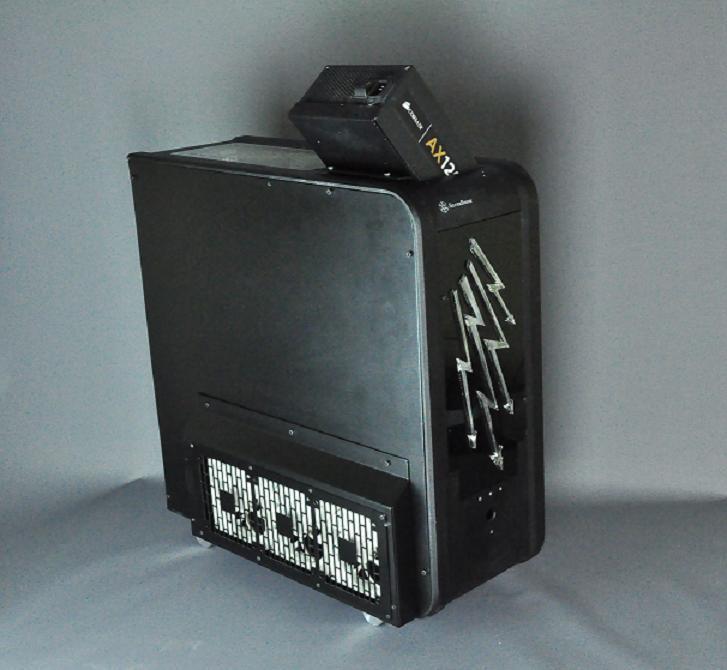
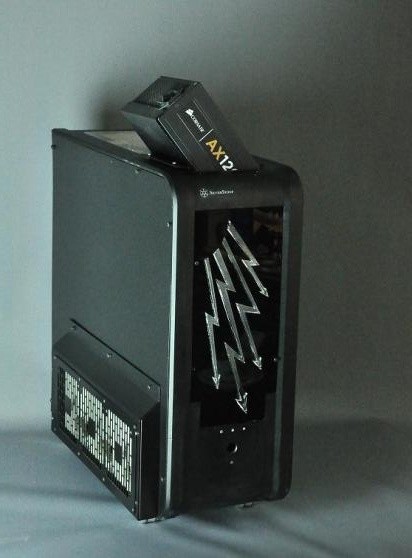
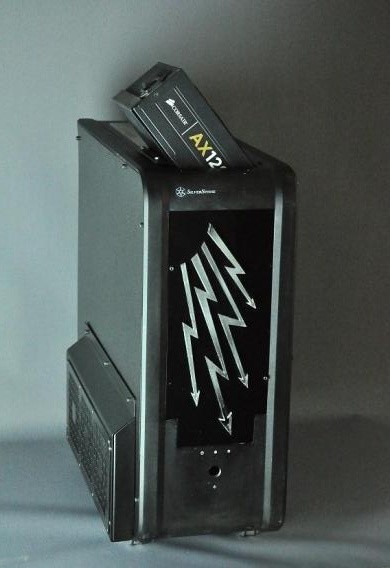
PlayDoh Silverstone TJ 07 - with acrylic pipe

arg-ist

Neuling
Thread Starter
Mitglied seit
12.06.2008
Beiträge
122
PlayDoh Silverstone TJ07

Anew worklog:

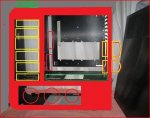
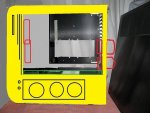
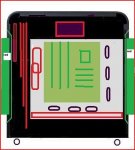
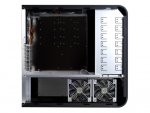
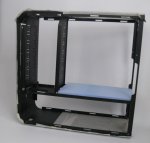
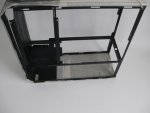
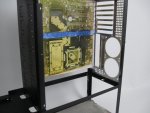
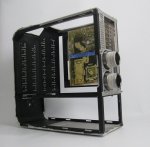
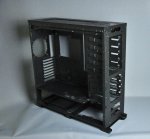
At this worklog ı use my old Silverstone TJ07. I call it as PlayDoh of the cases.I want to make 3 different cases from this case.

zevy.jpg


g98p.jpg


f5d8.jpg


First worklog TJ07 V1

zevy.jpg


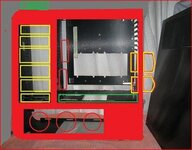
What I want to achieve are:

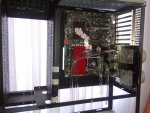
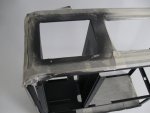
To combine front panel with the side window.
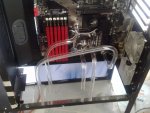
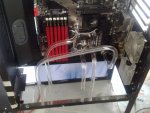
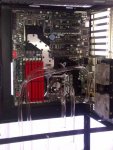
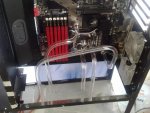
To install liquid cooling and achieving this via acrylic pipe.
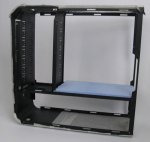
To use a special distributor for water distribution as midplate.
To enlarge the case for radiators since it is not wide enough.
To stick some parts into the case to obtain a dynamic view

fr06.jpg


hg74.jpg


xxpb.jpg


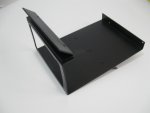
first 5.25 rotated

p8bq.jpg


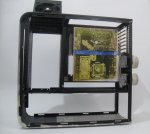
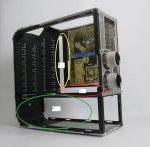
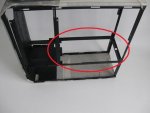
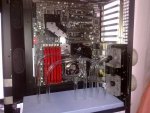
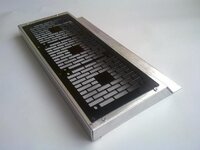
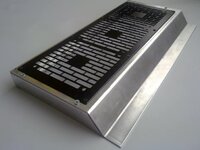
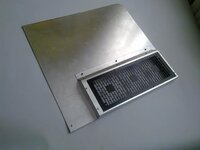
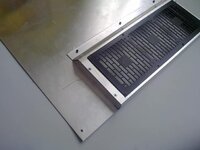
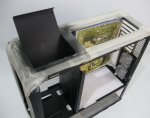
made a window at middileplate for water distributor

cwfa.jpg


h53f.jpg


two 80 mm fan holes are used for pump and tops

z3w5.jpg


The tops mounted on an alu plate

44uk.jpg


egtc.jpg


and the plate with tops mounted to the case

lbci.jpg


qbqw.jpg


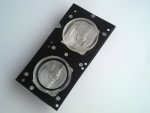
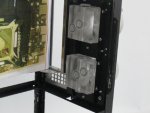
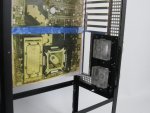
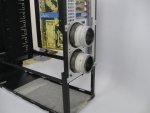
The pumps with modkit are sticked to the backpanel

24f6.jpg


17bk.jpg


OTHER WORKLOGS


Worklog http://www.hardwareluxx.de/communit...-watercooled-copper-acrylic-pipe-1028332.html

Worklog http://www.hardwareluxx.de/communit...w-edition-acrylic-tubing-upgrade-1027807.html

Worklog http://www.hardwareluxx.de/community/f143/12-angry-men-900-d-case-p1-1002736.html

Worklog http://www.hardwareluxx.de/community/f143/corsair-900-d-watercooled-mmt-case-997564.html

Worklog http://www.hardwareluxx.de/community/f143/jumbo-case-997157.html

Worklog http://www.hardwareluxx.de/community/f143/corsair-900-d-watercooled-mmt-case-997564.html

Worklog http://www.hardwareluxx.de/community/f143/transformer-case-996669.html

Worklog http://www.hardwareluxx.de/community/f143/how-make-bench-case-old-atx-1-a-1032451.html

Worklog http://www.hardwareluxx.de/community/f143/4-way-hdd-switcher-1033308.html

Worklog http://www.hardwareluxx.de/community/f143/self-made-cosmos-ii-clear-panel-1034027.html#post22531803
 

Anhänge

  • 4.jpg
    4.jpg
    55,2 KB · Aufrufe: 208
  • 4a-Tj07V2.jpg
    4a-Tj07V2.jpg
    35,3 KB · Aufrufe: 150
  • 4b-Tj07V3.jpg
    4b-Tj07V3.jpg
    32,7 KB · Aufrufe: 144
  • 1.jpg
    1.jpg
    18,2 KB · Aufrufe: 137
  • 2.jpg
    2.jpg
    26,9 KB · Aufrufe: 128
  • 3.JPG
    3.JPG
    47,1 KB · Aufrufe: 136
  • 5.JPG
    5.JPG
    45,6 KB · Aufrufe: 130
  • 6.JPG
    6.JPG
    57,9 KB · Aufrufe: 145
  • 7.jpg
    7.jpg
    45,9 KB · Aufrufe: 145
  • 8.JPG
    8.JPG
    72,3 KB · Aufrufe: 136
  • 9.jpg
    9.jpg
    28,3 KB · Aufrufe: 149
  • 10.jpg
    10.jpg
    26,6 KB · Aufrufe: 138
  • 11.JPG
    11.JPG
    49,6 KB · Aufrufe: 143
  • 12.JPG
    12.JPG
    89 KB · Aufrufe: 128
  • 13.JPG
    13.JPG
    71,9 KB · Aufrufe: 148
  • 14.JPG
    14.JPG
    60 KB · Aufrufe: 177
  • 9zpk6.jpg
    9zpk6.jpg
    101 KB · Aufrufe: 106
  • 1.jpg
    1.jpg
    182,7 KB · Aufrufe: 108
Zuletzt bearbeitet:
Wenn Du diese Anzeige nicht sehen willst, registriere Dich und/oder logge Dich ein.
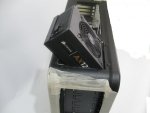
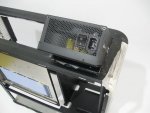
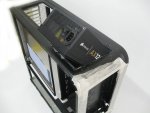
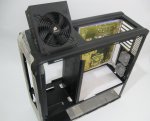
To mount PSU ı made a window at the top.

0ndd.jpg


Made a mounting kit to mount psu.

ao8j.jpg


ffzw.jpg


v62z.jpg


xb4b.jpg


yenk.jpg


5ykk.jpg


i7ke.jpg


To cover the hole spaces around MB made these parts with gromets.

hjt5.jpg


nsbv.jpg


kay9.jpg


s62q.jpg


5qcv.jpg


made 2 X360 Rad stands for rad mounting

0anu.jpg


f8u4.jpg


afpa.jpg


zatf.jpg
 

Anhänge

  • 15.JPG
    15.JPG
    58,8 KB · Aufrufe: 144
  • 16.JPG
    16.JPG
    30,4 KB · Aufrufe: 139
  • 17.JPG
    17.JPG
    65,6 KB · Aufrufe: 136
  • 18.JPG
    18.JPG
    67,9 KB · Aufrufe: 139
  • 19.JPG
    19.JPG
    52,9 KB · Aufrufe: 130
  • 20.JPG
    20.JPG
    59,9 KB · Aufrufe: 132
  • 21.JPG
    21.JPG
    60 KB · Aufrufe: 129
  • 22.JPG
    22.JPG
    61,3 KB · Aufrufe: 136
  • 23.jpg
    23.jpg
    56,4 KB · Aufrufe: 156
  • 24.jpg
    24.jpg
    25,4 KB · Aufrufe: 116
  • 25.jpg
    25.jpg
    25,1 KB · Aufrufe: 123
  • 26.jpg
    26.jpg
    26,9 KB · Aufrufe: 129
  • 27.jpg
    27.jpg
    25,6 KB · Aufrufe: 123
  • 28.jpg
    28.jpg
    24,9 KB · Aufrufe: 119
  • 29.jpg
    29.jpg
    20,1 KB · Aufrufe: 128
  • 30.jpg
    30.jpg
    36,4 KB · Aufrufe: 120
  • 31.jpg
    31.jpg
    59,5 KB · Aufrufe: 168
Zuletzt bearbeitet:
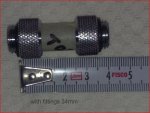
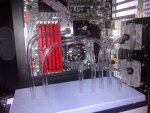
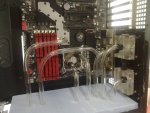
First meeting with acrylic pipes. I had worked before with glass pipes and Copper pipes.
But Acrylic was differnt. First experiments -how to measure -


5yeu.jpg


0p0o.jpg


1rda.jpg


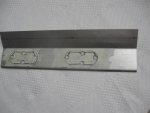
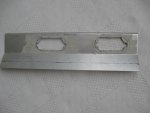
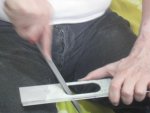
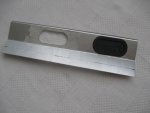
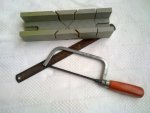
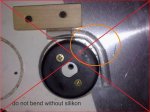
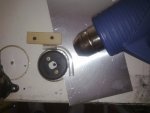
Some tools to work. A plastic mieter box , a handsaw, and a file for the ends.

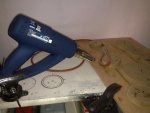
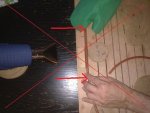
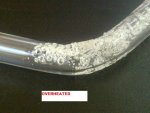
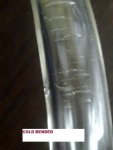
and some experiments to bend


iasn.jpg


88v8.jpg


t4bg.jpg


3jz3.jpg


flnx.jpg


t4ua.jpg


zes6.jpg


hgdz.jpg


rtol.jpg


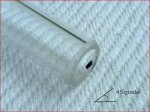
İt was easy to bend L parts, but U and S parts was difficult.
Therefore I made m y bending table.
I can bend with different Radius and bend in 2 and 3 directions


7u40.jpg


dnoy.jpg


4vxa.jpg


8yge.jpg


mrmh.jpg


7nml.jpg


u9gy.jpg


g8mh.jpg


vsvt.jpg


8bap.jpg


and first experiments with acrylic pipes.


gr54.jpg


a26x.jpg


2v7u.jpg


qgdk.jpg
 

Anhänge

  • 5yeu.jpg
    5yeu.jpg
    47,8 KB · Aufrufe: 114
  • 0p0o.jpg
    0p0o.jpg
    58,9 KB · Aufrufe: 115
  • 1rda.jpg
    1rda.jpg
    53 KB · Aufrufe: 119
  • iasn.jpg
    iasn.jpg
    40,5 KB · Aufrufe: 111
  • 88v8.jpg
    88v8.jpg
    30,1 KB · Aufrufe: 104
  • t4bg.jpg
    t4bg.jpg
    54,4 KB · Aufrufe: 113
  • 3jz3.jpg
    3jz3.jpg
    33 KB · Aufrufe: 112
  • flnx.jpg
    flnx.jpg
    59,4 KB · Aufrufe: 115
  • t4ua.jpg
    t4ua.jpg
    29,3 KB · Aufrufe: 117
  • zes6.jpg
    zes6.jpg
    48,3 KB · Aufrufe: 101
  • hgdz.jpg
    hgdz.jpg
    39,8 KB · Aufrufe: 110
  • 7u40.jpg
    7u40.jpg
    42,5 KB · Aufrufe: 113
  • 4vxa.jpg
    4vxa.jpg
    35,6 KB · Aufrufe: 118
  • 8yge.jpg
    8yge.jpg
    38,7 KB · Aufrufe: 116
  • mrmh.jpg
    mrmh.jpg
    39,1 KB · Aufrufe: 110
  • 7nml.jpg
    7nml.jpg
    40,6 KB · Aufrufe: 110
  • u9gy.jpg
    u9gy.jpg
    30,8 KB · Aufrufe: 99
  • g8mh.jpg
    g8mh.jpg
    37,3 KB · Aufrufe: 104
  • vsvt.jpg
    vsvt.jpg
    43 KB · Aufrufe: 137
  • 8bap.jpg
    8bap.jpg
    21,4 KB · Aufrufe: 130
Zuletzt bearbeitet:
update
 

Anhänge

  • 9zpk6.jpg
    9zpk6.jpg
    101 KB · Aufrufe: 140
  • tskt.jpg
    tskt.jpg
    112,8 KB · Aufrufe: 101
  • m5069.jpg
    m5069.jpg
    73,2 KB · Aufrufe: 112
  • 6csk.jpg
    6csk.jpg
    99,7 KB · Aufrufe: 137
  • zevy.jpg
    zevy.jpg
    48,9 KB · Aufrufe: 74
  • 3.jpg
    3.jpg
    59,8 KB · Aufrufe: 73
Zuletzt bearbeitet:
Looks good, but why don´t you cool your graphic?

clap the bend well?
 
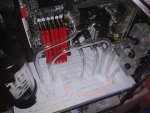
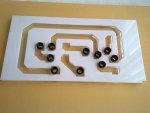
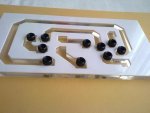
I want to make a waterdistrubutor to this place as midplate

cmfd.jpg


3hil.jpg


2nl7.jpg


fzcm.jpg


9po7.jpg


cmfd.jpg


3hil.jpg


2nl7.jpg


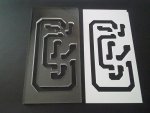
You have two ways to cut plexis

ffq4.jpg


With CNC Router

hhlg.jpg


or with CNC Laser

oxe7.jpg


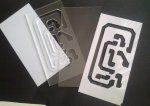
I used CNC laser

acrylic sheets from bottom to top.

No 1: 5mm milk White
No:2 10mm clear
No: 3 5mm clear
No: 4 2mm milk white

3lzh.jpg


0fqe.jpg


pde9.jpg


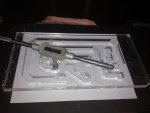
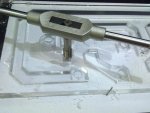
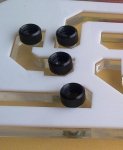
bonding acrylic sheets with cloroform.

zizi.jpg


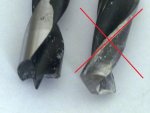
dont use bits for metal use bits for wood..

l31z.jpg


a2xg.jpg


jlqc.jpg


gz8v.jpg


5cu7.jpg


9mla.jpg


gtaa.jpg
 

Anhänge

  • cmfd.jpg
    cmfd.jpg
    29,6 KB · Aufrufe: 95
  • 3hil.jpg
    3hil.jpg
    23,3 KB · Aufrufe: 88
  • 2nl7.jpg
    2nl7.jpg
    49,1 KB · Aufrufe: 105
  • fzcm.jpg
    fzcm.jpg
    84,7 KB · Aufrufe: 97
  • 9po7.jpg
    9po7.jpg
    51,4 KB · Aufrufe: 124
  • ffq4.jpg
    ffq4.jpg
    16,2 KB · Aufrufe: 89
  • oxe7.jpg
    oxe7.jpg
    24,6 KB · Aufrufe: 85
  • 3lzh.jpg
    3lzh.jpg
    22,3 KB · Aufrufe: 112
  • 0fqe.jpg
    0fqe.jpg
    21,7 KB · Aufrufe: 93
  • pde9.jpg
    pde9.jpg
    29,6 KB · Aufrufe: 91
  • zizi.jpg
    zizi.jpg
    22,6 KB · Aufrufe: 111
  • l31z.jpg
    l31z.jpg
    28 KB · Aufrufe: 94
  • a2xg.jpg
    a2xg.jpg
    31,4 KB · Aufrufe: 83
  • jlqc.jpg
    jlqc.jpg
    39 KB · Aufrufe: 101
  • gz8v.jpg
    gz8v.jpg
    28,9 KB · Aufrufe: 85
  • 5cu7.jpg
    5cu7.jpg
    35,9 KB · Aufrufe: 112
  • 9mla.jpg
    9mla.jpg
    25,6 KB · Aufrufe: 98
  • gtaa.jpg
    gtaa.jpg
    28,9 KB · Aufrufe: 127
  • 1bug.jpg
    1bug.jpg
    80,4 KB · Aufrufe: 111
  • uzgb.jpg
    uzgb.jpg
    97,5 KB · Aufrufe: 89
Zuletzt bearbeitet:
You've got some pretty good Ideas ;)

The waterdistributor looks amazing. Pleas keep posting your updates
 
Fans were taken out to enlarge the case for 2x Thermochill 360 rads

I made a radiator shroud for fans and used a phobya 3x rad. Gril.


alcd.jpg


80zb.jpg


This was applied on the back cover.


7nv8.jpg


e43o.jpg


Covered view of the case.


ckj6.jpg


f539.jpg


qorh.jpg


2ww3.jpg


dtwy.jpg


pgt1.jpg


djz0.jpg


hrhs.jpg


9x21.jpg


j5s5.jpg
 

Anhänge

  • alcd.jpg
    alcd.jpg
    41,7 KB · Aufrufe: 85
  • 80zb.jpg
    80zb.jpg
    42,9 KB · Aufrufe: 85
  • 7nv8.jpg
    7nv8.jpg
    30,1 KB · Aufrufe: 91
  • e43o.jpg
    e43o.jpg
    39,2 KB · Aufrufe: 74
  • ckj6.jpg
    ckj6.jpg
    31 KB · Aufrufe: 94
  • f539.jpg
    f539.jpg
    30,5 KB · Aufrufe: 86
  • qorh.jpg
    qorh.jpg
    31,1 KB · Aufrufe: 91
  • 1z85.jpg
    1z85.jpg
    41,2 KB · Aufrufe: 95
  • pcyw.jpg
    pcyw.jpg
    45,8 KB · Aufrufe: 106
  • gp7u.jpg
    gp7u.jpg
    23,3 KB · Aufrufe: 84
  • 5x8l.jpg
    5x8l.jpg
    23,2 KB · Aufrufe: 101
Zuletzt bearbeitet:
Lets call it Art. The Idea with the midplate is Awsome! Currently I dont Understand the Reason fot mounting the PSU this special way.
 
Lets call it Art. The Idea with the midplate is Awsome! Currently I dont Understand the Reason fot mounting the PSU this special way.


I am architekt, ı don t like buildings in rational forms.
Like these

oeb8.jpg


lei8.jpg


qdtq.jpg

ı like irrational and dynamic forms


66dav.jpg


6gs4.jpg


fk79.jpg


vns8.jpg


of course ı like irrational and dynamic cases. my favorite case is Raven01


gvw4.jpg


nskh.jpg


First ı planned pumps out of the case
.

djz0.jpg


To compansate these , ı mounted psu on the case

Ihave enough place for PSU in the case, if ı put it vertical , but these is my choice...


9x21.jpg


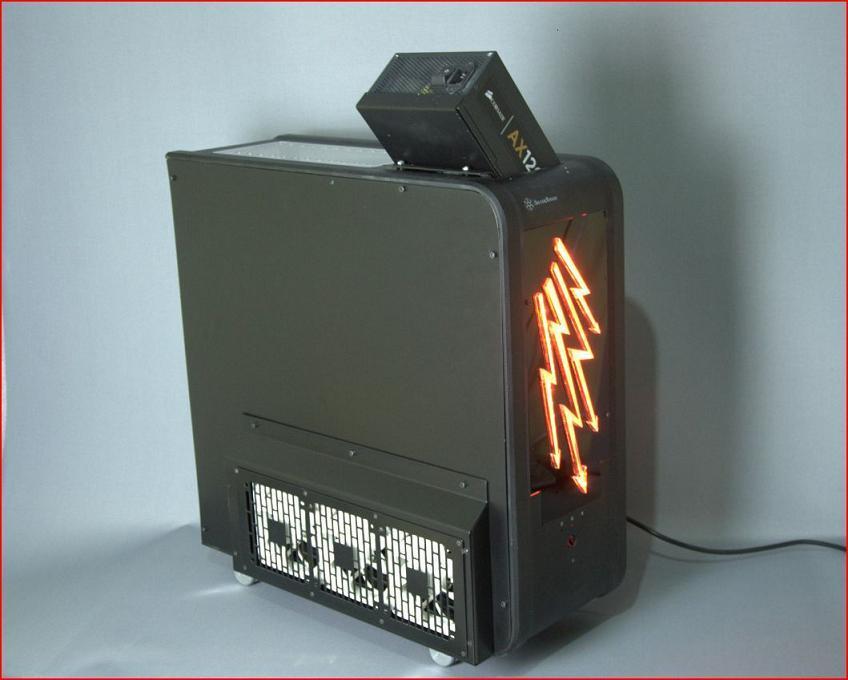
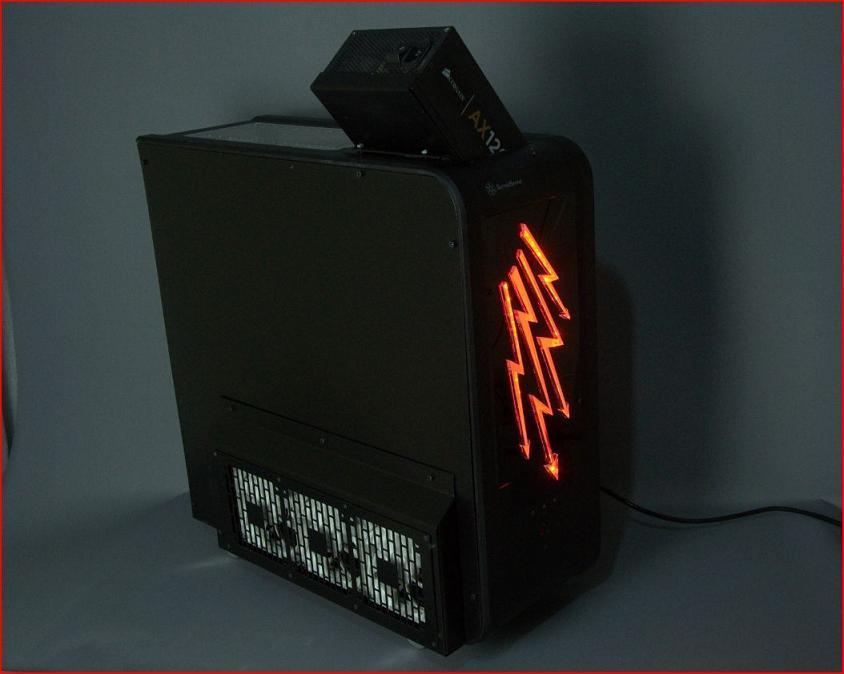
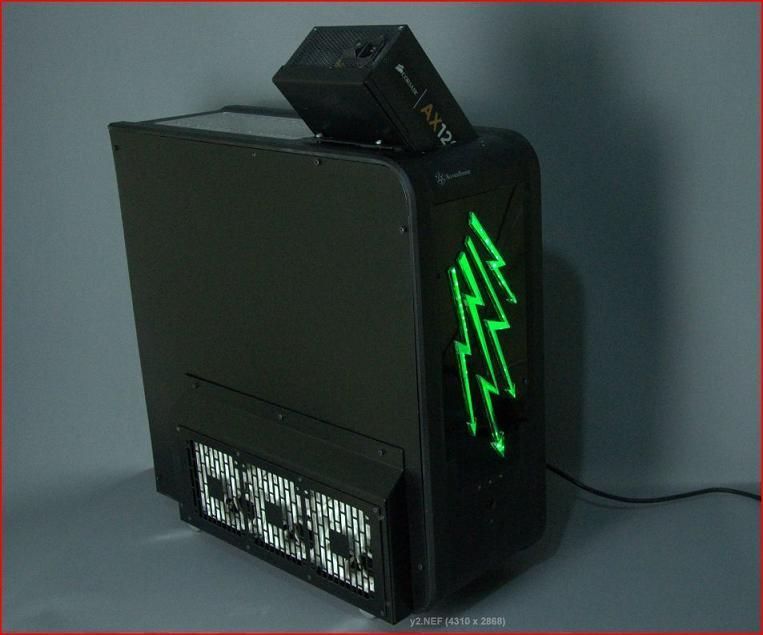
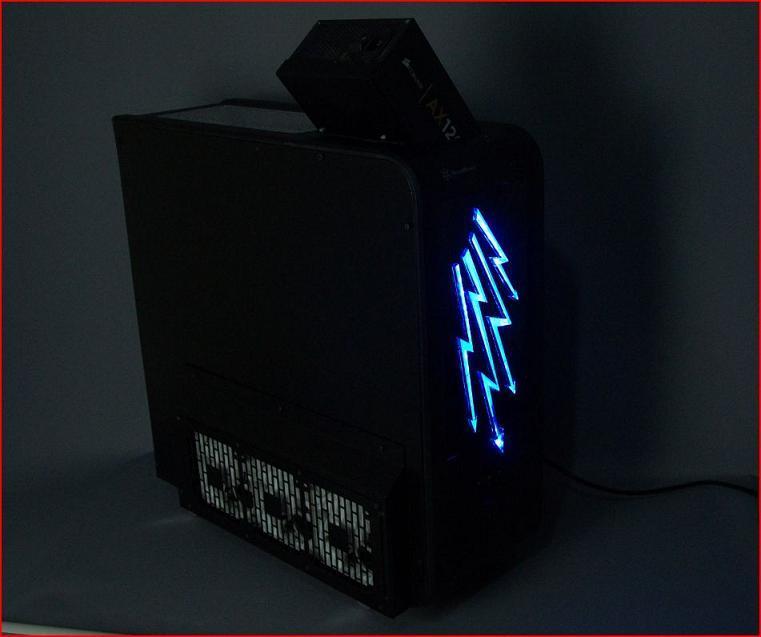
And strengthened with fanshroud out of the case and with flash shining theme


gp7u.jpg
 

Anhänge

  • hrhs.jpg
    hrhs.jpg
    40,8 KB · Aufrufe: 94
Zuletzt bearbeitet:
Back cover painted and finished.

1z85.jpg


Made a plexi cover for 5.25, that ı not use.,with flash shining theme. illuminated with led.

pcyw.jpg


gp7u.jpg


5x8l.jpg


added some colors to the case...

6b6p.jpg


uj4b.jpg


04mr.jpg


fbro.jpg
 
Sorry..................viel arbeit, aber nix für mich. Schön ist anders!!
 
Hardwareluxx setzt keine externen Werbe- und Tracking-Cookies ein. Auf unserer Webseite finden Sie nur noch Cookies nach berechtigtem Interesse (Art. 6 Abs. 1 Satz 1 lit. f DSGVO) oder eigene funktionelle Cookies. Durch die Nutzung unserer Webseite erklären Sie sich damit einverstanden, dass wir diese Cookies setzen. Mehr Informationen und Möglichkeiten zur Einstellung unserer Cookies finden Sie in unserer Datenschutzerklärung.


Zurück
Oben Unten refresh