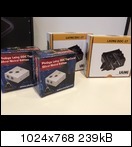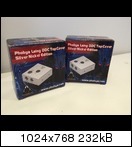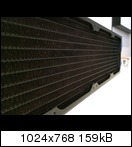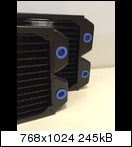
First of all a huge thanks to this guys, you're awesome.
Thanks to Mundi Valur from Icemodz, for providing me with high quality cables, LEDS, cable management and other stuff.
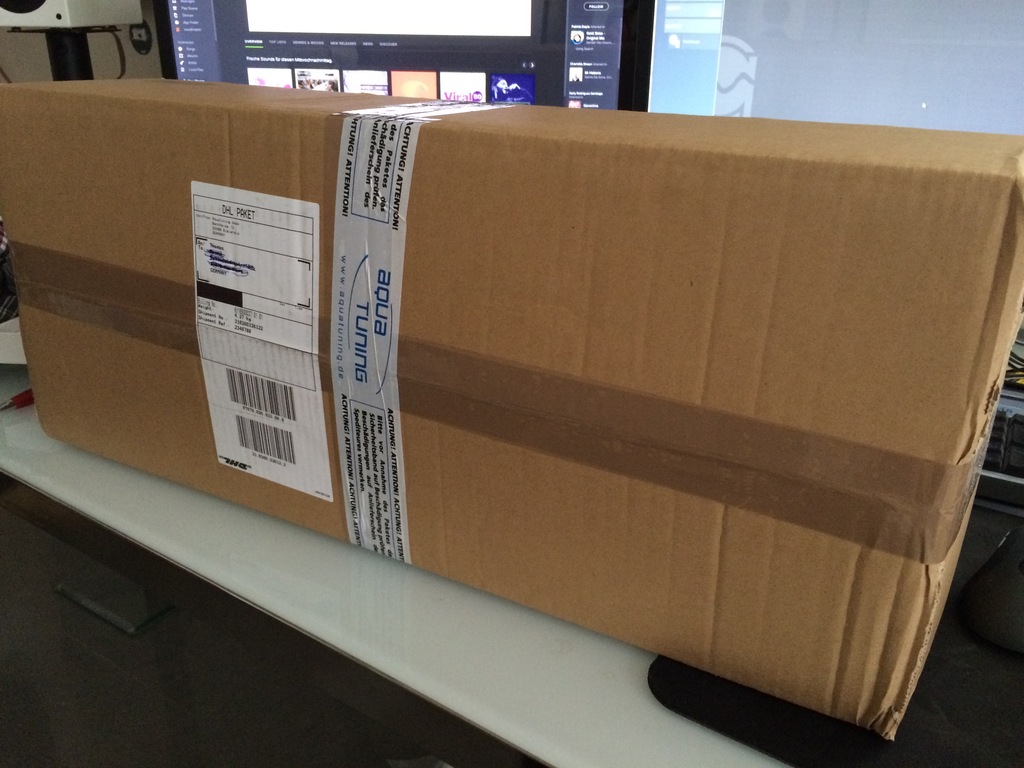
Thanks to Andreas Klassen from Aquatuning, for providing me with watercooling parts that make the dual loop happen.
Thanks to Lily and Vincent from Bitspower.
Thanks to Matthias Brömel from Moddingstylez for providing me with awesome films and decals. You were always a person of contact who is there if you need a little help.
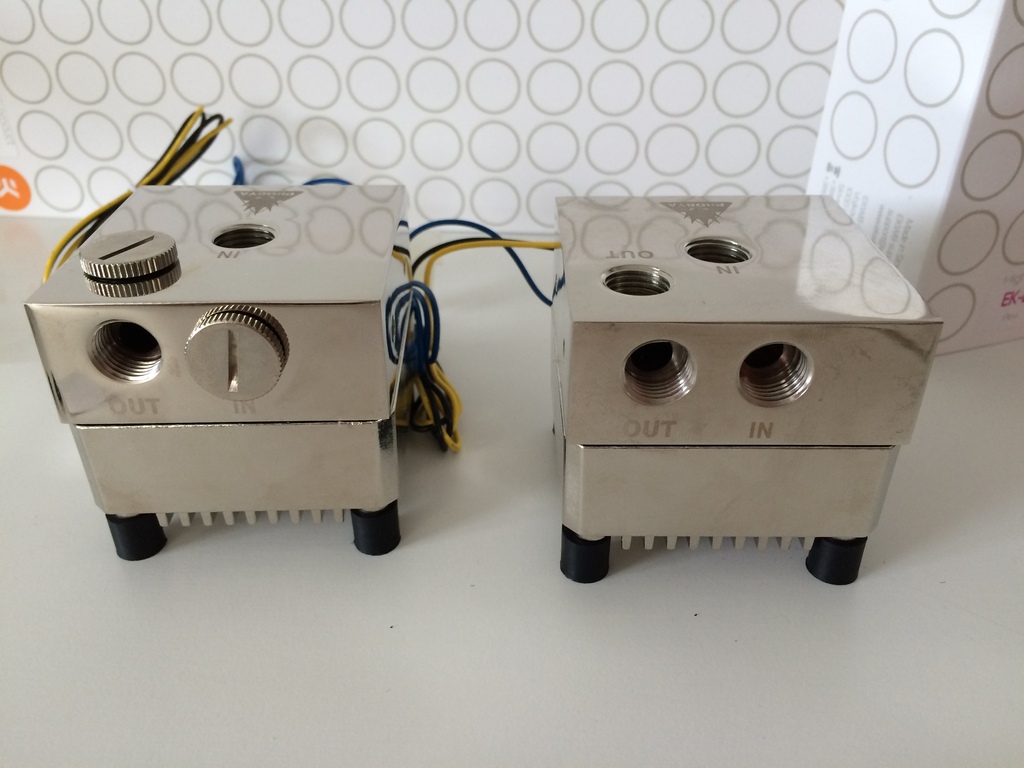
Thanks to Peter from EK Waterblocks for providing me with coolant, ddc housings and an hd tubing kit.
Thanks to Bundymania for interfering a lots of contacts and providing me with a lot of your knowledge about watercooling.
Index:
1. Foreword.
2. Little introduction
3. The ideas and concept.
4. Hardware planned
5. And its realization
Hello Folks,
1.Foreward:
Im currently working on a custom case, from the scratch and of course i didn't want to withheld it from
you. This work log will be kept in english, due to sponsors and friends all
around the globe. It also makes it easier for me to copy it to english forums.
Please be tolerant if i do any mistakes in language, its not my native one.
Ill answer any questions in German though.
Ich beantworte natürlich jede eurer Fragen auch in Deutsch.
2. A little introduction:
Some words about myself: Im Thomas, 23, from the centre of Germany and studying
business economics right now. Since i got all the tools and skills i need for a
casecon, besides a laser, i wanted to give it a try. Ive modded some classic
Cases from Lian Li and Thermaltake before, but the idea to build a case on my
own, is in my head for a long time.
3. The ideas and concept:
The idea was to create a case, which fits to my furniture without having to spare on any feature a
premium case has. That means in particular, it should be of high quality, with
a good cable management and lots of space for my watercooling. I was looking
for a case on the common market, but there weren't any cases that are simple in
design, with a good cooling and as angular and slim as i’d like to have it. Sounds
like Caselabs, but it wasn't an option for me, even though superior
watercooling solutions, the appearance is not what i am looking for. I also
wanted it to be fitting straight to my needs without any more or less.
Some keyfacts/ideas:
-Using only acrylic and aluminium to keep it lightweight.
-Inverted HPTX/ATX Layout.
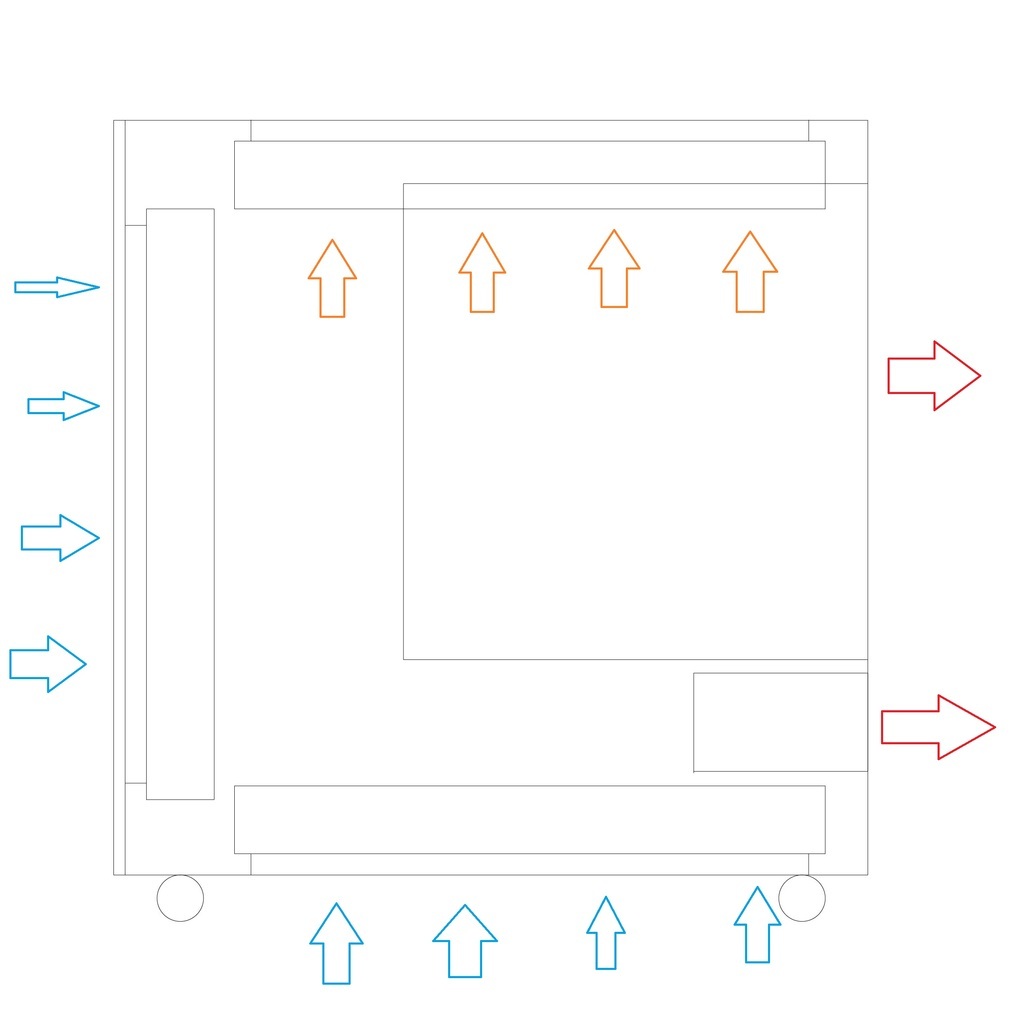
-Three seperate chambers for the radiators. Every rad gets fresh air from
the outside, and will exhaust it out oft he case without supply the others with
warm air.
-Cooling as quiet and low in temperature as possible, with the option for
quad SLI. Ill be able to cool my Dual Titan Setup, Dual CPU, Board and Rams
with less than 35° Watertemperatur under load while remaining whisper quiet.
-Having no more cable(s) visible than needed.
-Keep everything as edged and minimalist as possible.
-Dual Loop Acrylic Tubing, to have each Cpu, Dim, the two parted MB Block
and each VGA in another color.
When checking other modding forums, i got in touch with someone selling an EVGA SR-2 including two
Xeon hexa-cores. Whoever has seen this motherboard, its literally a monster,
knows that the case had to be appropriate.
To cut a long story short, i had to create something unique.
4. The hardware planned:
-EVGA SR-2
-2x Xeon 5649
-A GTX Titan with very good overclocking results, cooled by Aquacomputer
Kryographics. Ill either go for a second one soon, or check out how the new GTX
980 will perform. At 1,21 V, my Titan is as fast as a 780 TI with medium
overclocking.
-Temporary 8 GB Ram of Mushkins Silverline 1333. Im open to any suggestions
what Rams will find ist place in the case. Currently im thinking of Corsair
Dominator for easy watercooling(holy they are expensive) or Kingstons Hyperx
Fury in white.
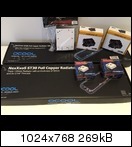
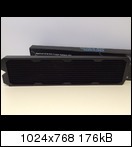
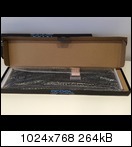
-A 480, 420 and 360 ST30 Radiator.
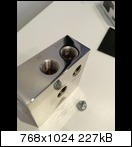
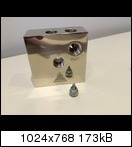
-Custom Reservoir.
-Two Laings DDC1-T with Phobya Tops.
-A lot of E-Loops and 3 PK2 by Noiseblocker
-Aquaero 5 LT to control my fans and pump.
-Corsair RM 650 Power Supply. Will get something new when i get a new VGA.
Maybe Superflower?
-Currently using an Intel M320 SSD, a bid outdated, problably heading for
Samsungs Evo. Same story here, im open to suggestions.
5. The realization:
How did i get started?
Good question. The initial idea, even before i wanted to build a one of a kind
case, was to modify my old Lian LI 2110A to make it fit HPTX. I ordered a Lian
LI D8000-3 Mainboard tray which is also the basic for this case.
And thats how things started, from the drawing board. There werent any
standards given but the size oft he tray.

Unfortunately i got twice of this kind of „special version“ tray.
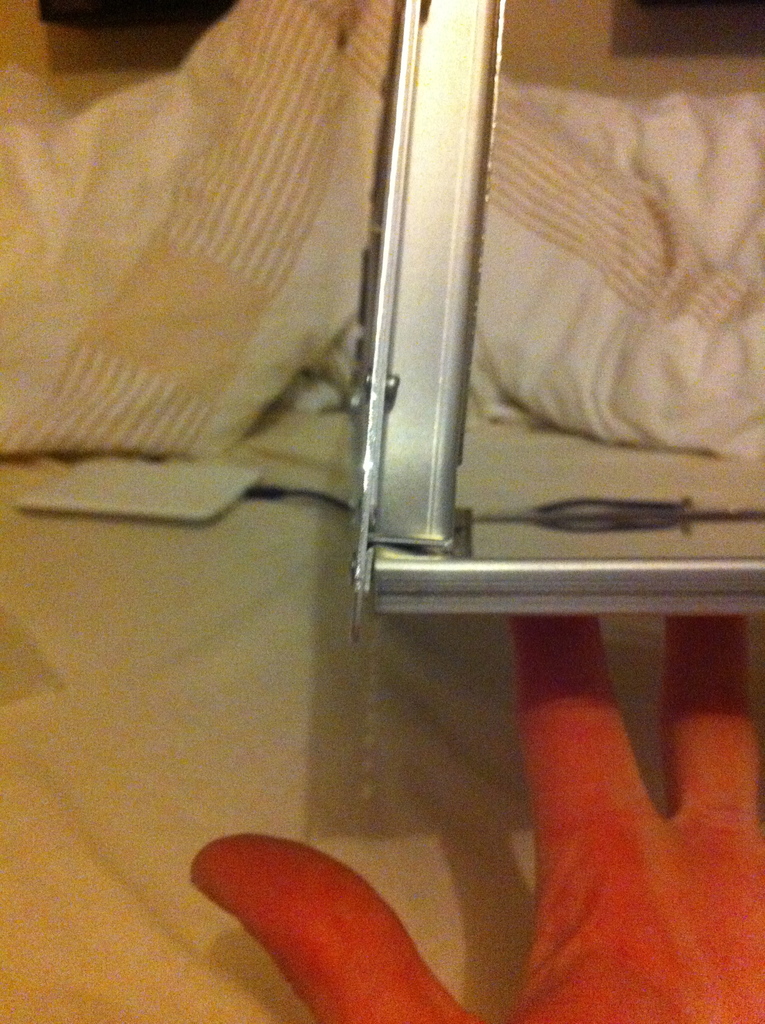
Damaged/bent while shipping from UK to Germany :/
Since this trays arent made of thicker metal, it was quite easy to get it straight again though.
Back to computer work, i had to draw the parts in a standard, that could be used for laser cutting. I
knew that the fan grid would be to complex do it with common tools.
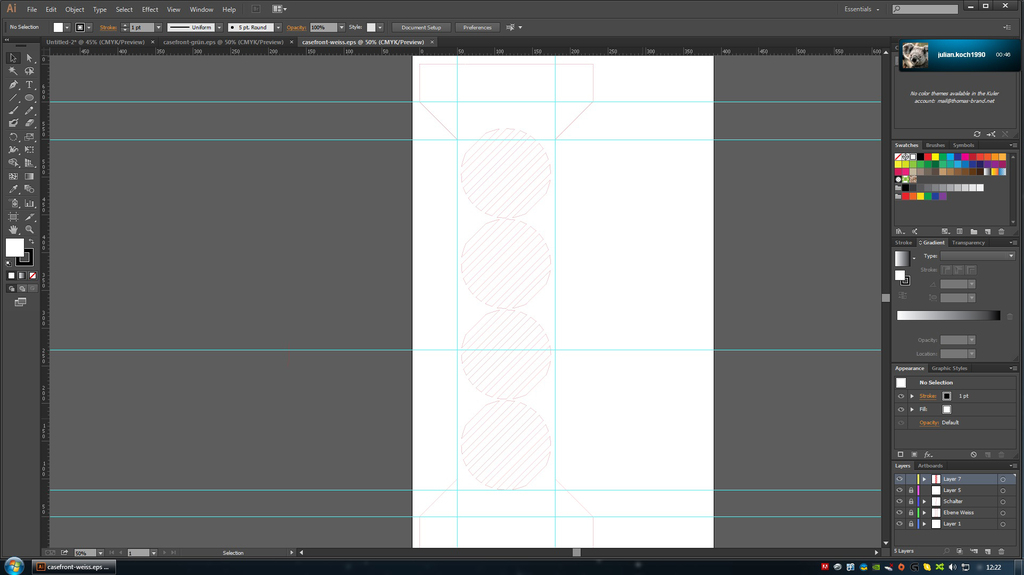
The first drawings followed... No Screws should be visible on front and window
side. A decorative screen was needed and first was also the last brainchild.
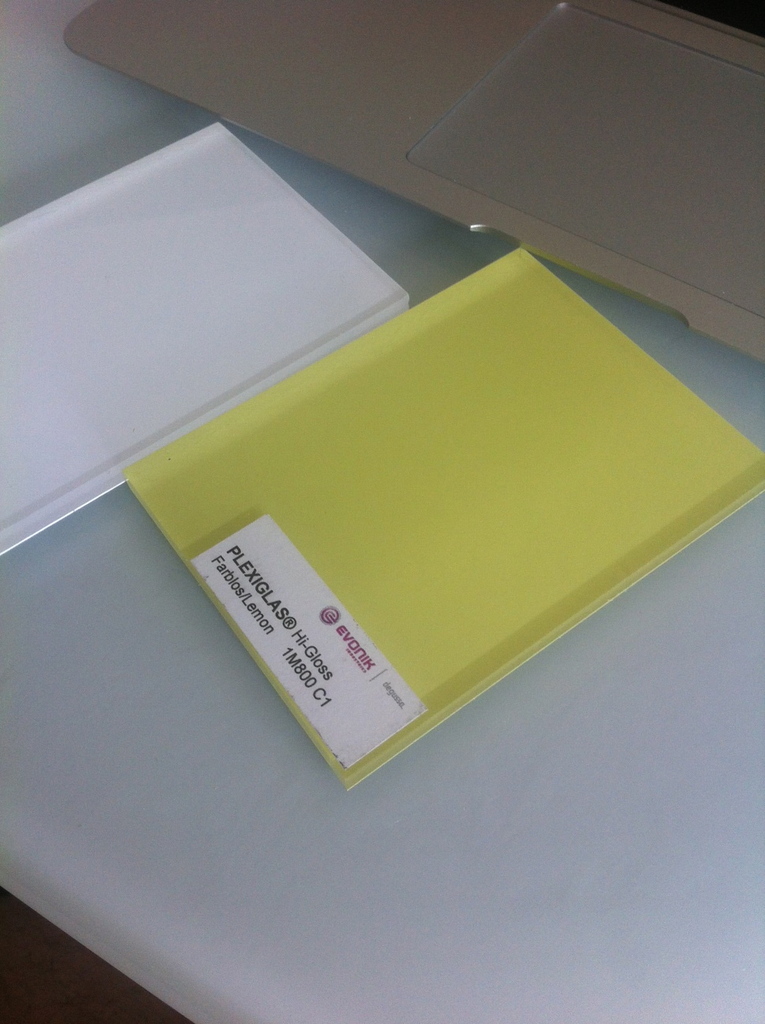
Some samples ordered and after first inspection i was sure, it will be themed
in a combination of glossy and matt „satinice“ acrylic. Last one is pretty
impressive, awesome haptic and beeing opaque.
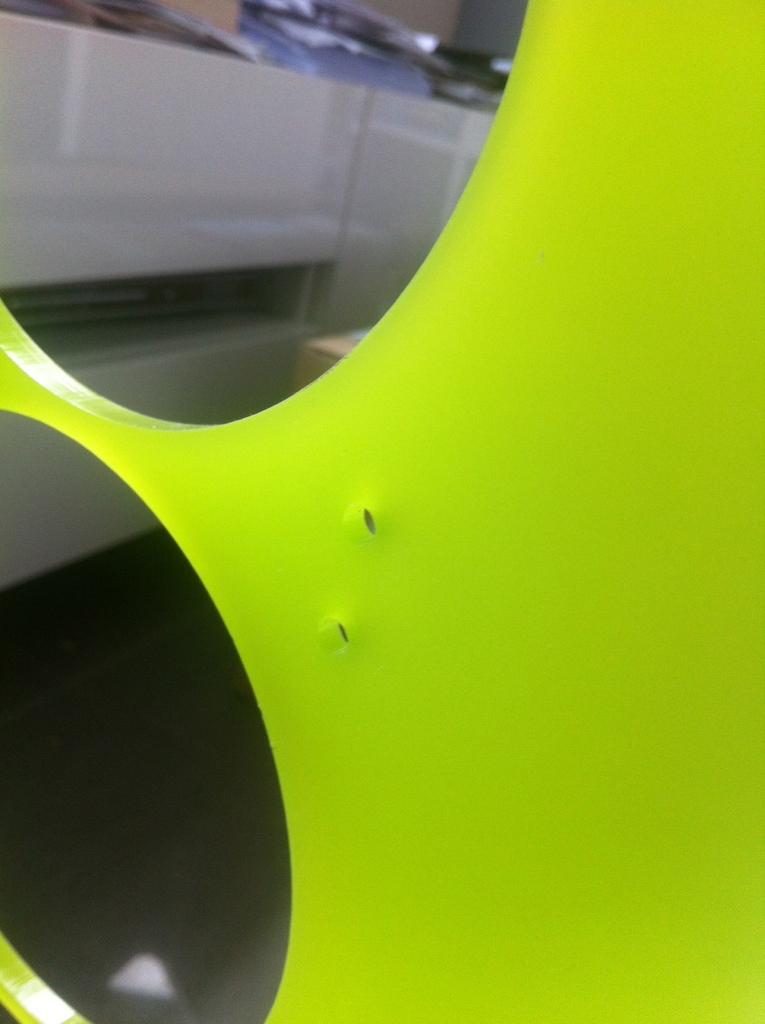
It felt like there are spreading 300 new Corsair 900d with an ROG Board kept in
all dark/red every month. Easy decision to use another color

Other parts followed the same way. Draw in Illustrator, get them to lasercut in highgloss 6mm acrylic.
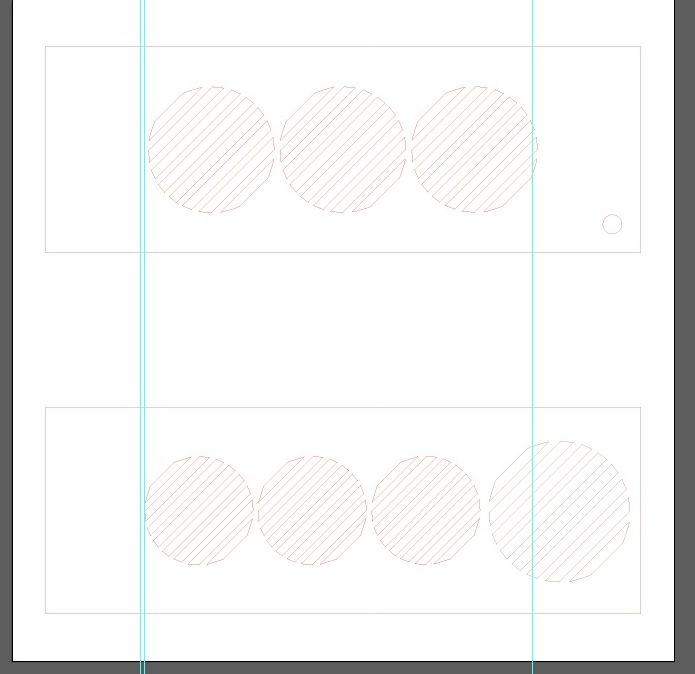
Fillport on top(20 MM to fit the Bitspower Fillport) and holes for a 420 Radiator. To keep everything flush-mount,
the top got lasered twice. The bottom is made to fit a 360 Radiator, and a 150
mm hole that the power supply gets the needed fresh air.
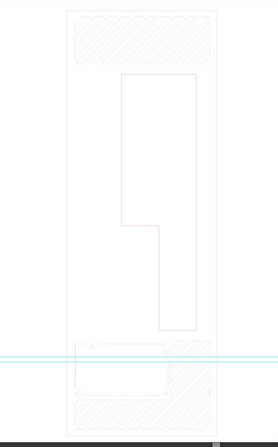
The back was rather complex. Using 8.5 cm for the top radiator, getting his
fresh air from the rear, and about 16 cm for power supply and bot radiator
exhaust. Addin’ holes for standard atx supply too.
A forced little pause again...
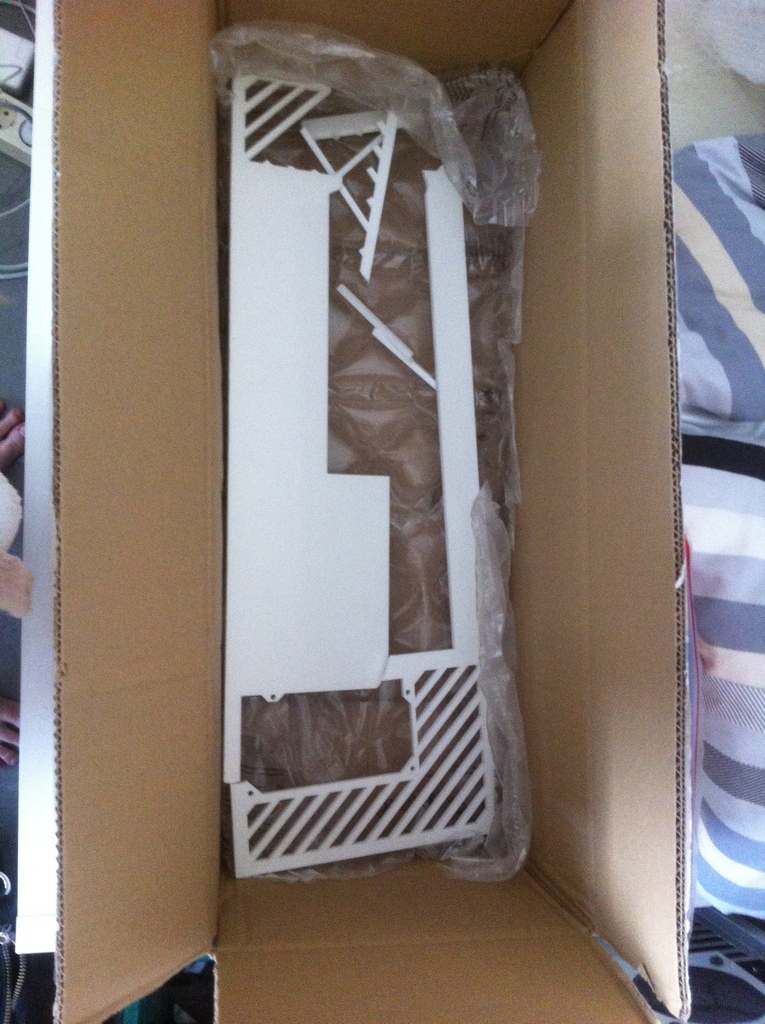
The other parts came fine,
so i had time to make a little trying on.
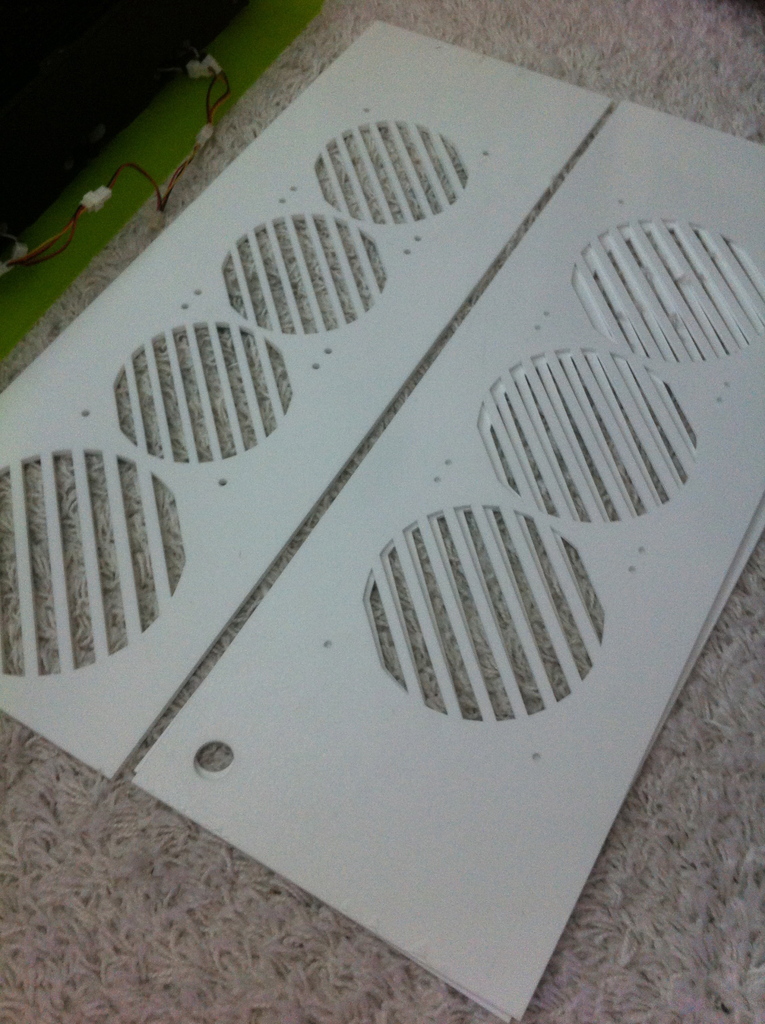
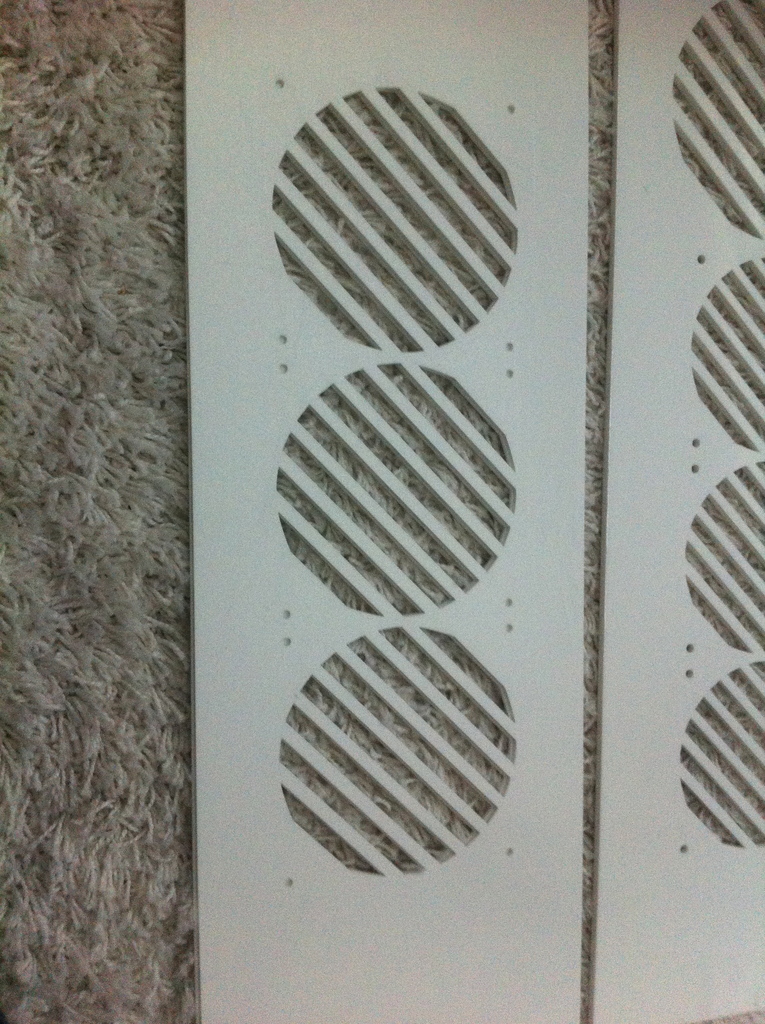
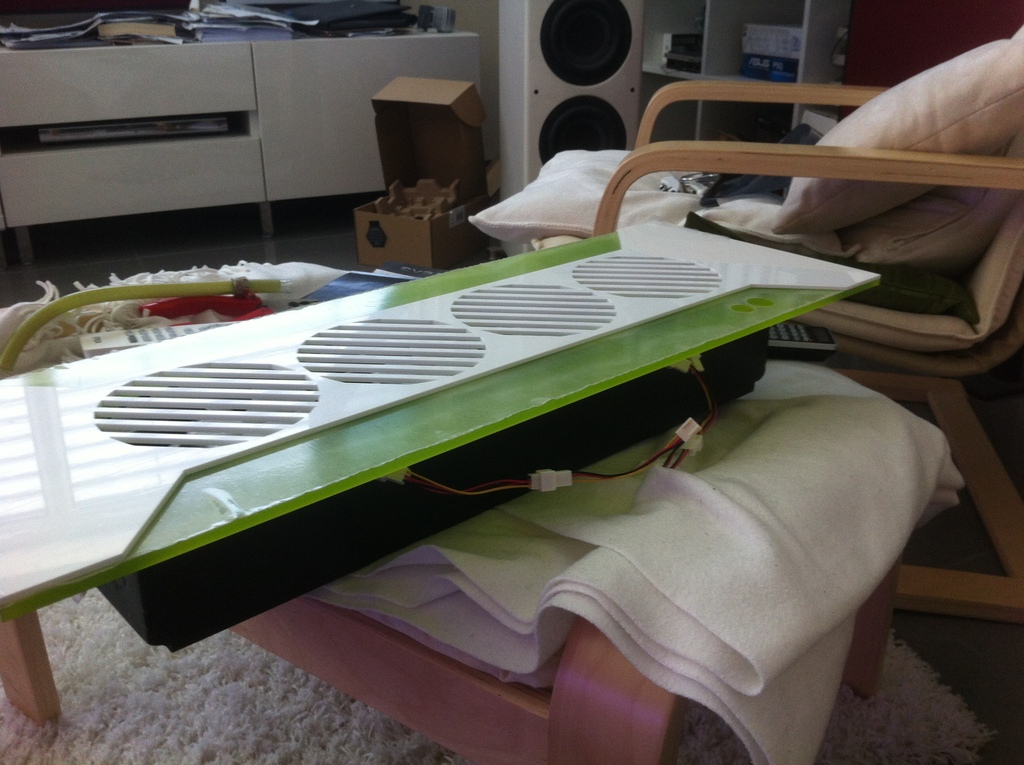
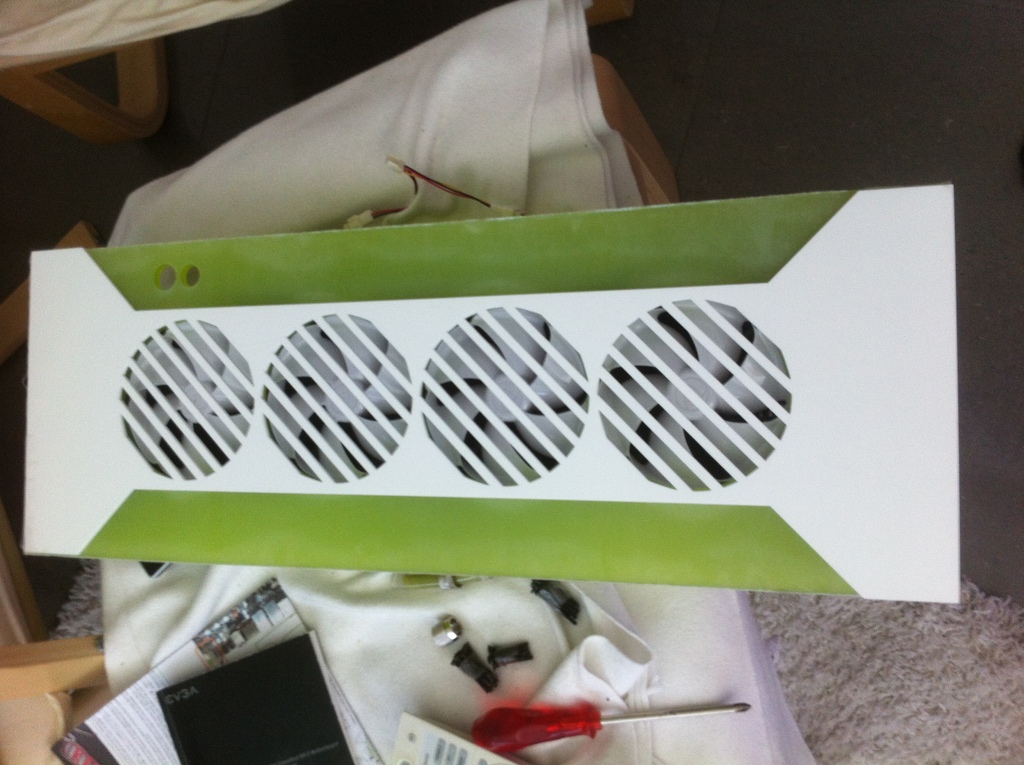
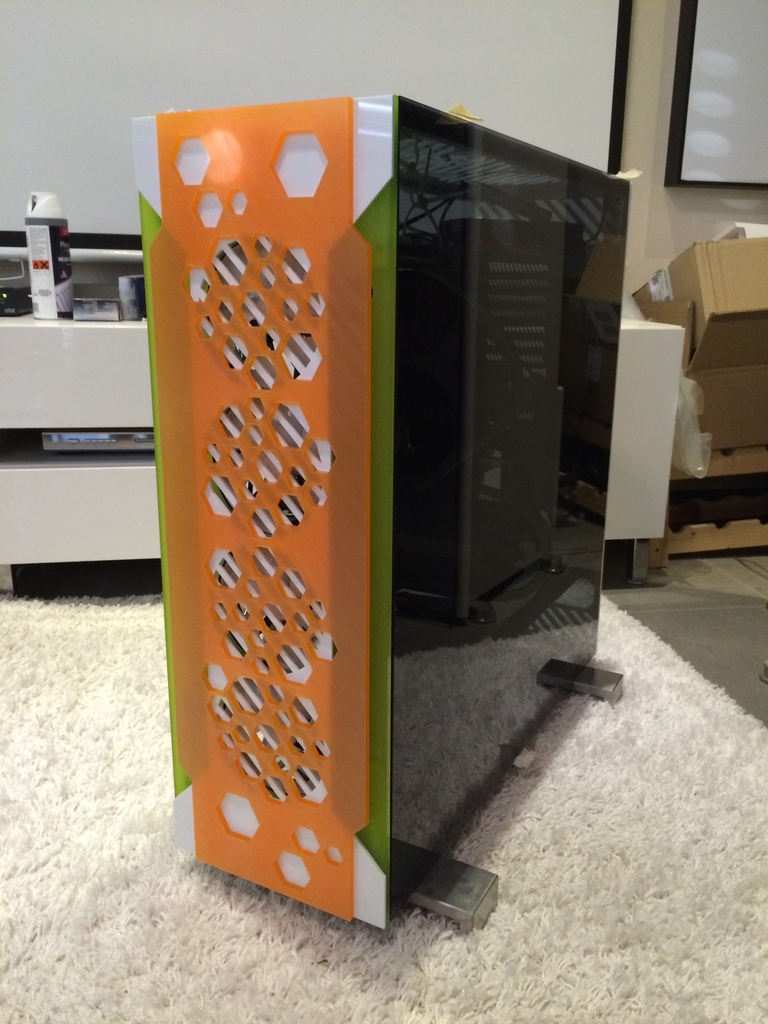
Feser 480(which will not be in the build), 4 eloop B12-2 and the front as it will look later. The
protection film is still on, so the green is not as shiny as it is in real.
To keep the case angular and solid, i decided to use 10 mm aluminium profiles
as a frame for the top and bottom parts. On miter as good as possible.
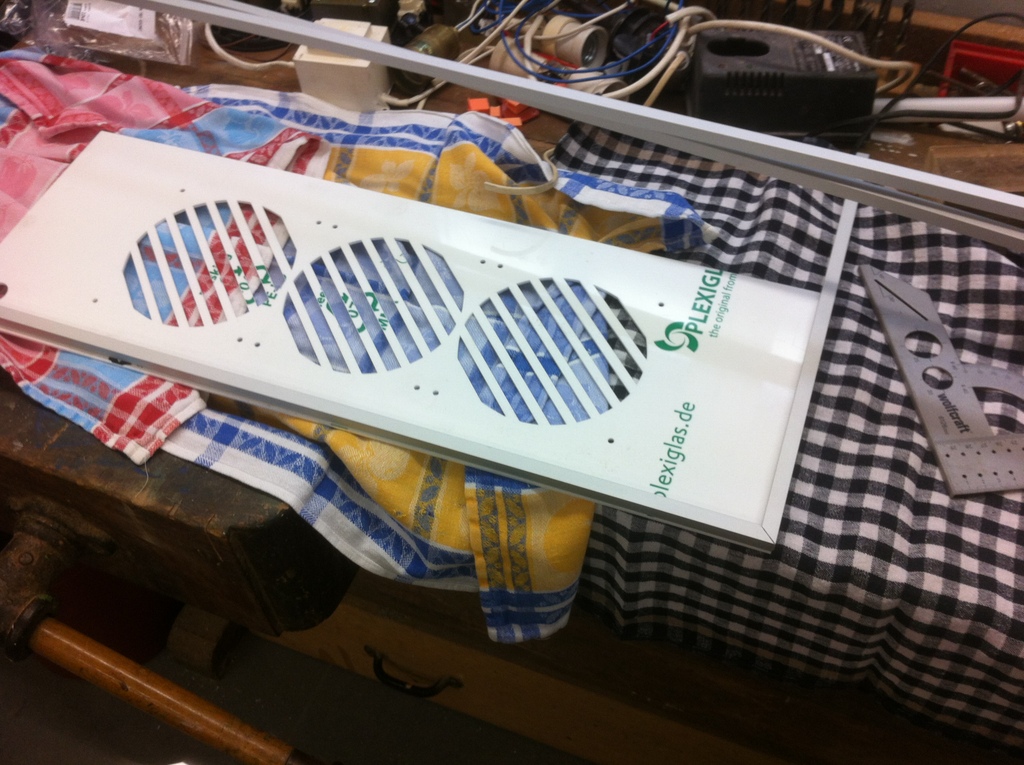
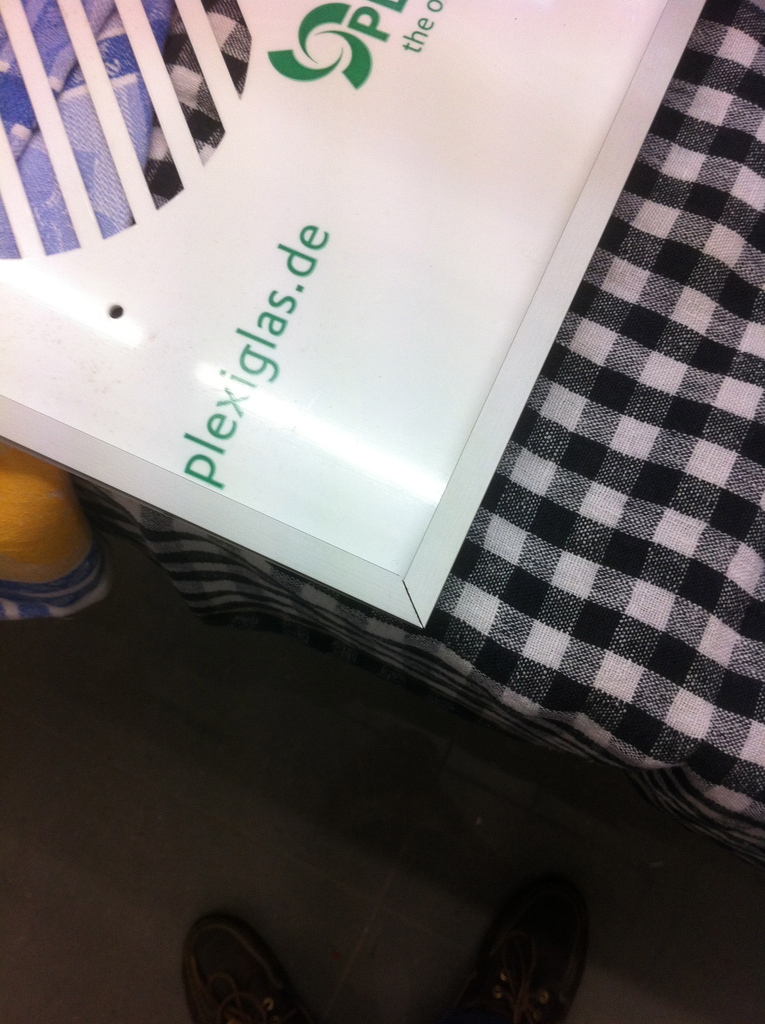
Twice the fun for top and bottom. Drilling the holes, and countersink the 4 mm holes.
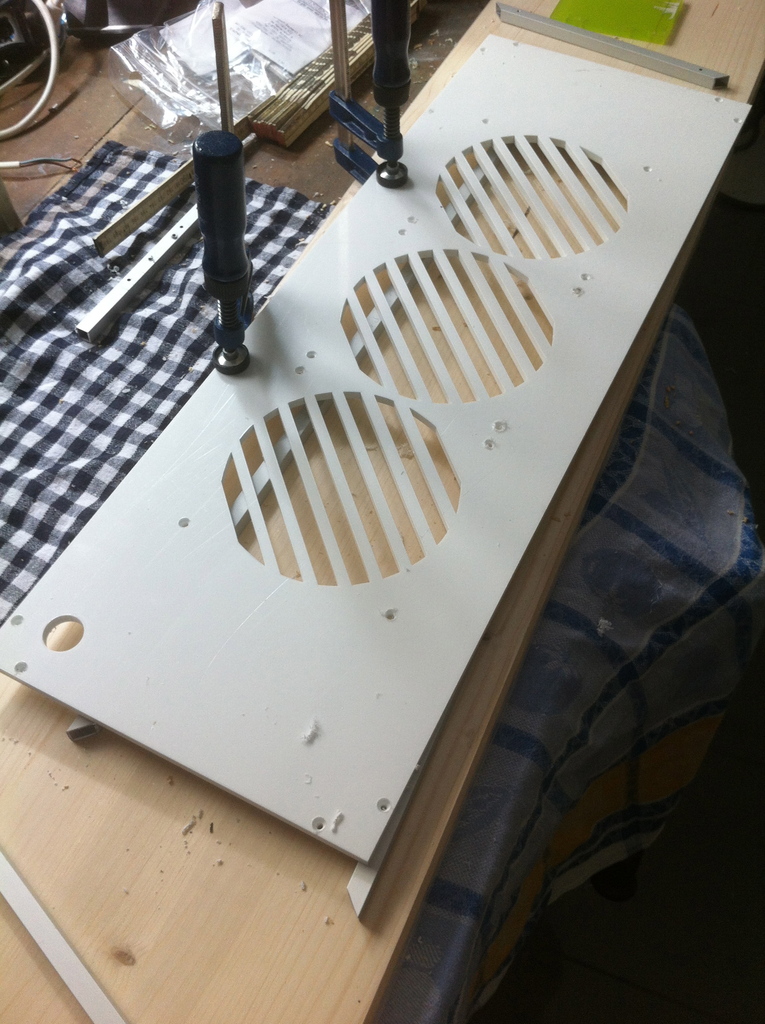
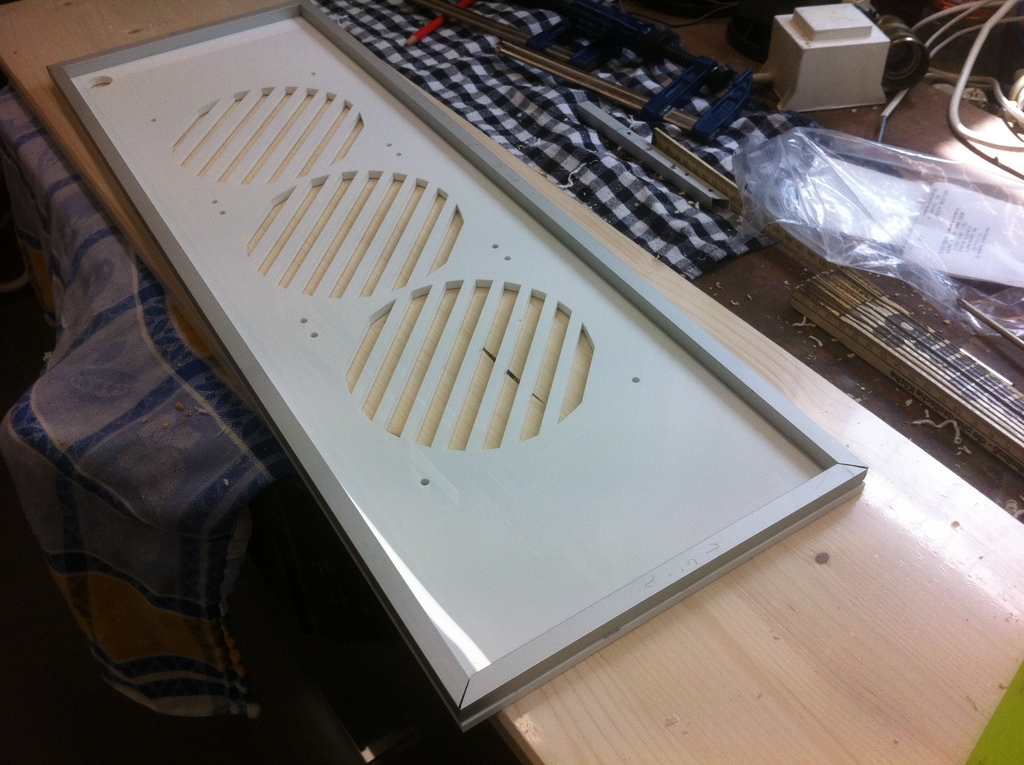
Removing the film and thats it, shiny glossy top part.
I could start to combine the rest.
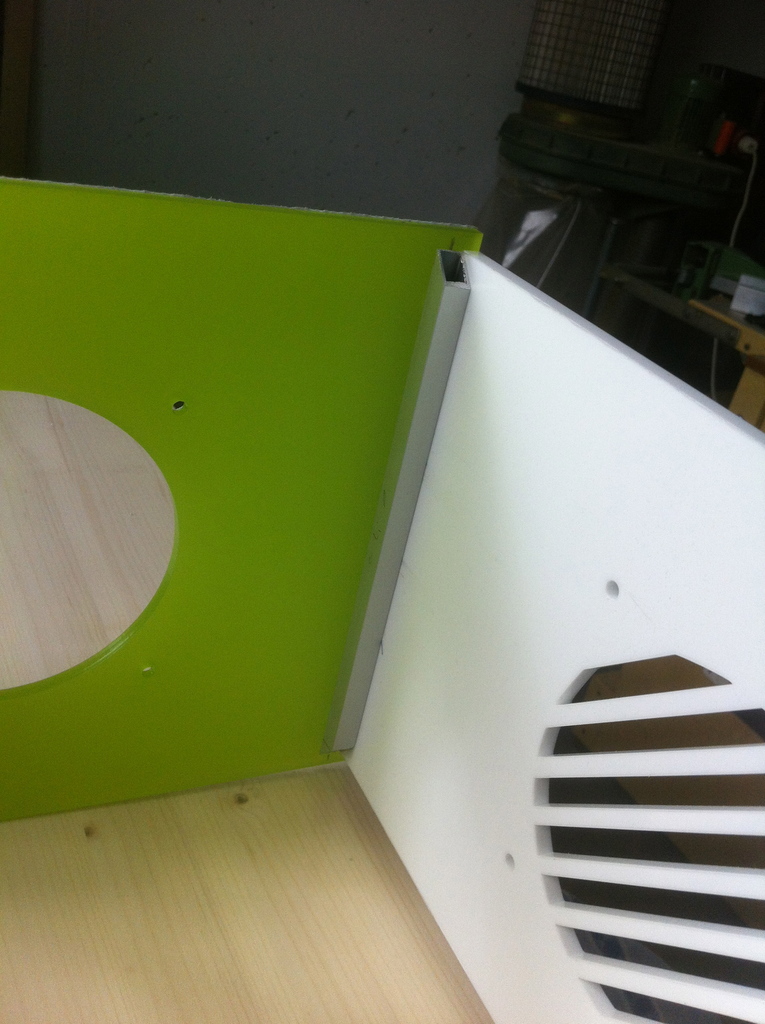
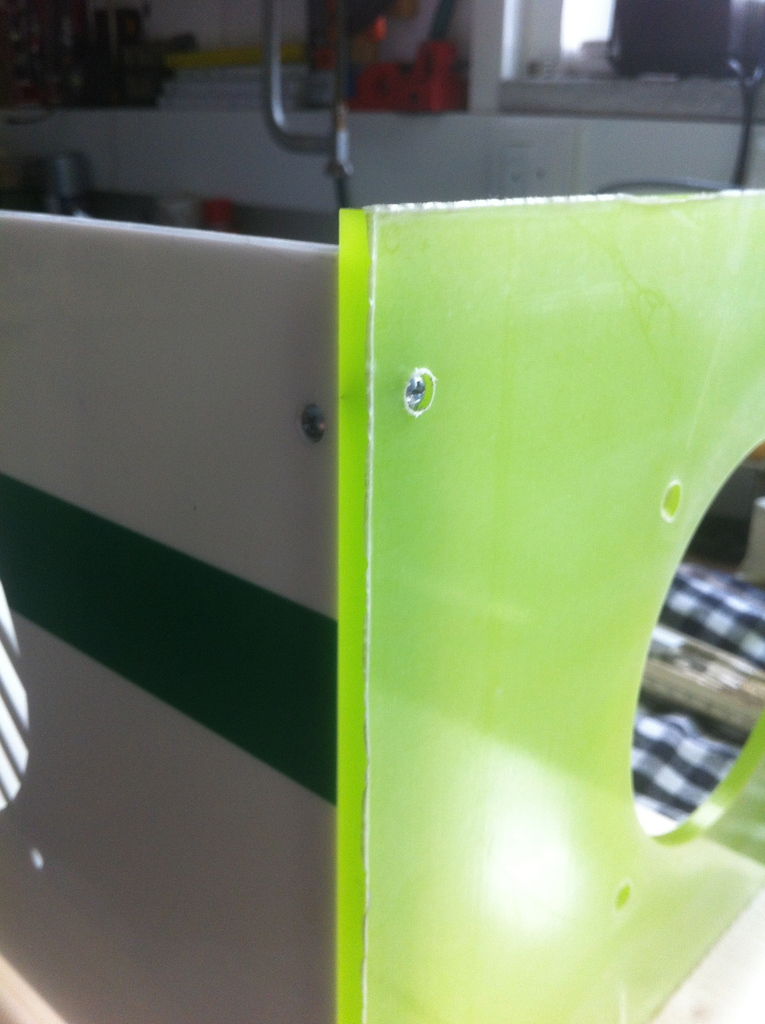
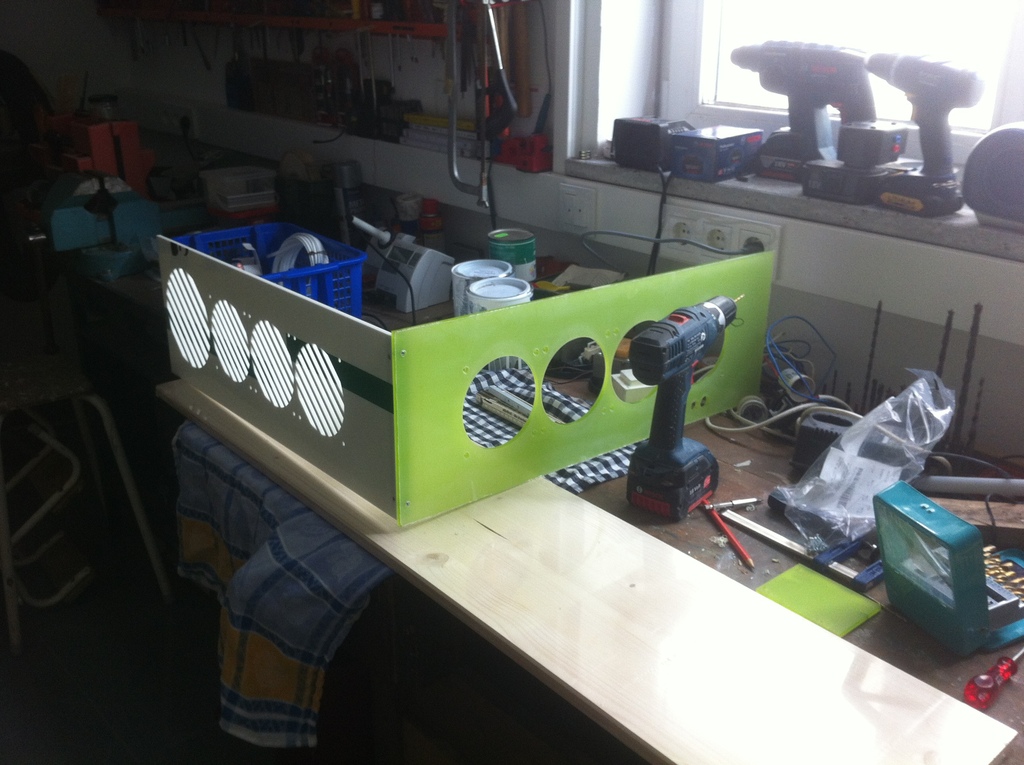
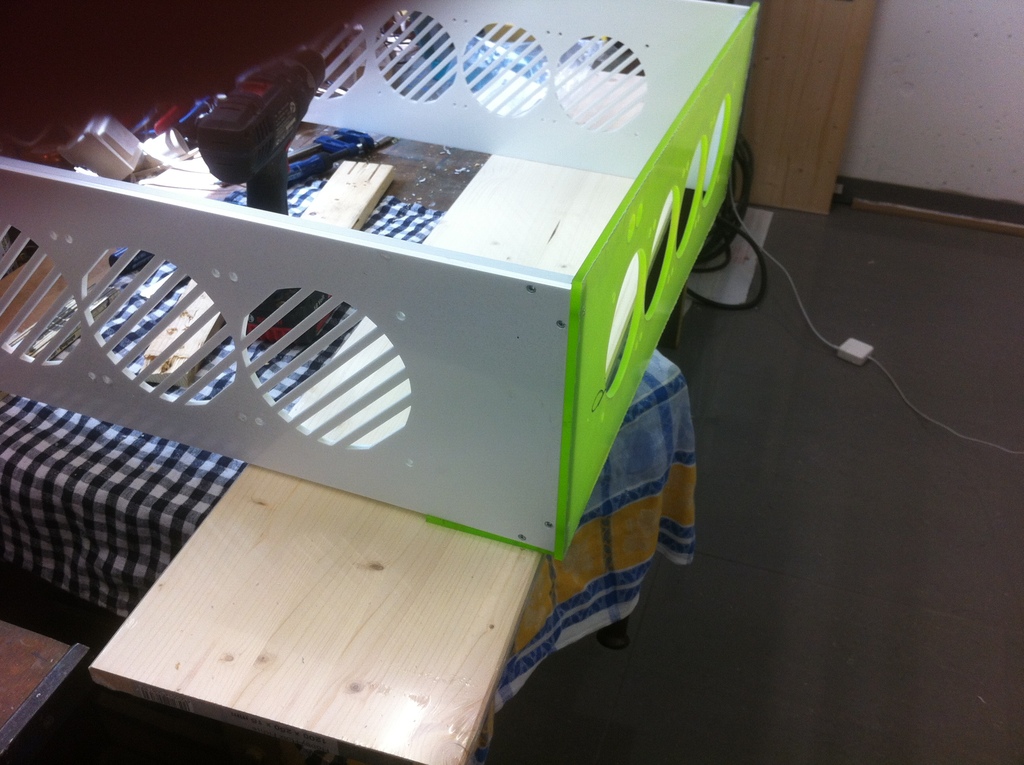
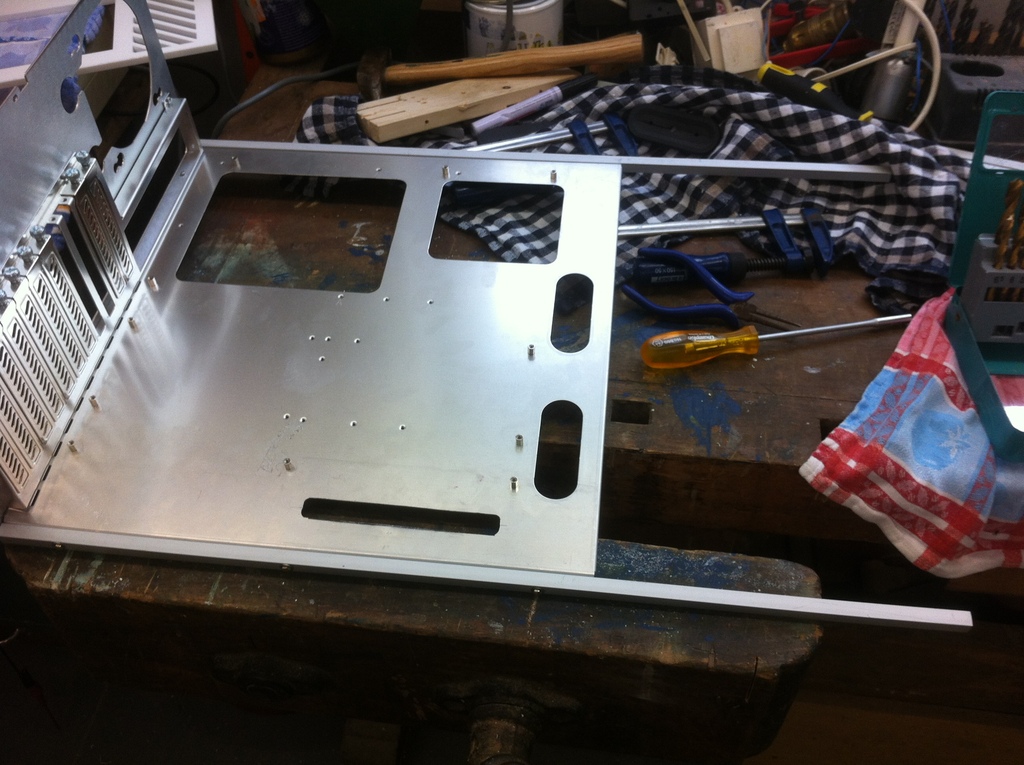
Followed by preparing the tray. Had to add a cable lead-through to have an easier connection of front
panel connectors and graficcards power.
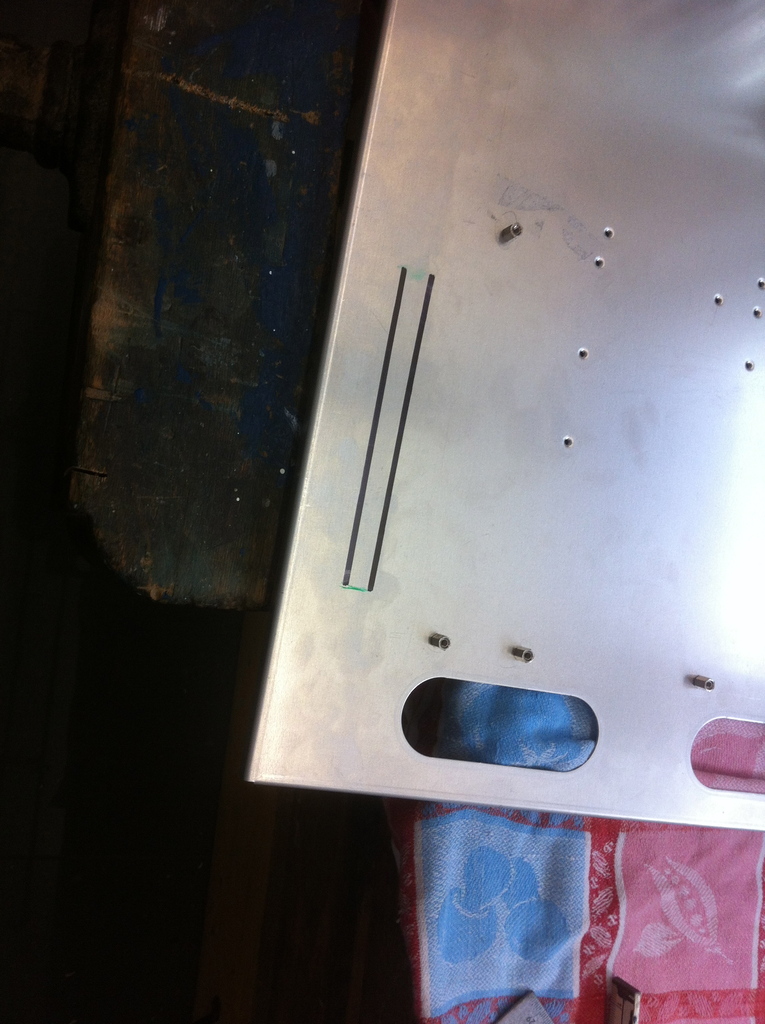
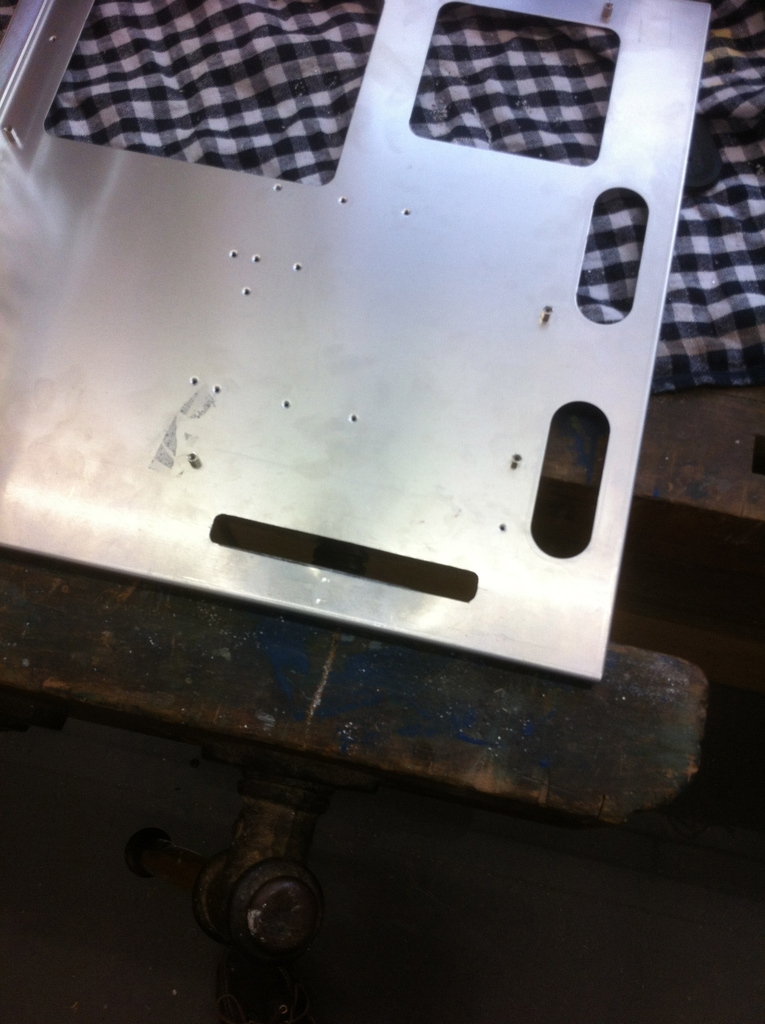
I was using the same profiles to keep the tray horizontal, even with at least 5kg in coolers on it.
A first test with the acrylic.
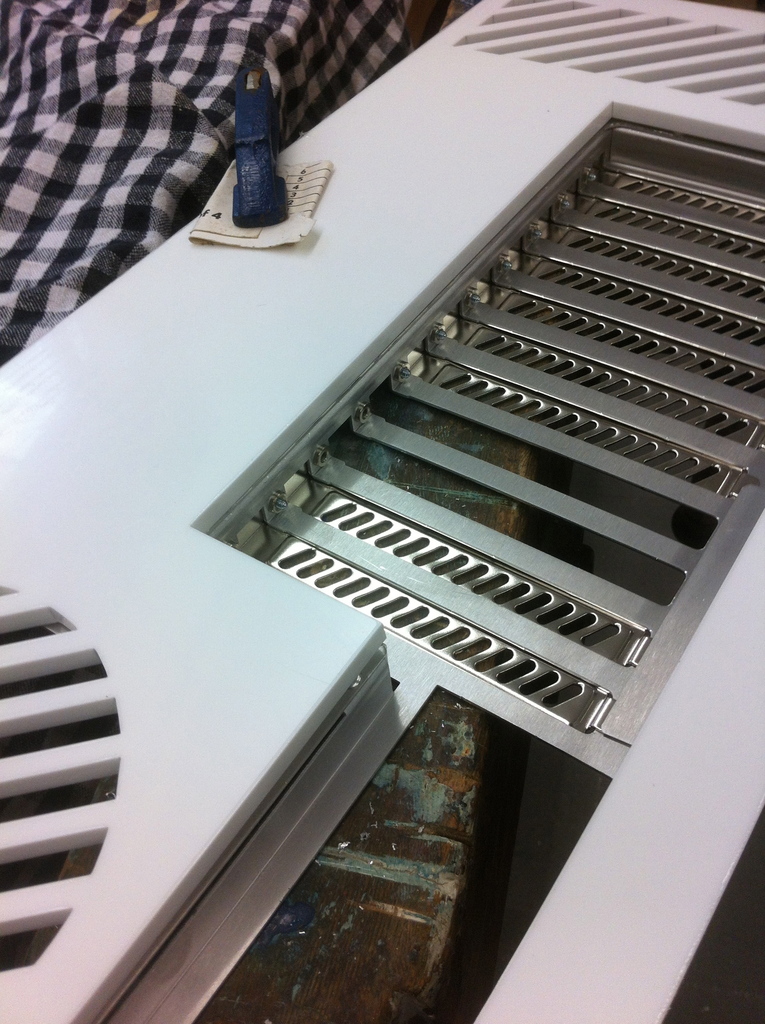
Perfect fit...
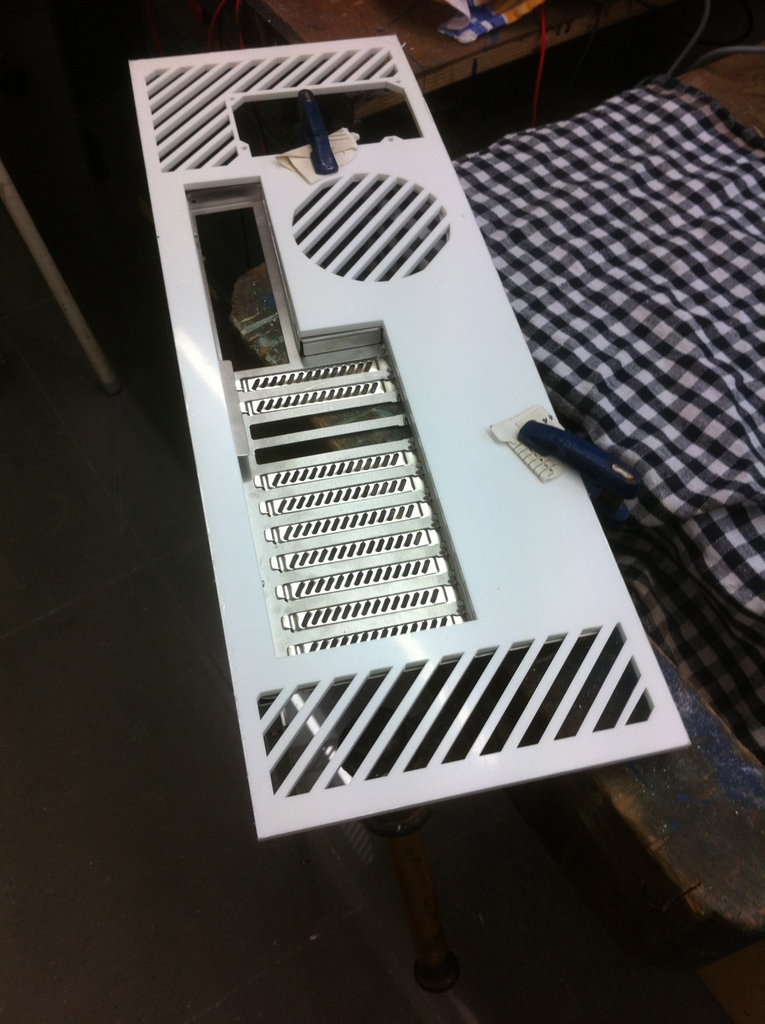
Adding holes and connect
the parts.
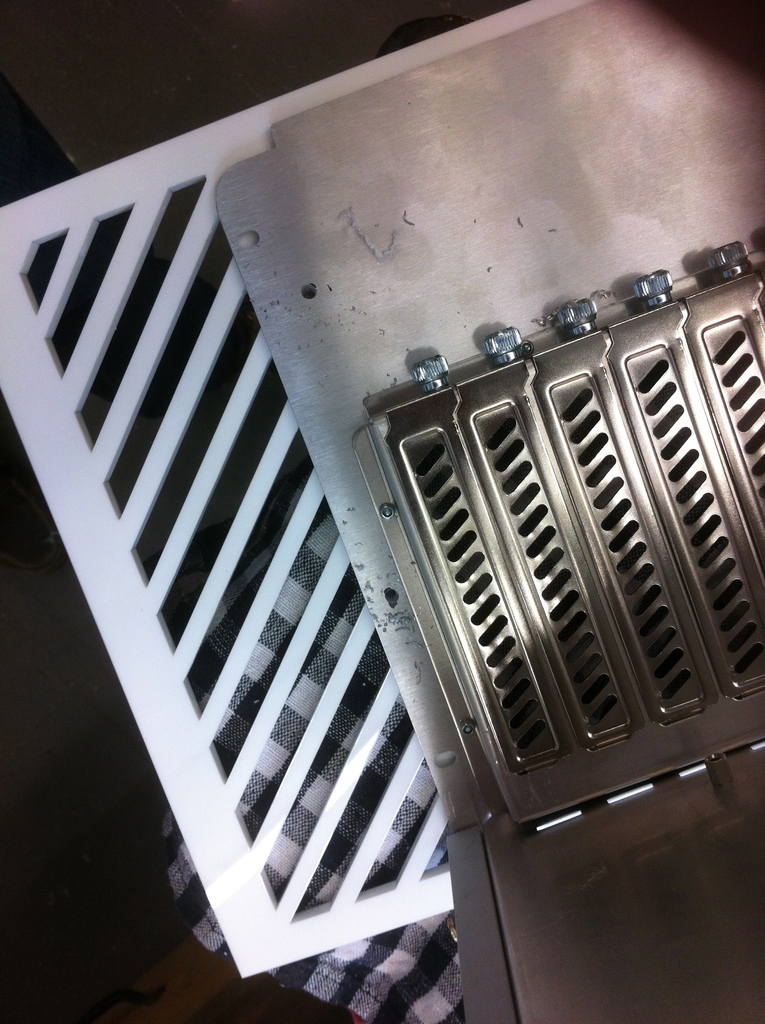
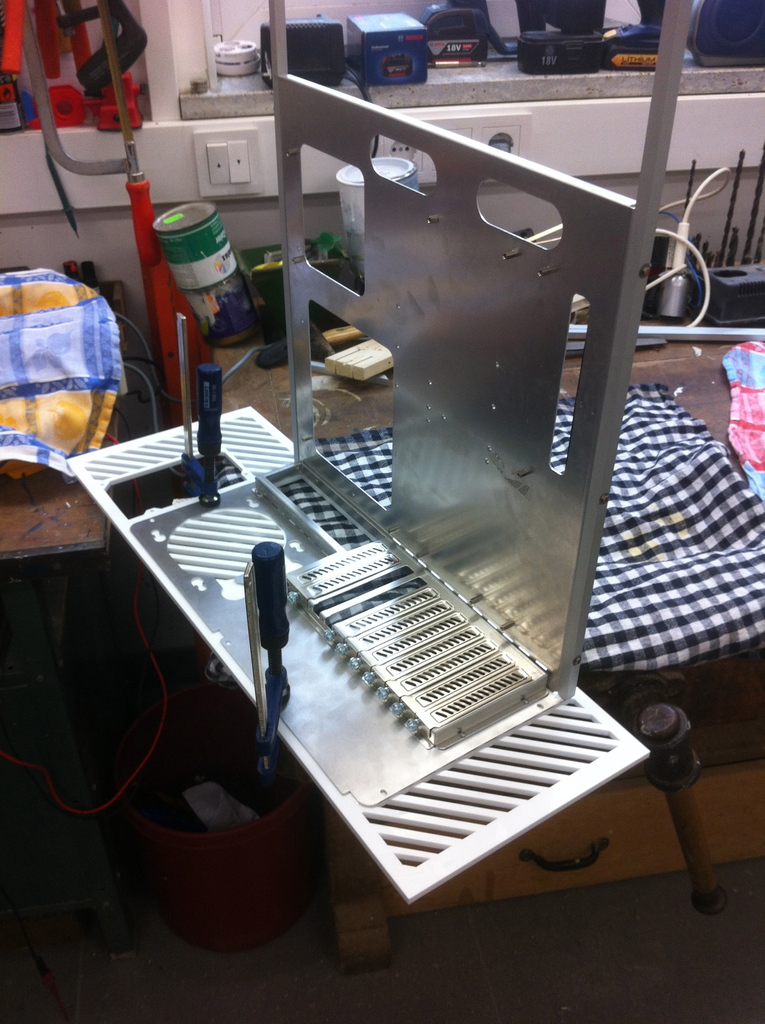

Ill go for shorter screws
here probably later.
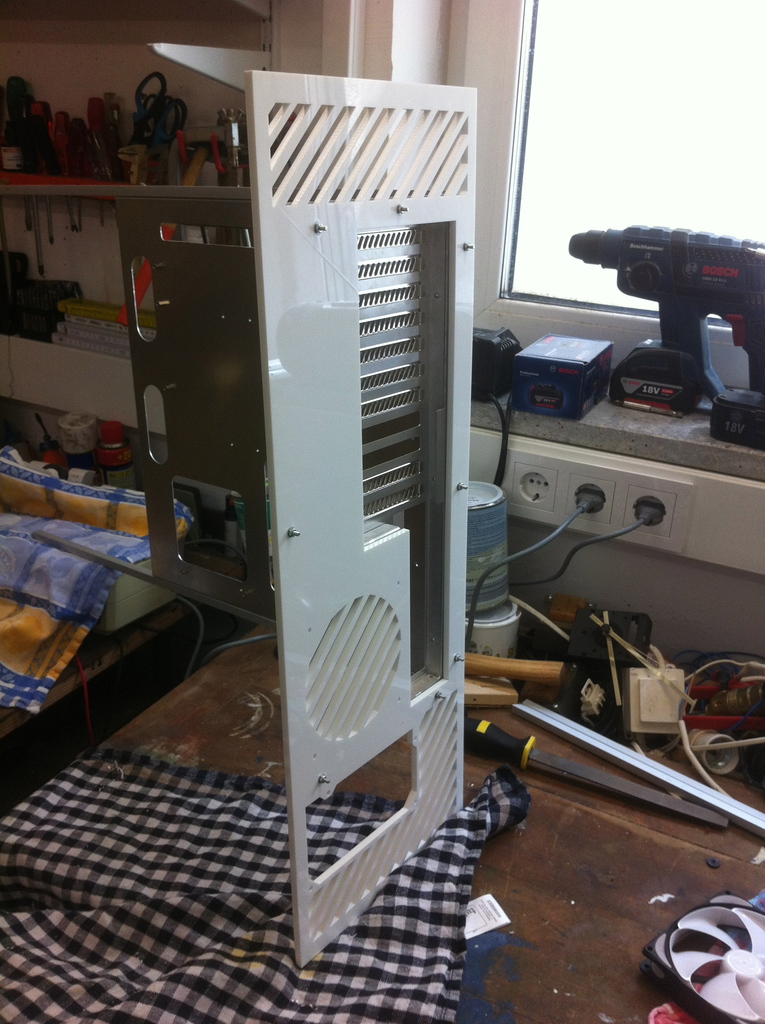
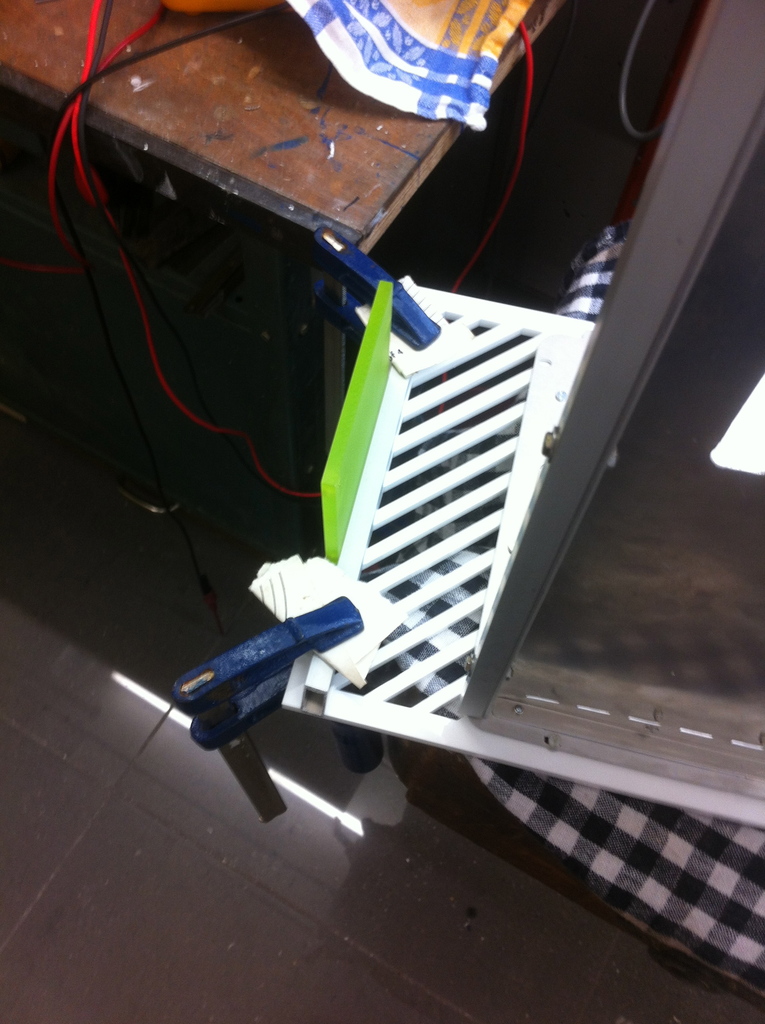
Same story for link. Using a 6mm sample to have the right distance.
Two more L-angles to fixate the trayholders.
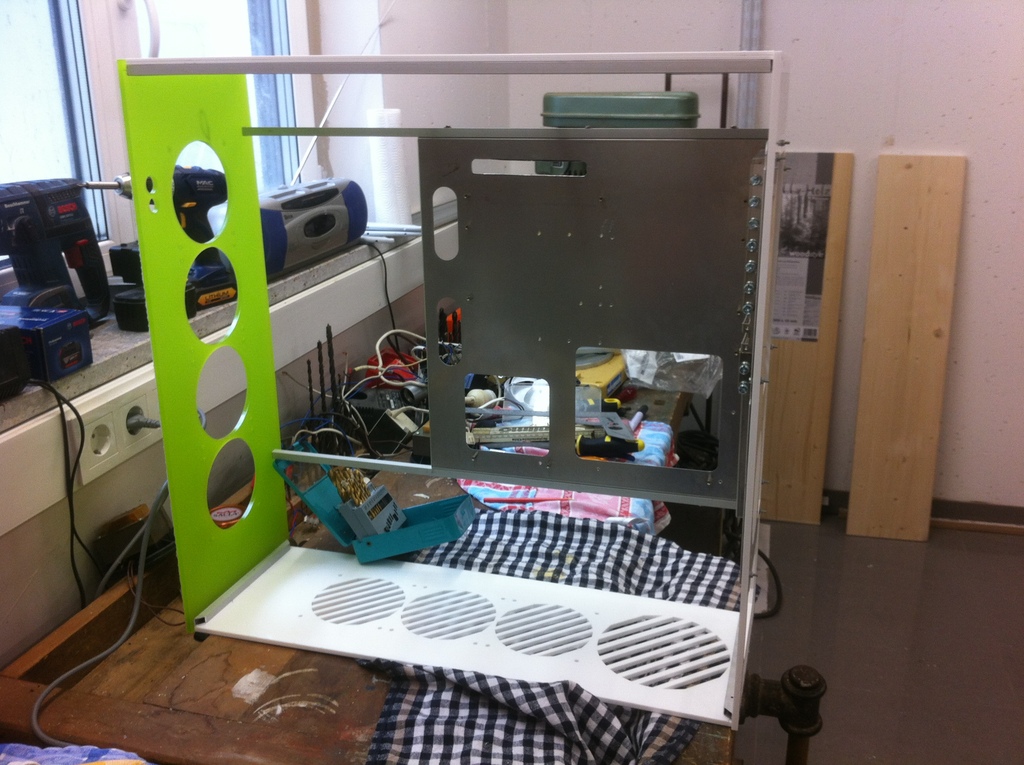
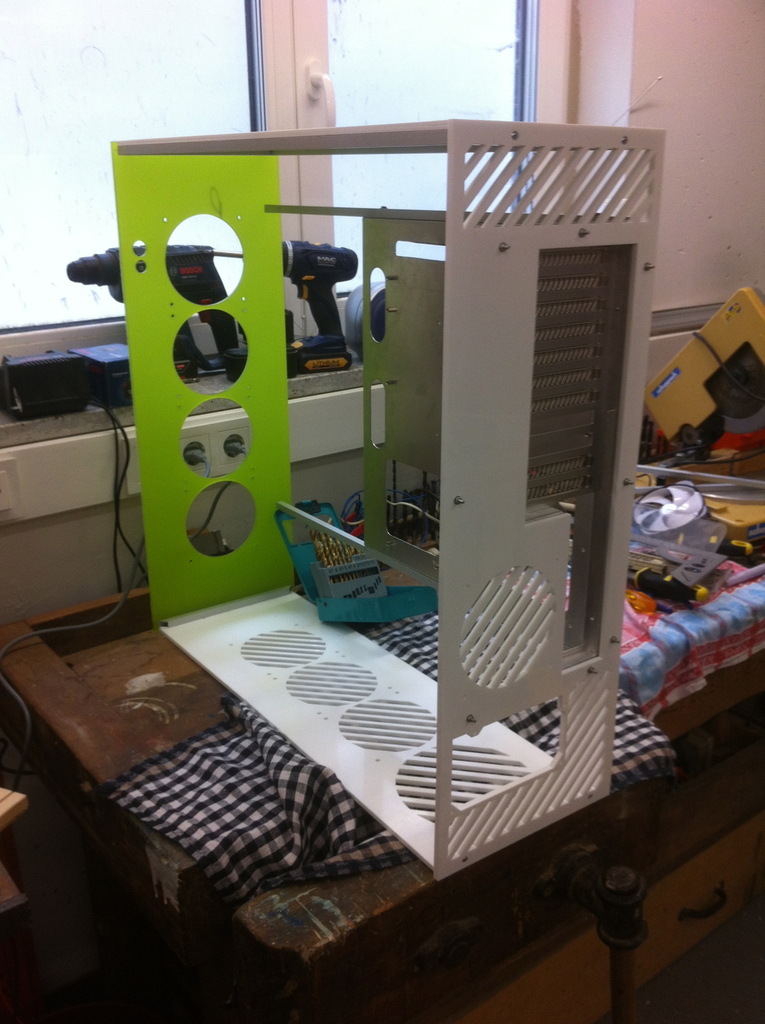
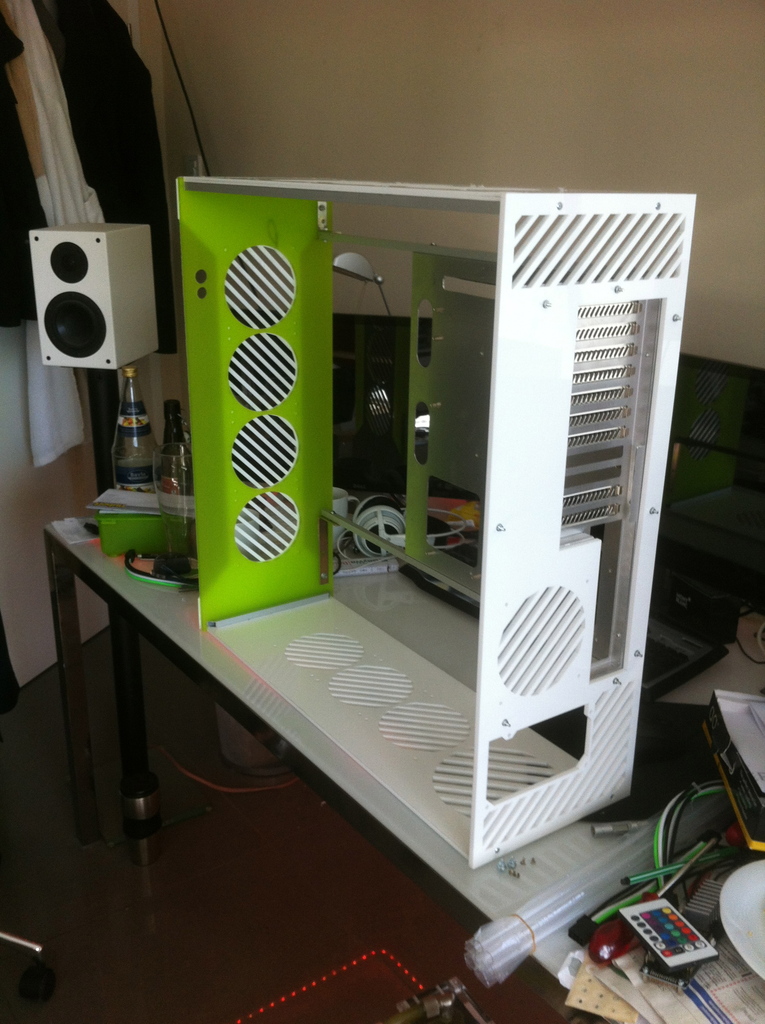
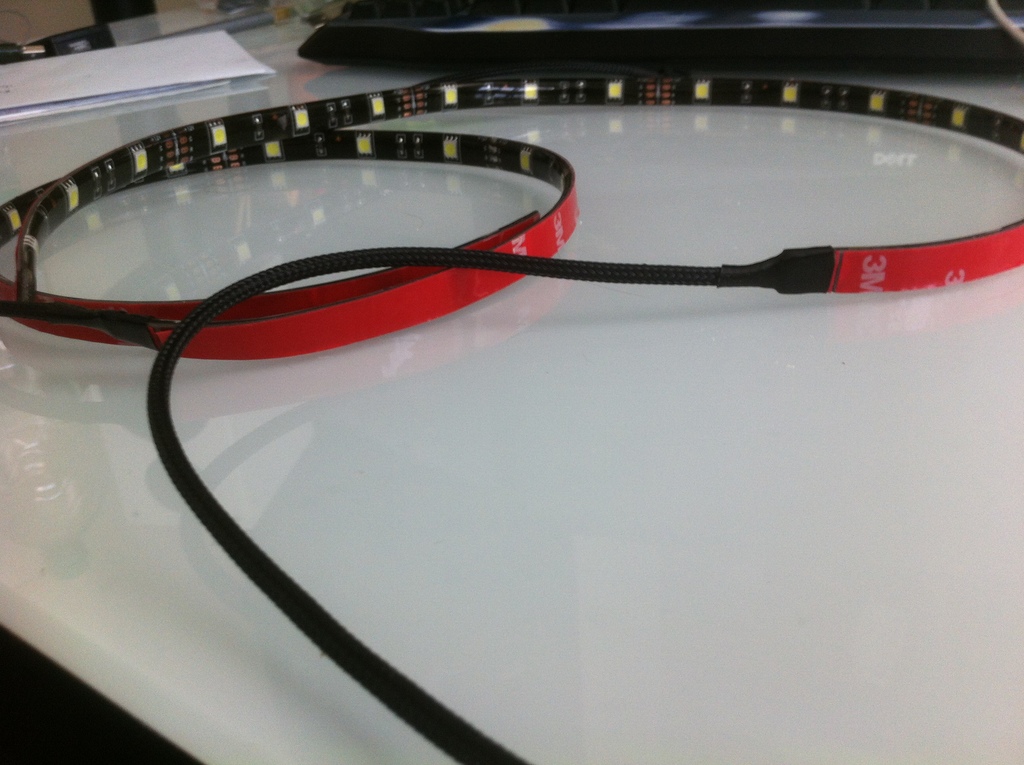
Meanwhile the first sleeves arrived, i think it will fit quite well.
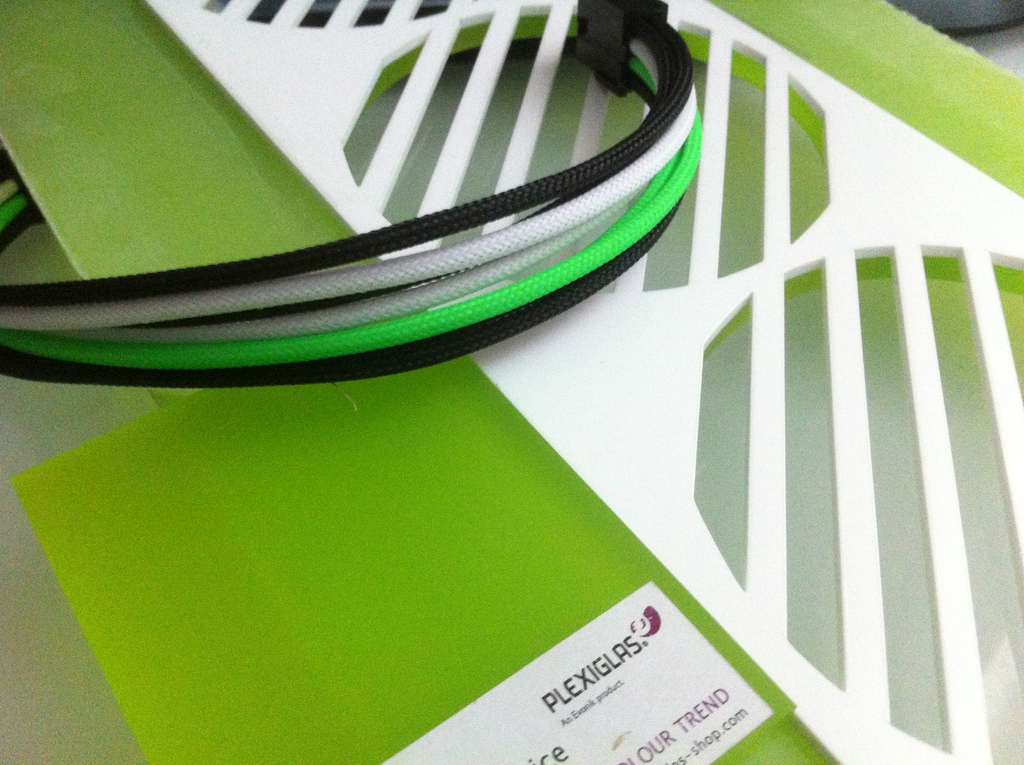
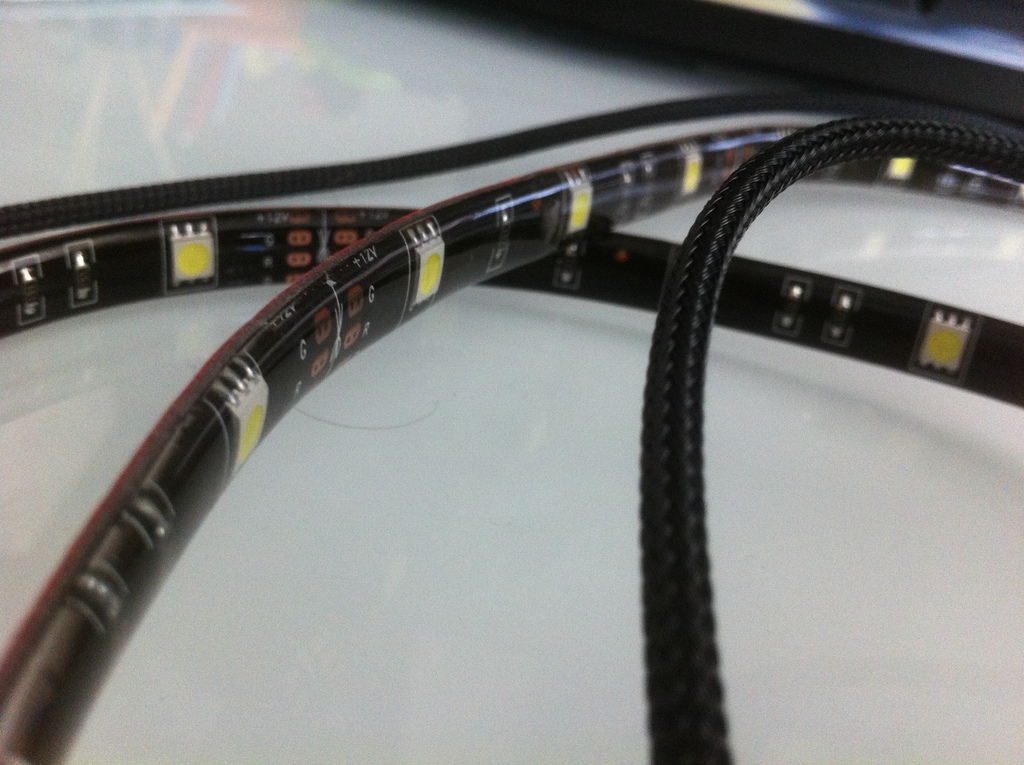
...and Mundis LEDs. Two 60 CM with 15 LEDs each for illumination top and bottom area.
And thats it for now. Will keep you guys updated...
Unfortunately i can post updates only once an hour, so the first impression will be available in 2 hours.
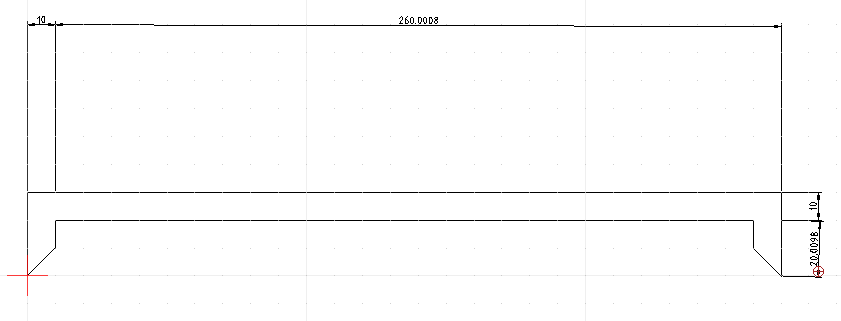
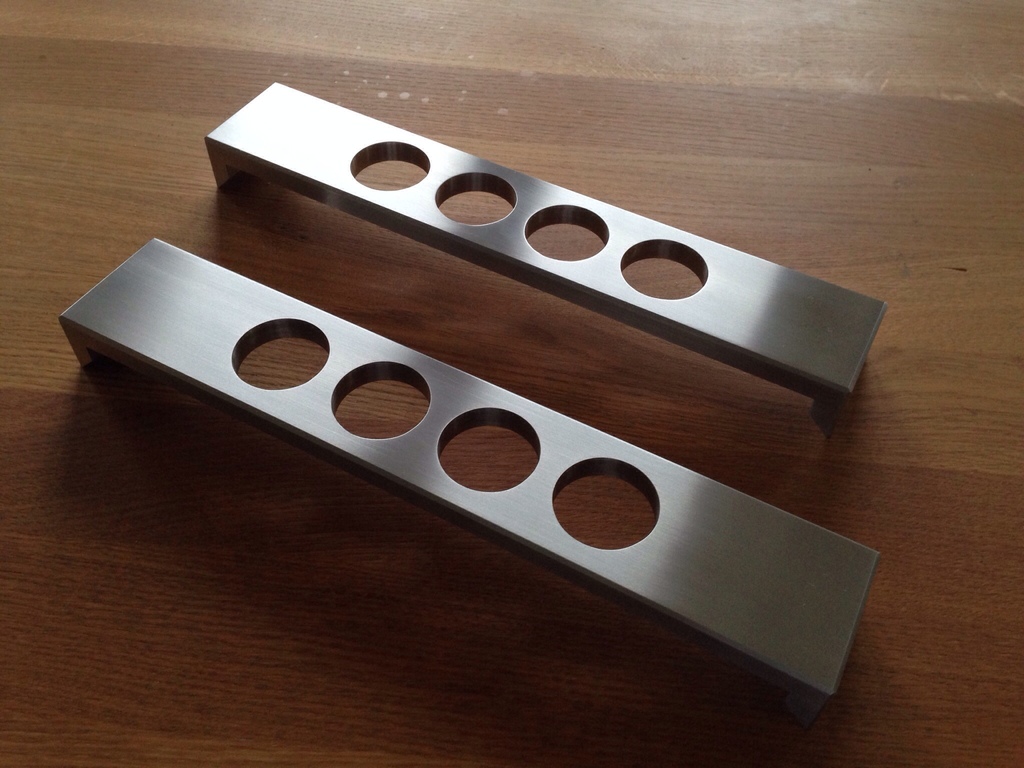
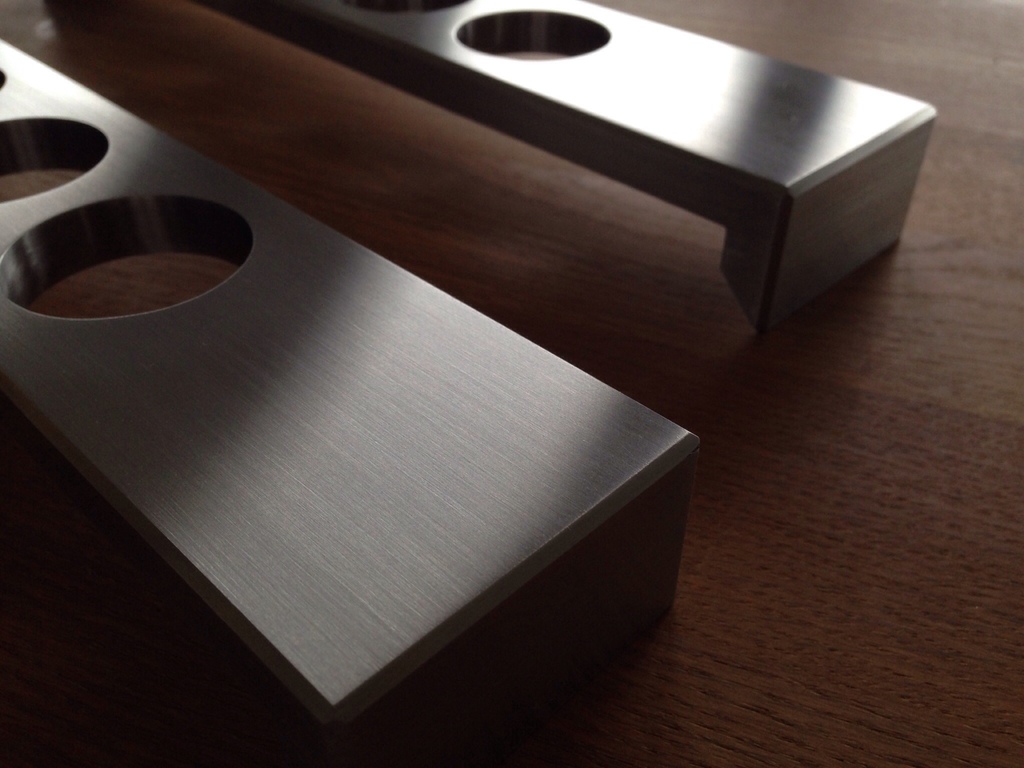
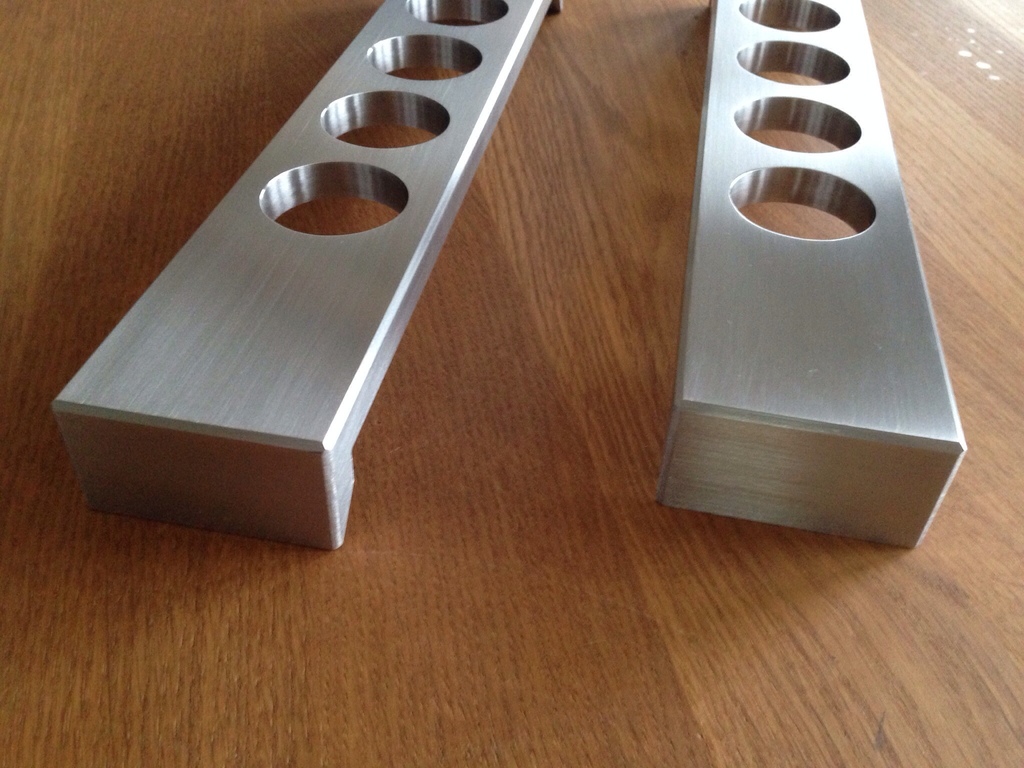
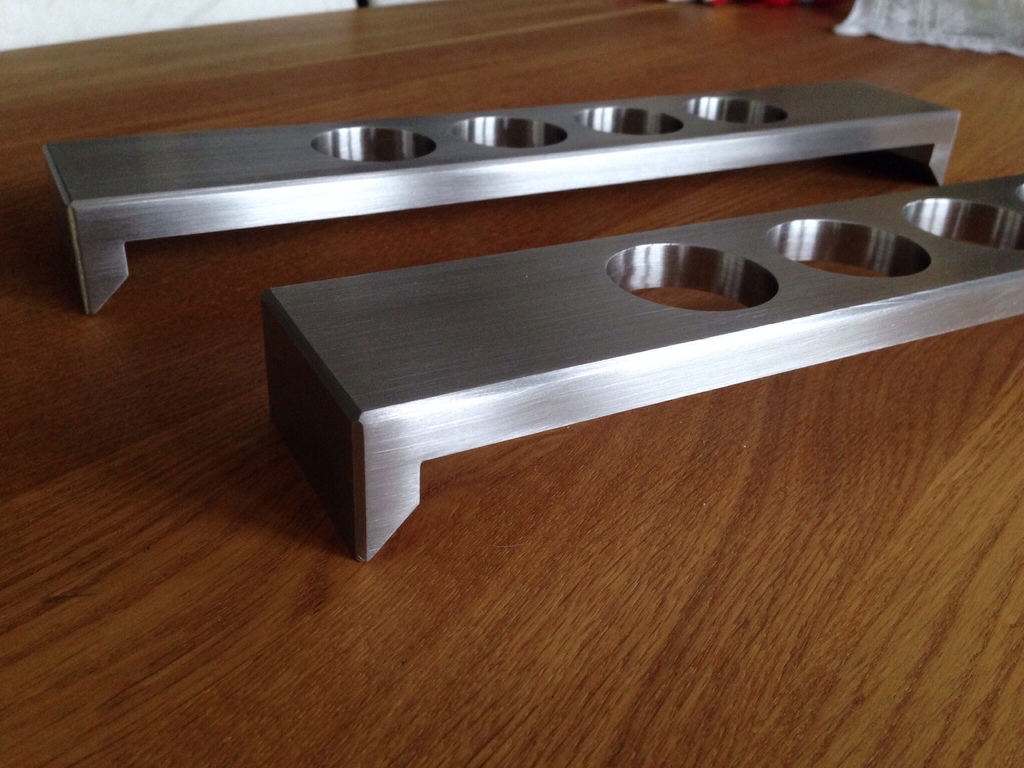
Update 1 : Casefeets
Stainless Steel Casefeets, beautiful. Thanks to Markus at this Point!
Update 2:
Acrylic Sidepanels.
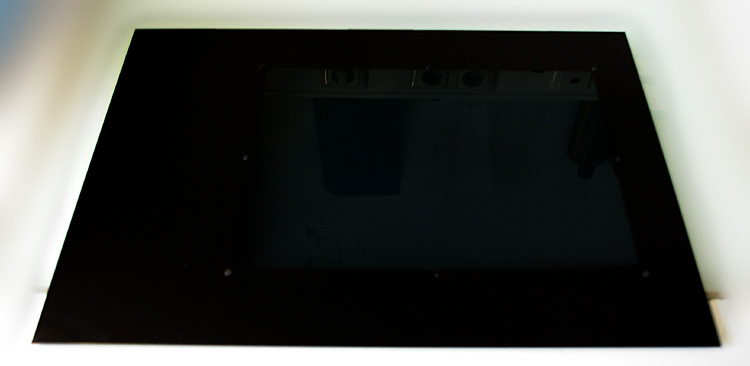
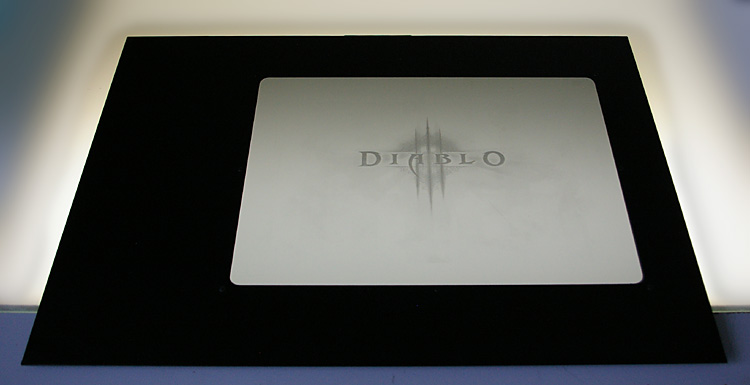
Used 6mm Smoked Glass with only 20 ± % Transmission. The case will be nearly looking black, if the PC is turned on, its getting transparent.
Have a look from another project...
Turned off:
Turned on:
As the pc looks like with the panels and feet:
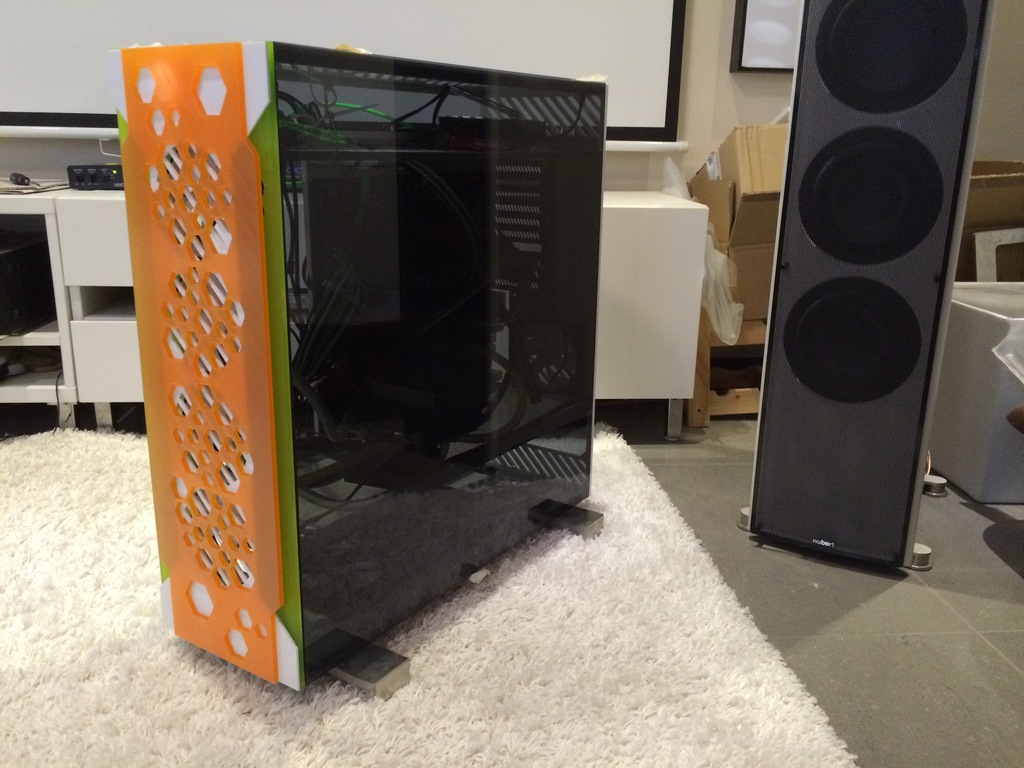

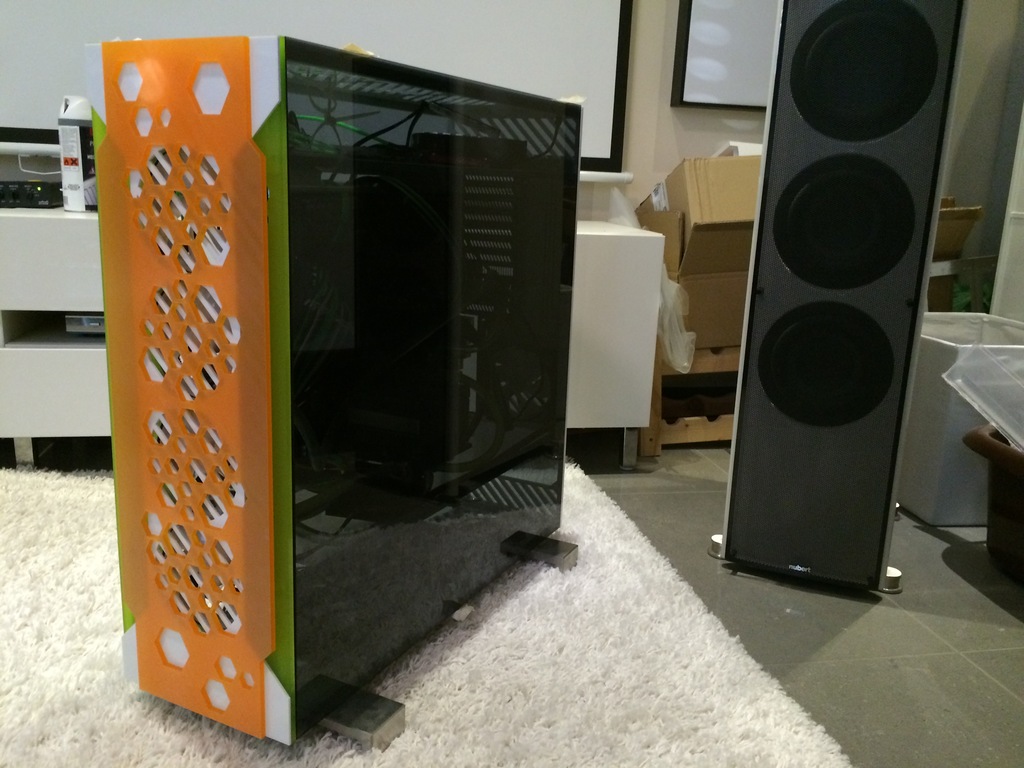
Update 3:
Since the exterior is nearly finished, besides from a way to fix the panels without any visible screws and the two vandal switches for power and reset(lol windows user), i continued on working on the interior.
First of all, i added other aluminium profiles that will hold the top- and midplate. Get yourself surprised when i finish the last one.
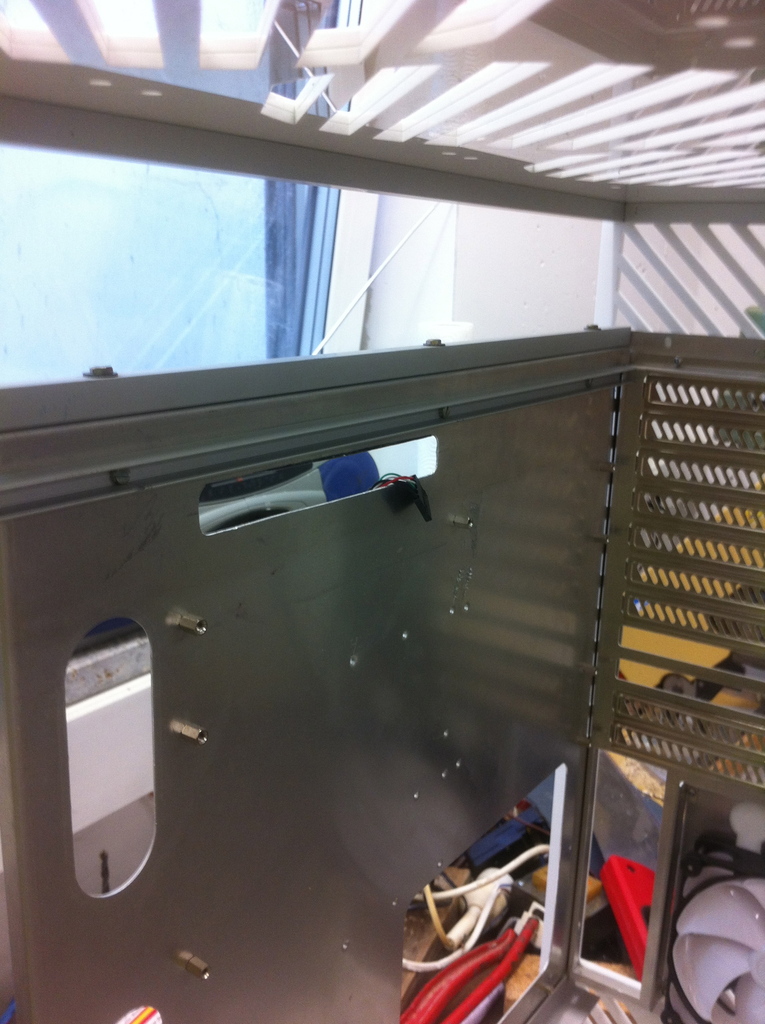
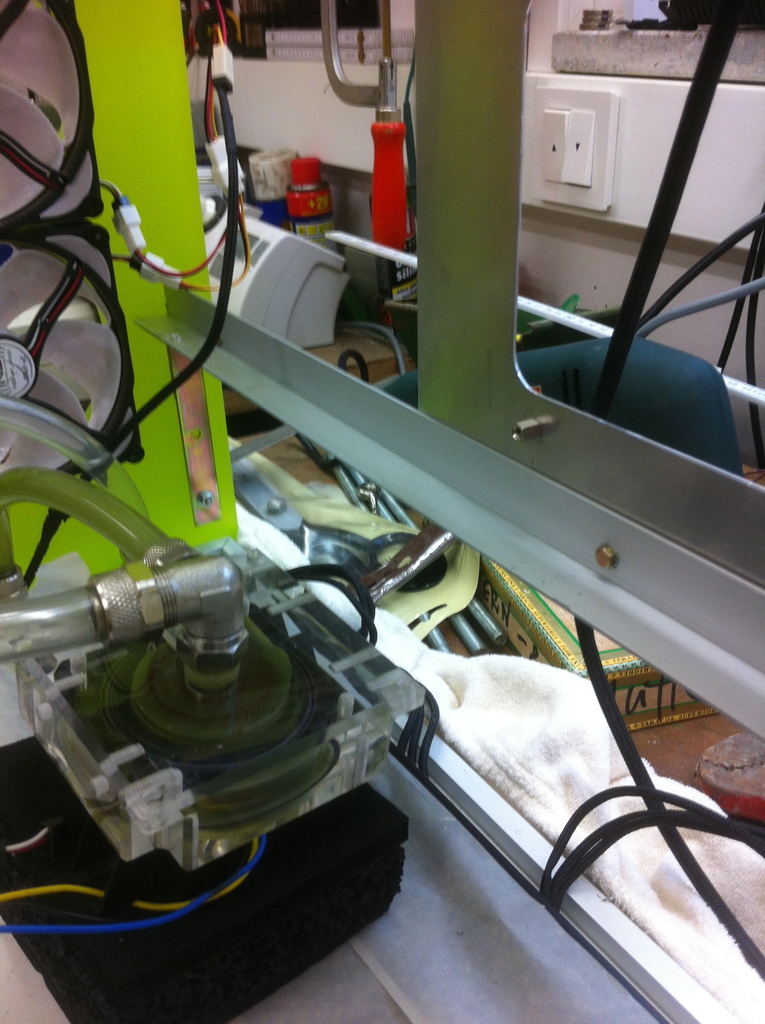
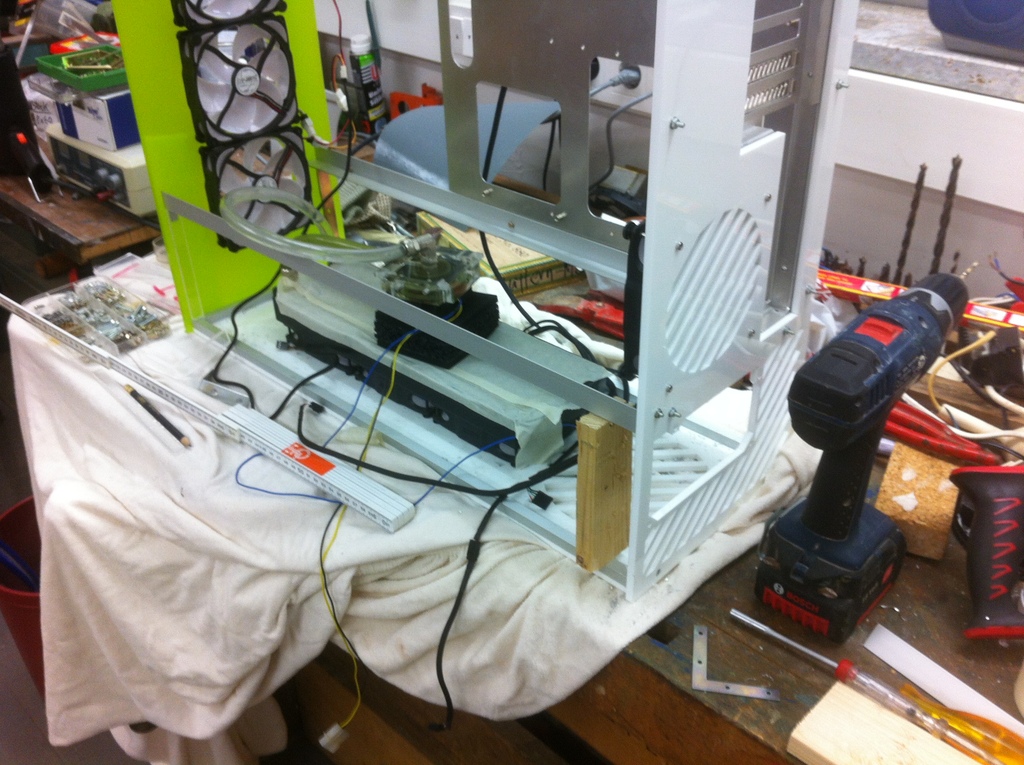
It was a bid tricky to fix the front profiles, since there should be no screws visible on the front panel either.
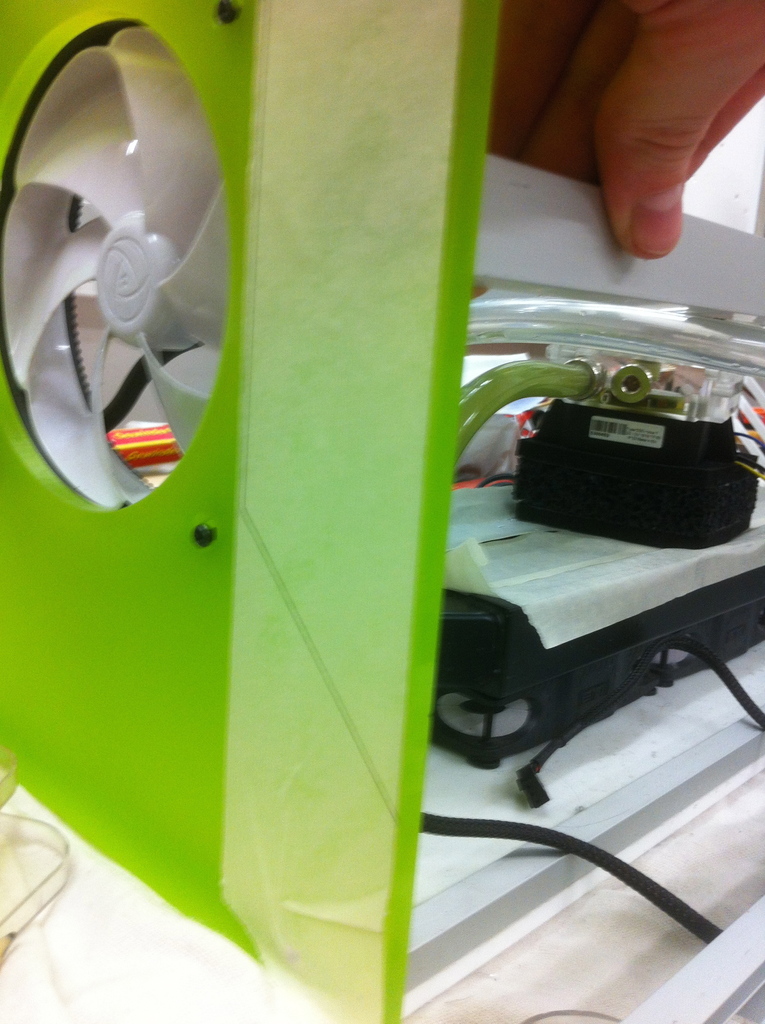
I decided to cut some transparent holders. They will be covered later, but meanwhile, it works without seeing a single screw.
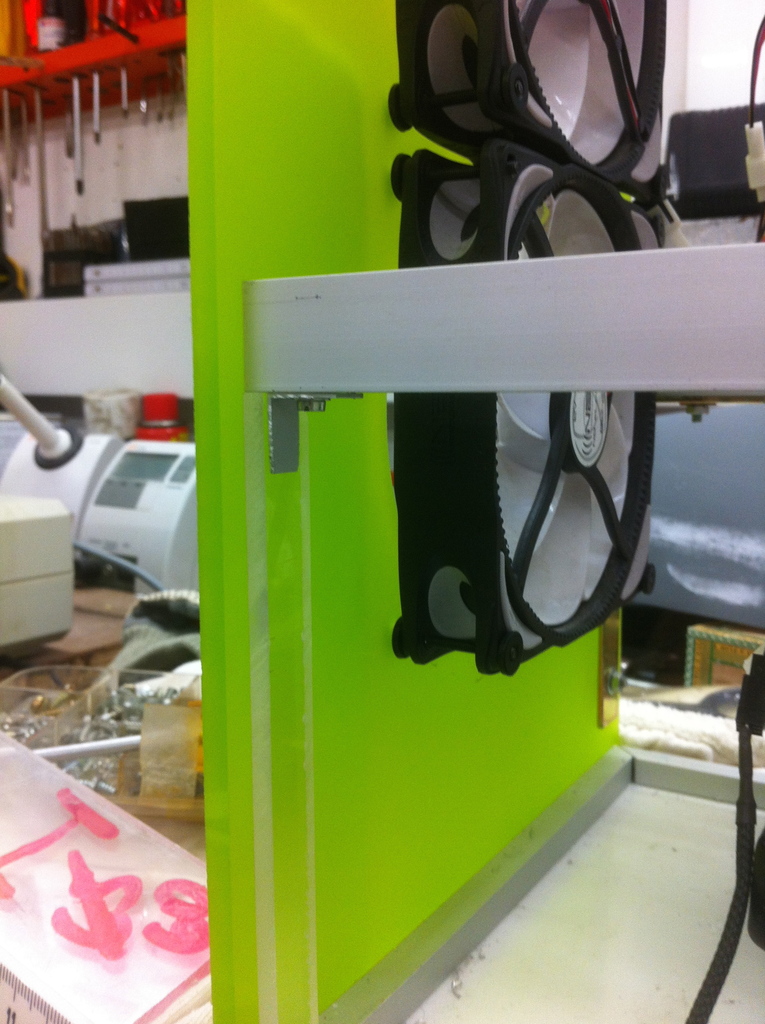
I cut some holders for the "rear mount" out of a 15 mm profile. They wont be visible later the build either.
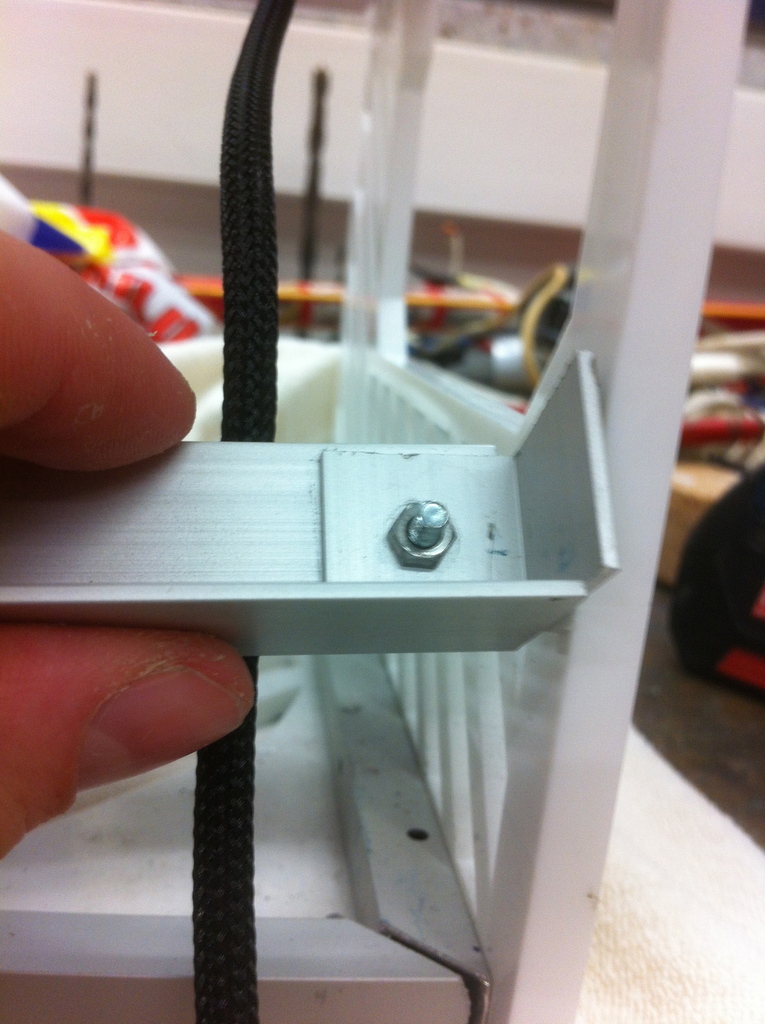
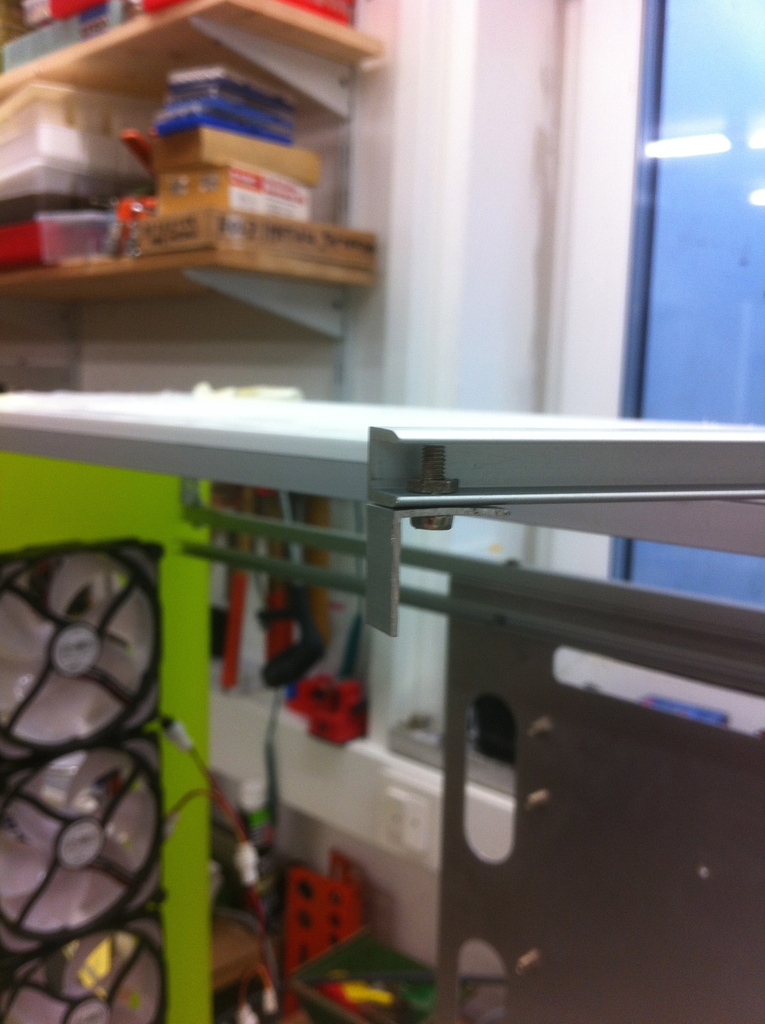
Ive cutted the topplate, out of 5 mm clear acrylic...
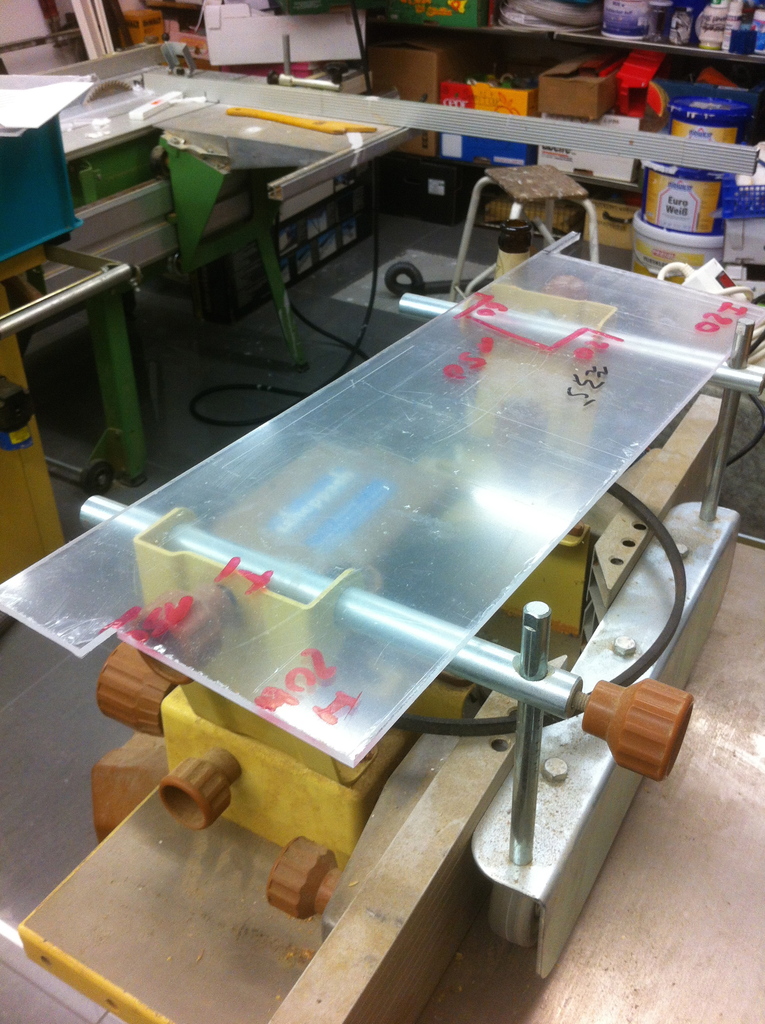
and started to give it a little try on painting an offcut.
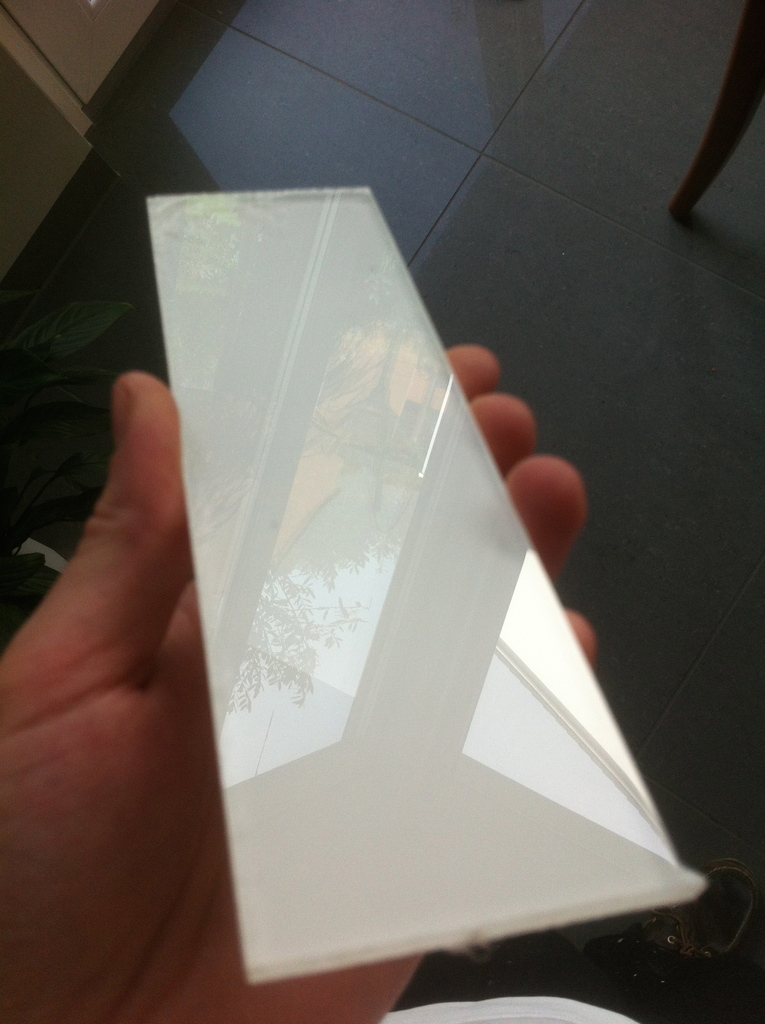
Its white plastic paint, getting very glossy and adding a lot of depth if you paint the acrylic from the backside.
When being sure that the paint doesnt suck, ive painted my topplate too.
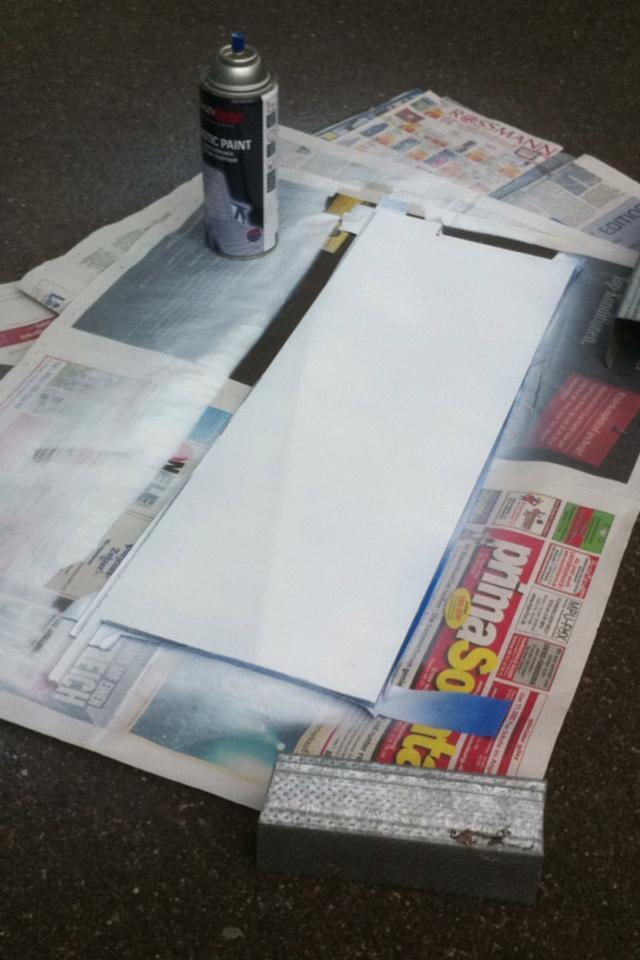
and the same awesome effect...
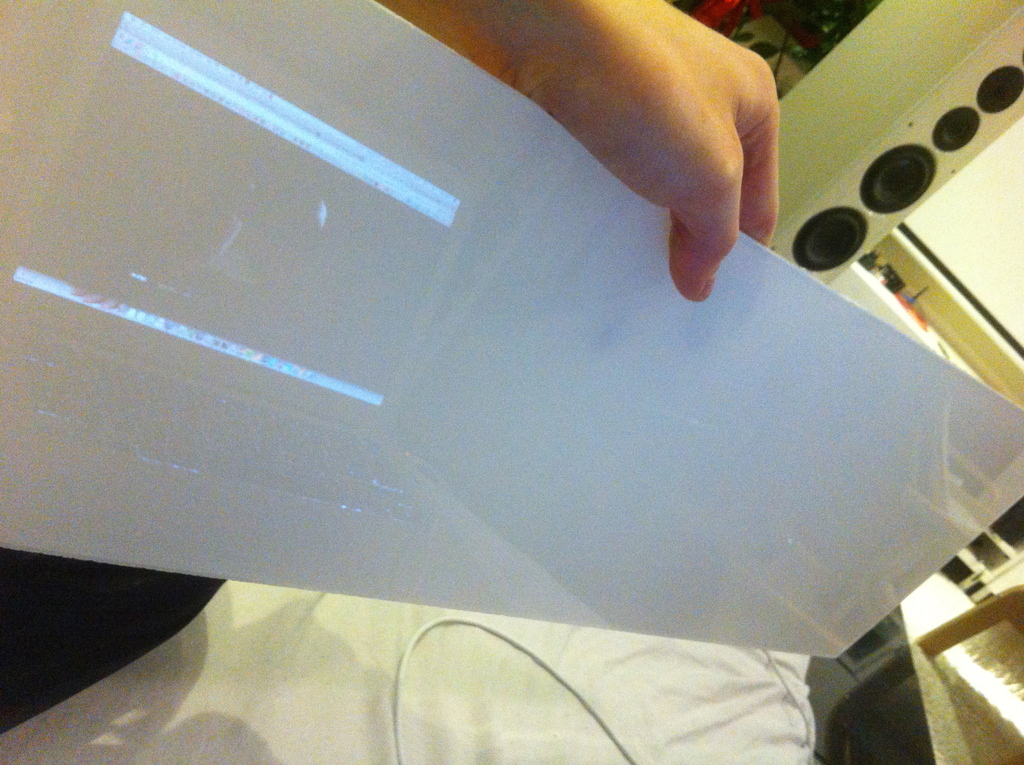
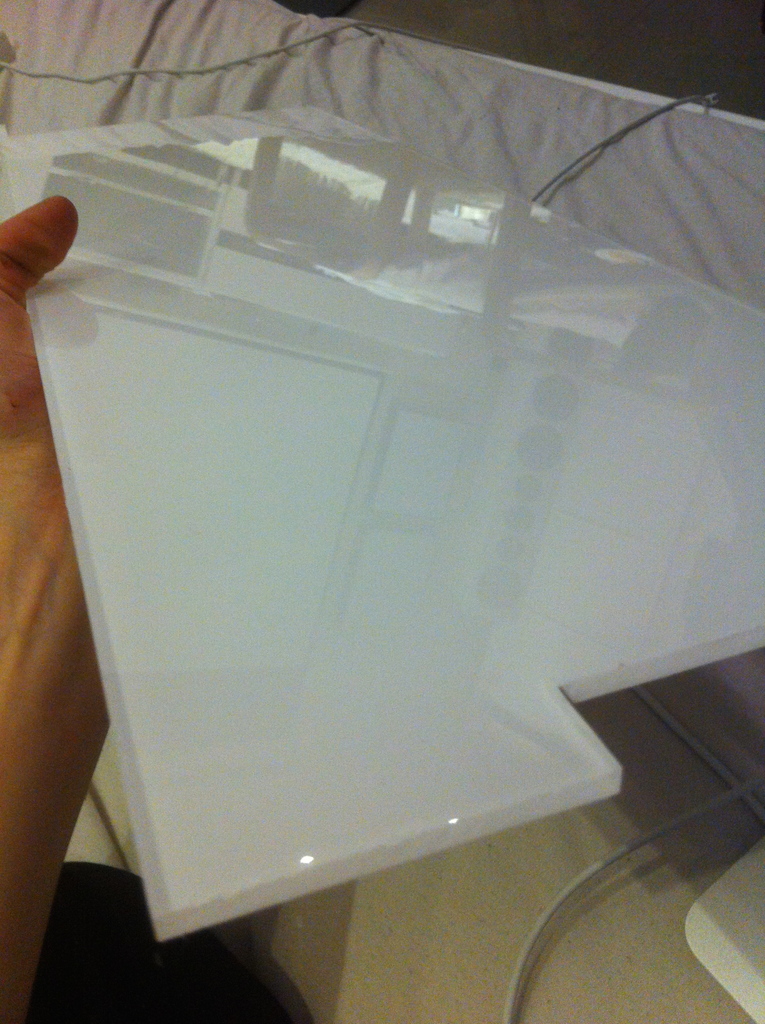
Pictures cant describe how shiny it is, its literally like a mirror.
Added a Moddingstylez and Bitspower Decal too. I have a lot of space on the topplate, since its mainly used for seperating the radiators and providing some space to SSDs and my Aqauero.
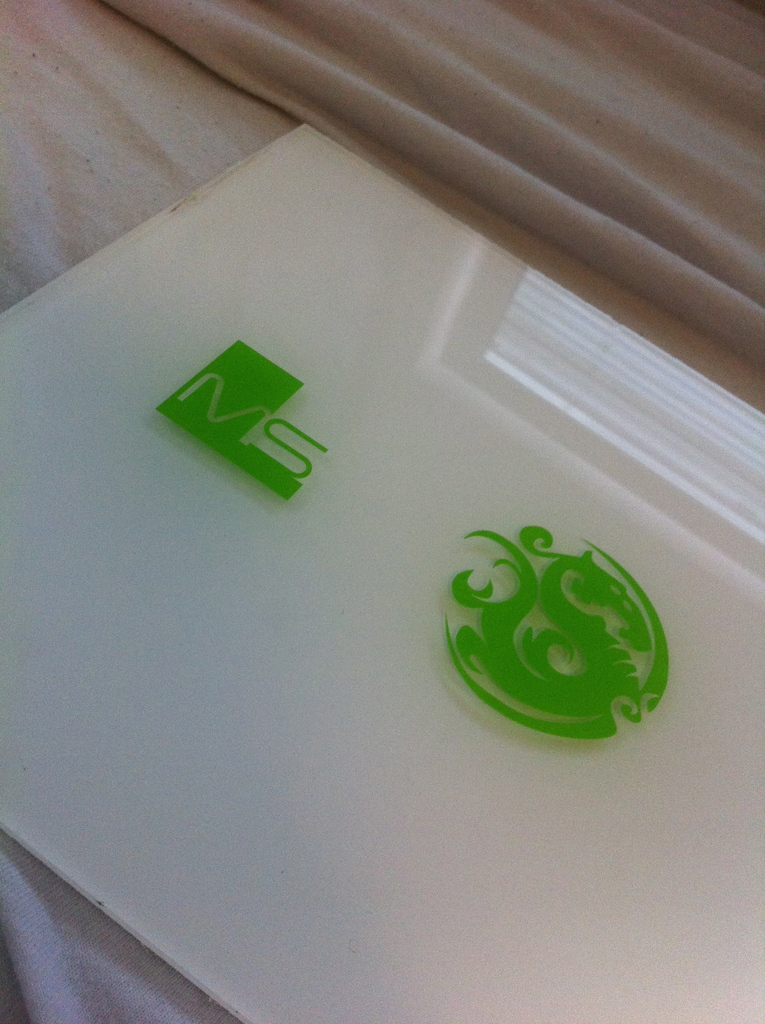
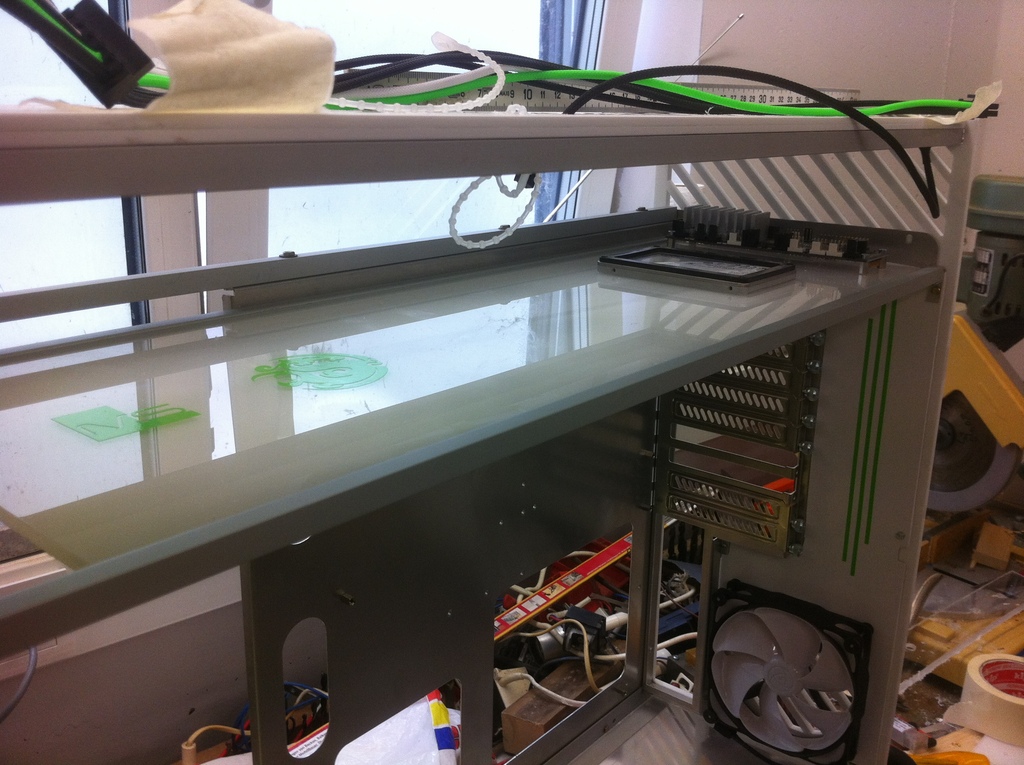
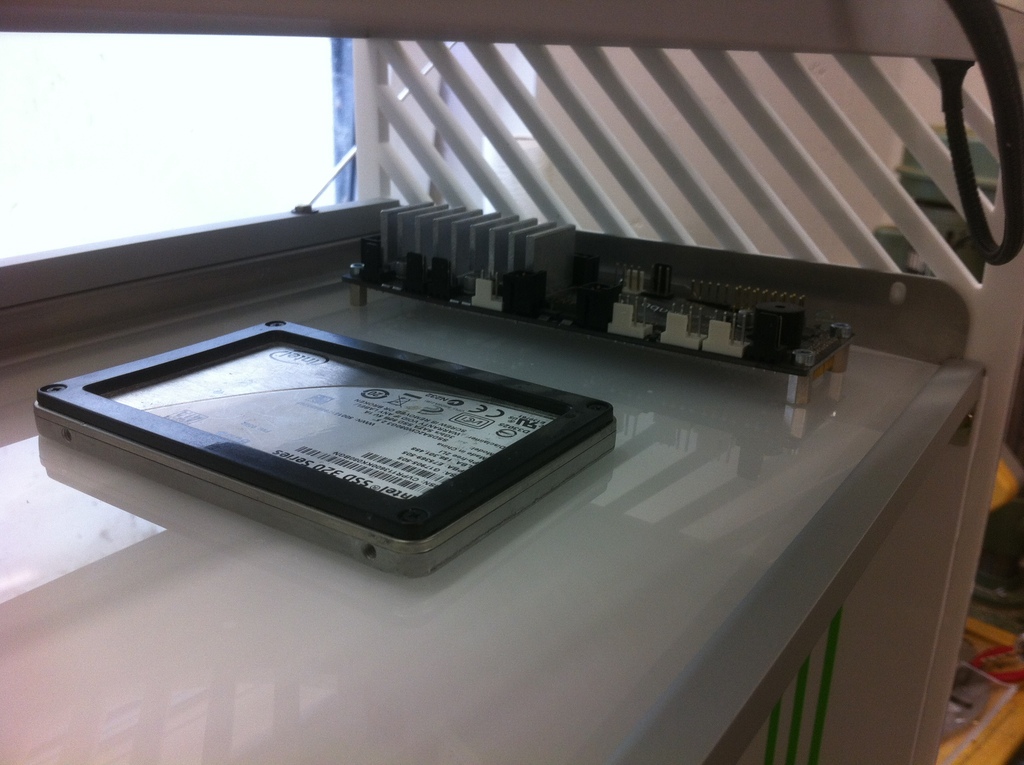
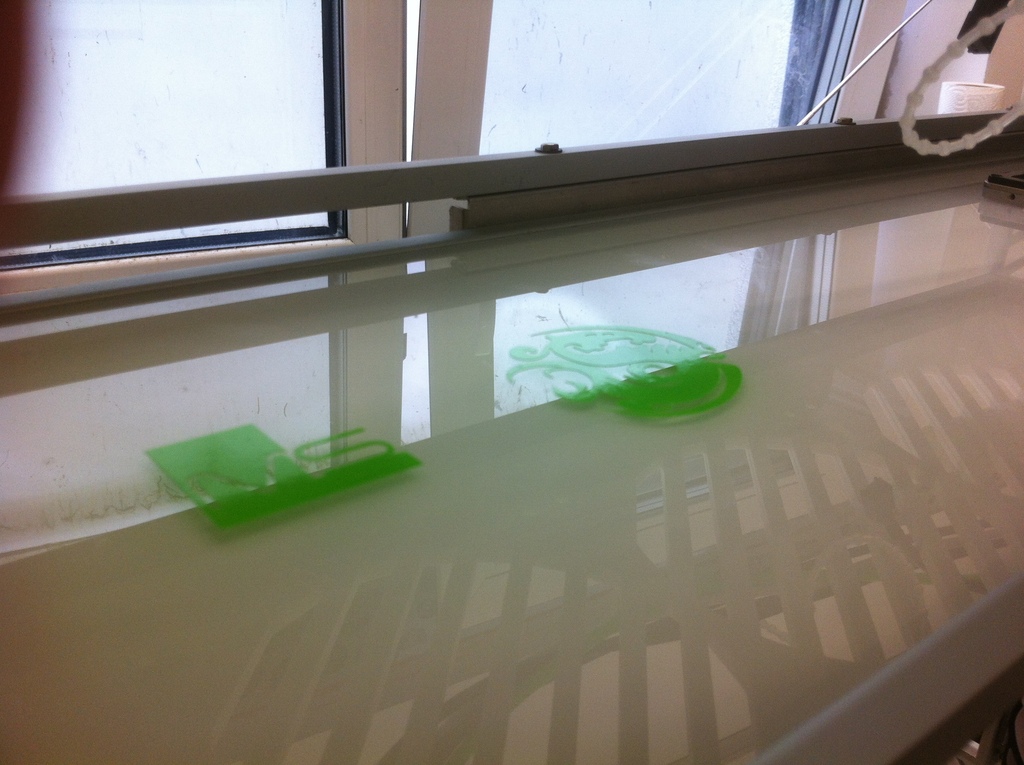
Interesting is, that those decals throw a shadow on its own. Looks great imho.
I also used D-C-Fix film to get the motherboard tray white. At this point, i dont know if i want to paint it, not even the color of choice, neither the adornments i want to use. It might be temporary.
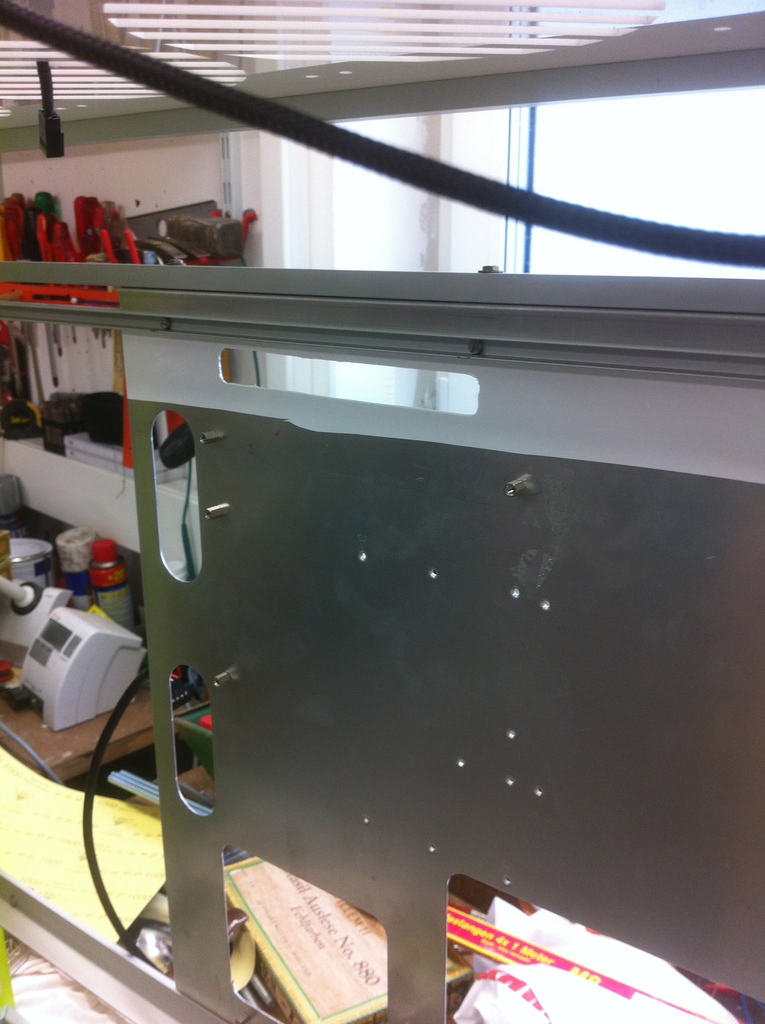
Remember the Board is huge, you dont need to cover more than that

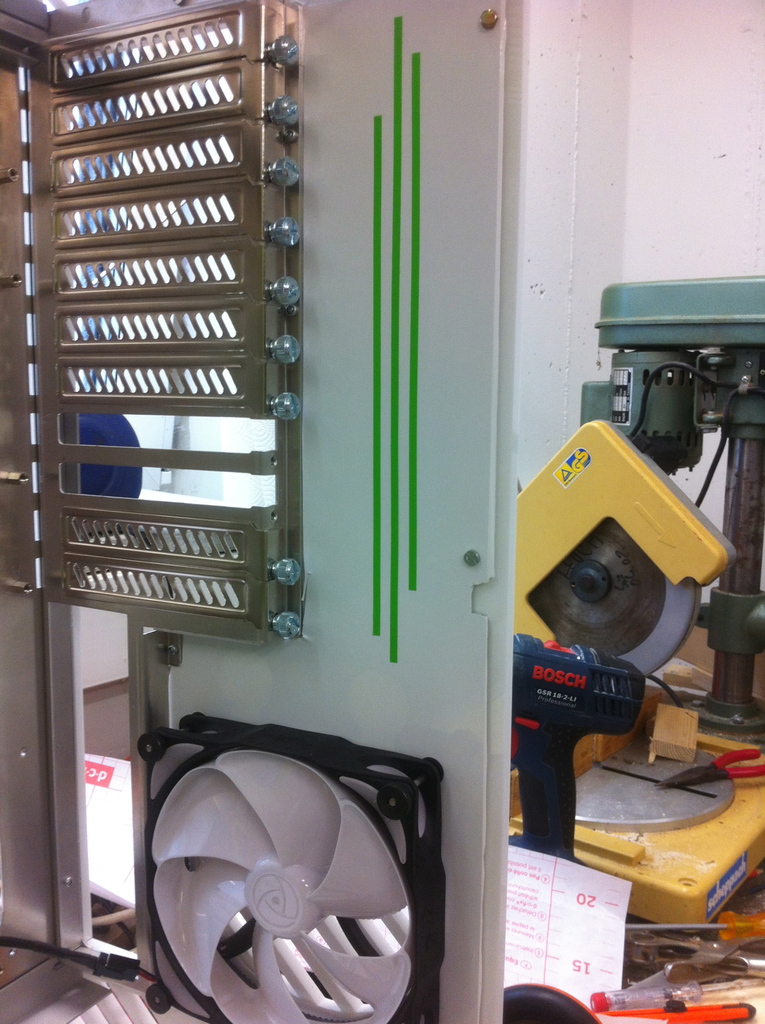
Ill probably change those stripes to anything else later, but i don't know yet, what it will be.
Zuletzt bearbeitet:


