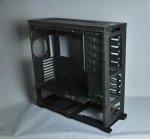
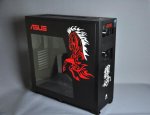
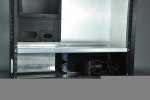
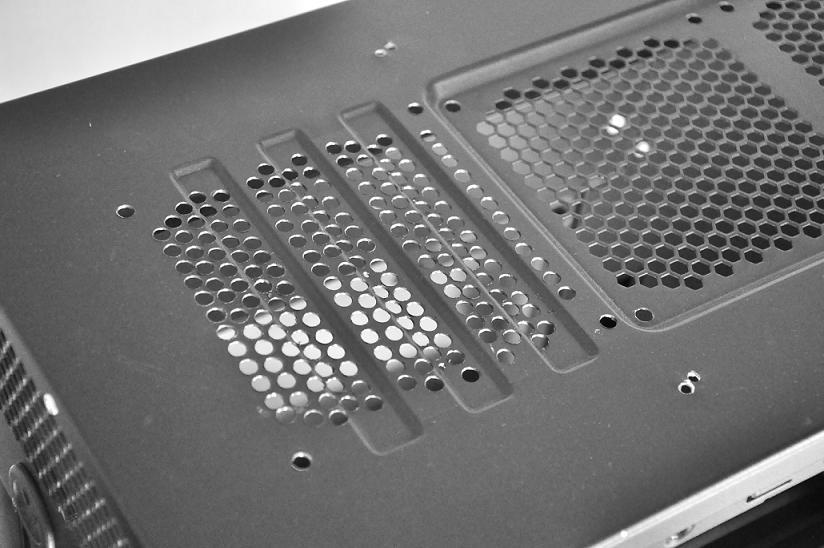
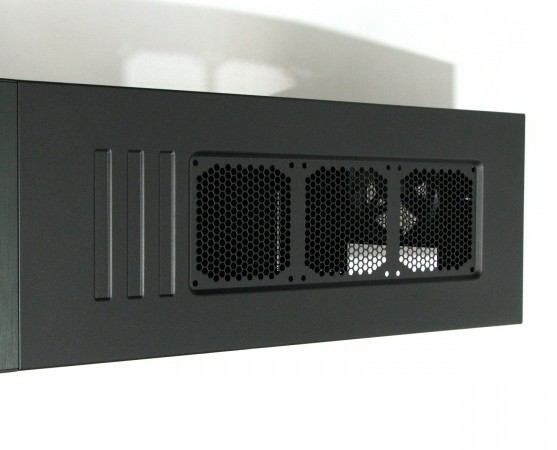
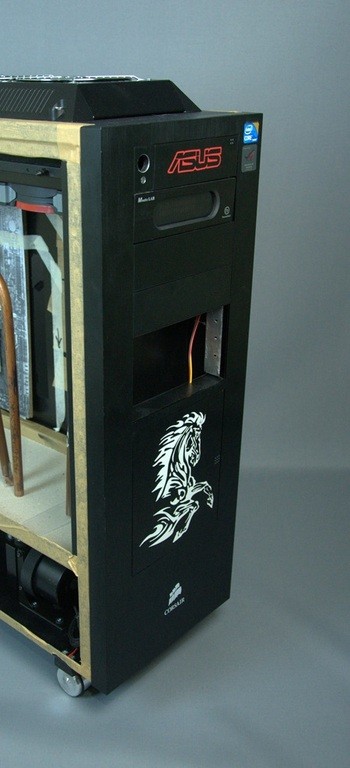
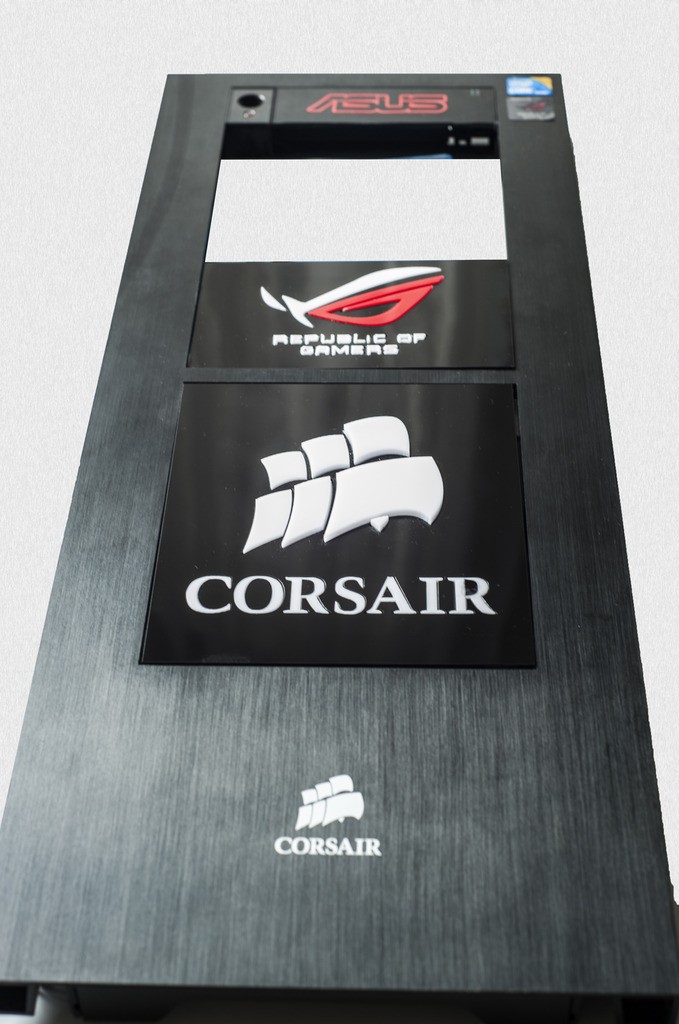
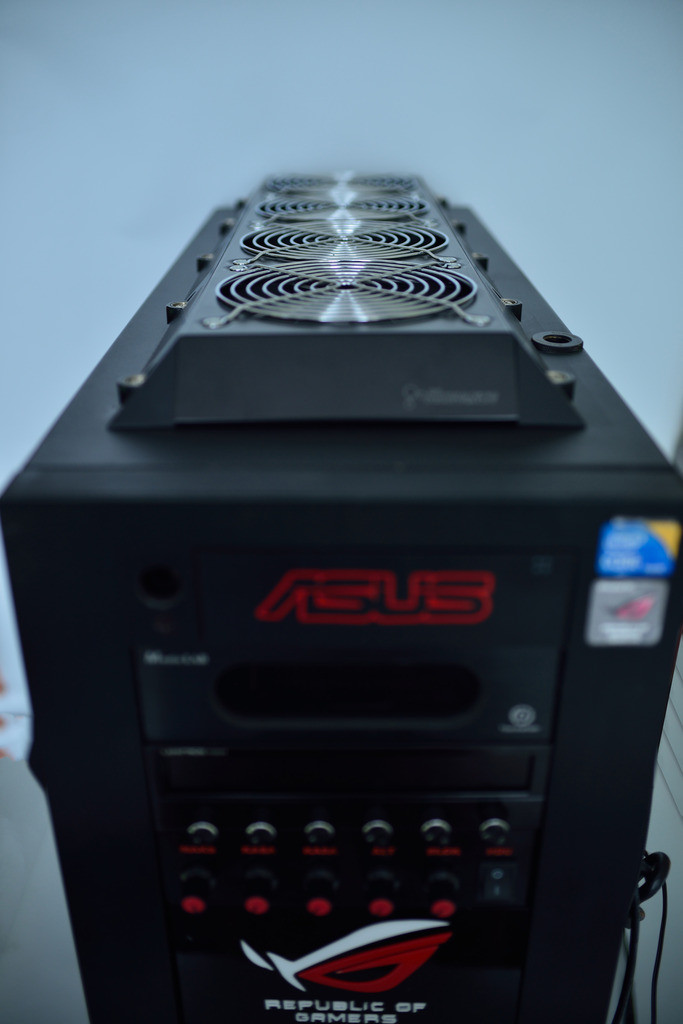
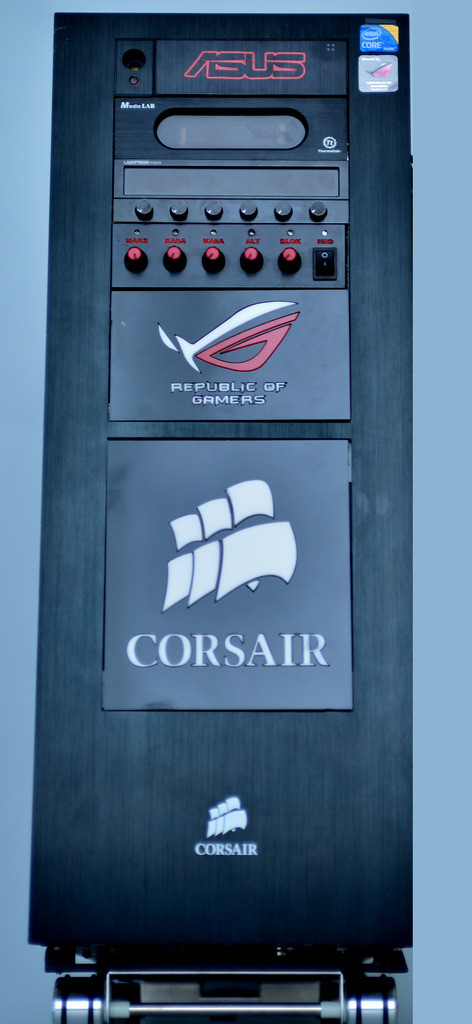
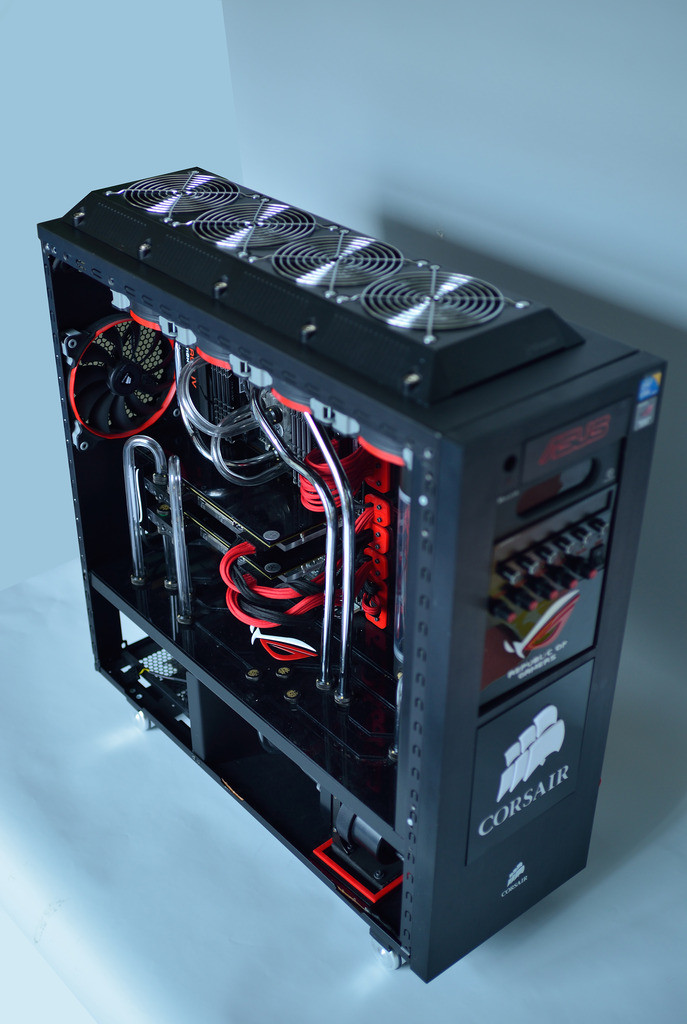
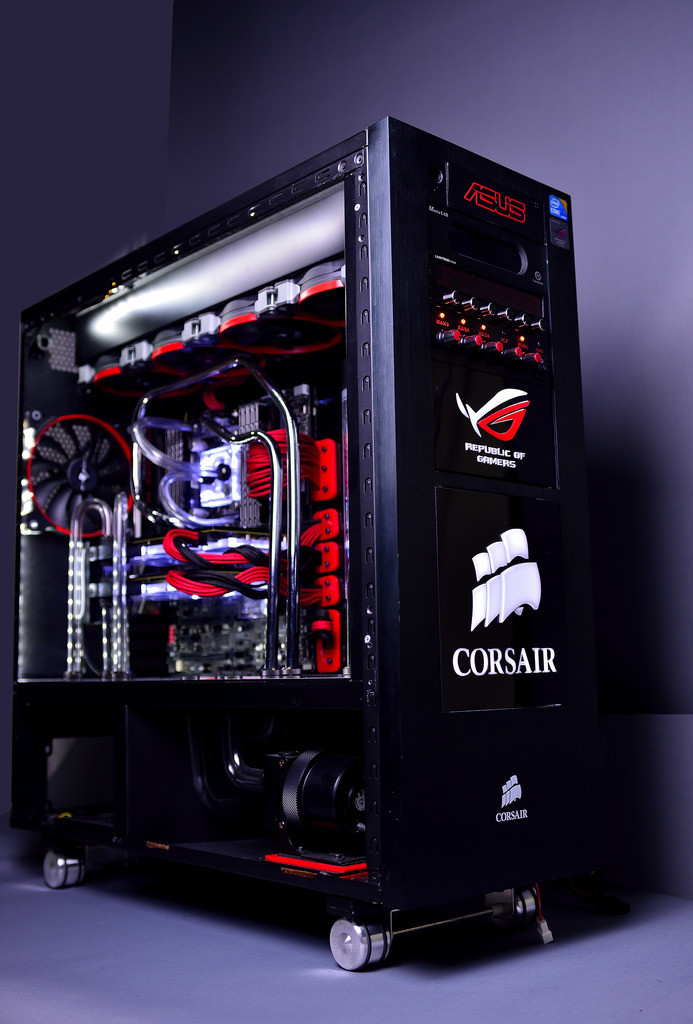
new case is an old friend CORSAİR 800D.
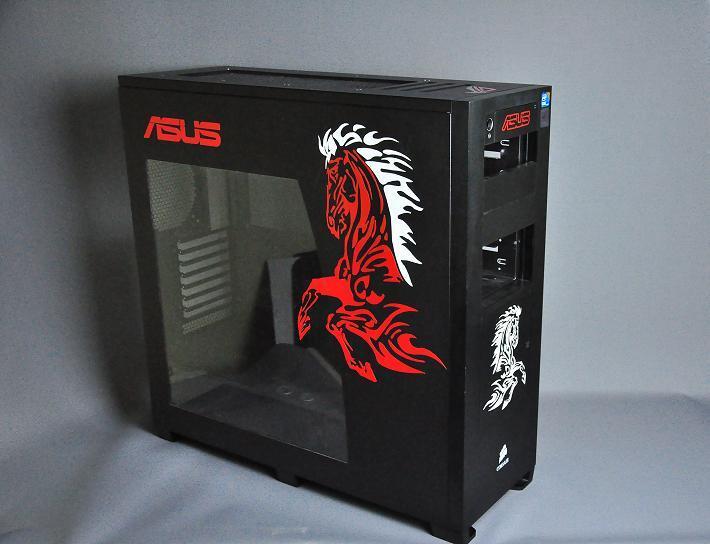
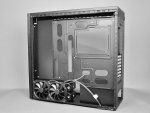
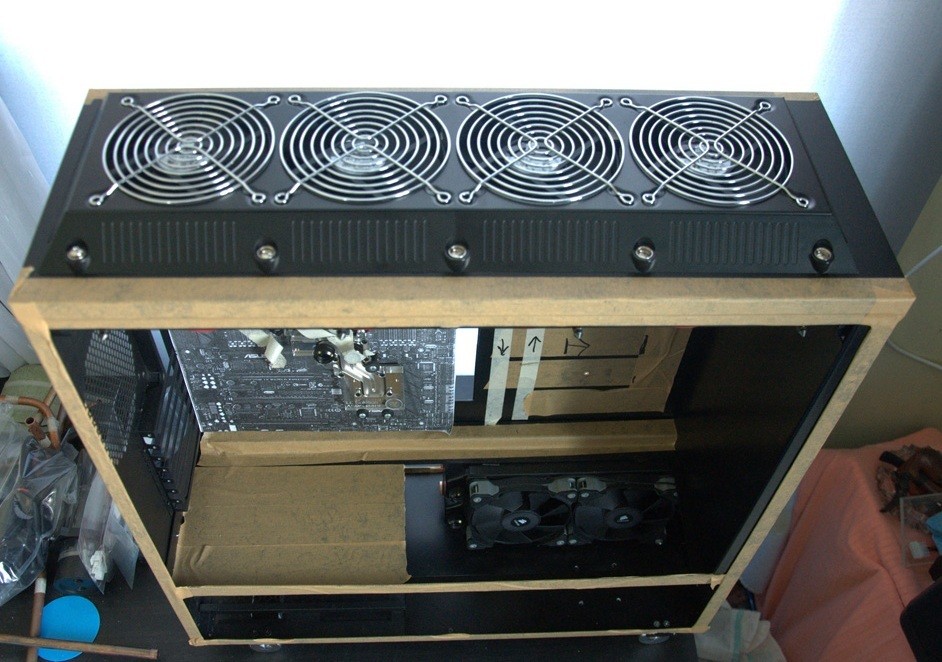
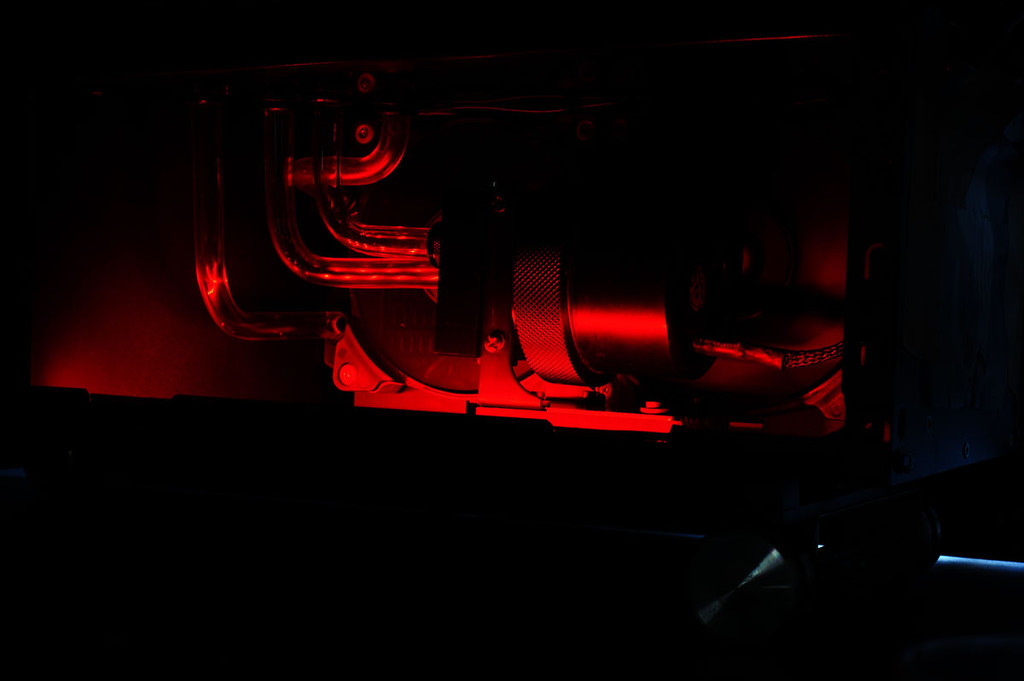
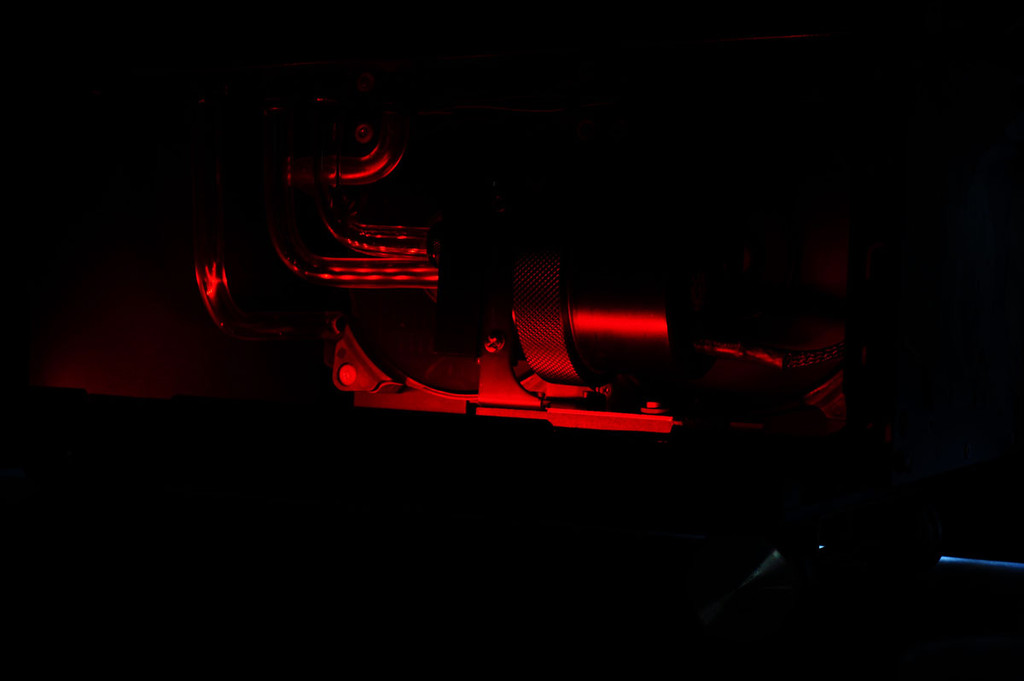
The original case

What I want to achieve are:
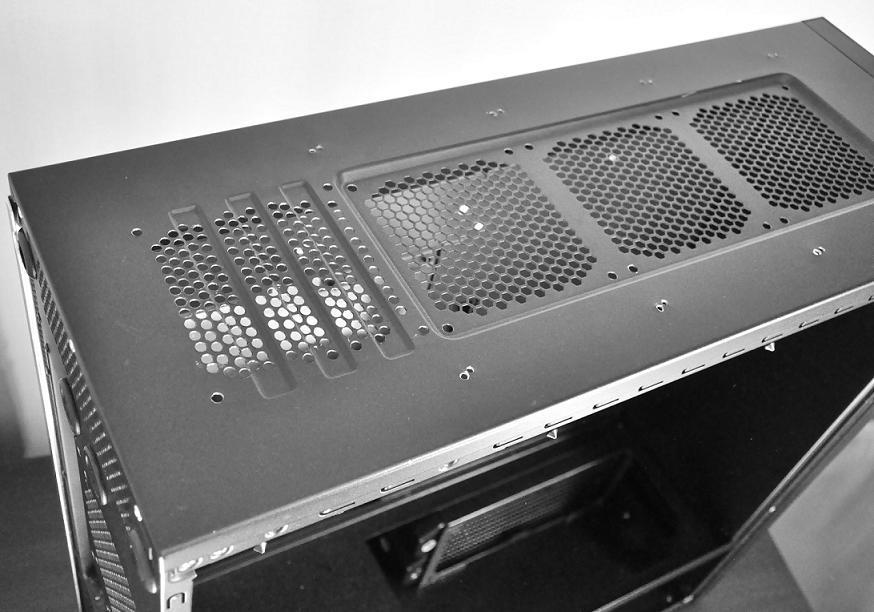
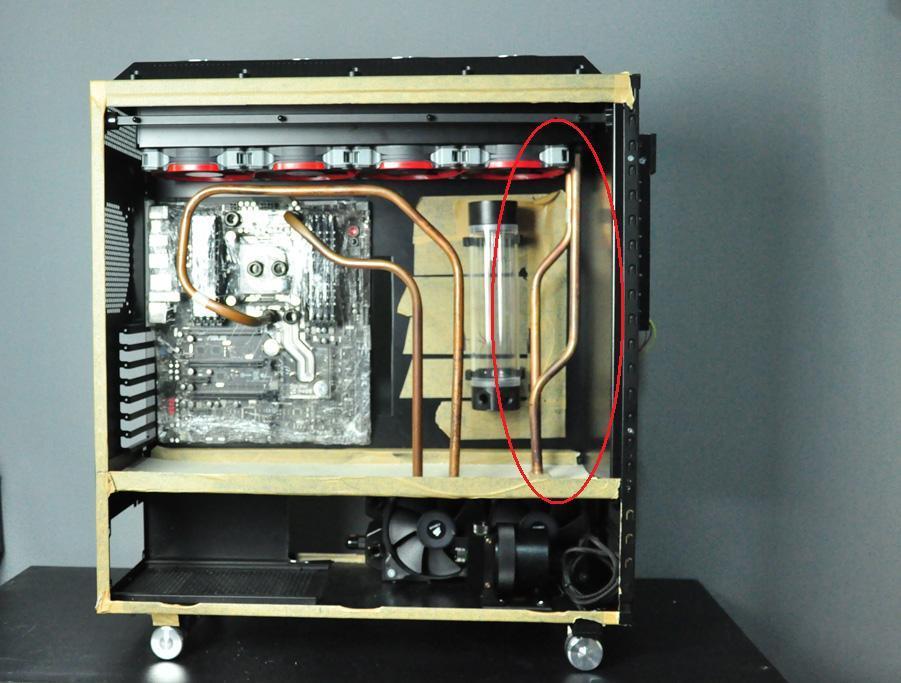
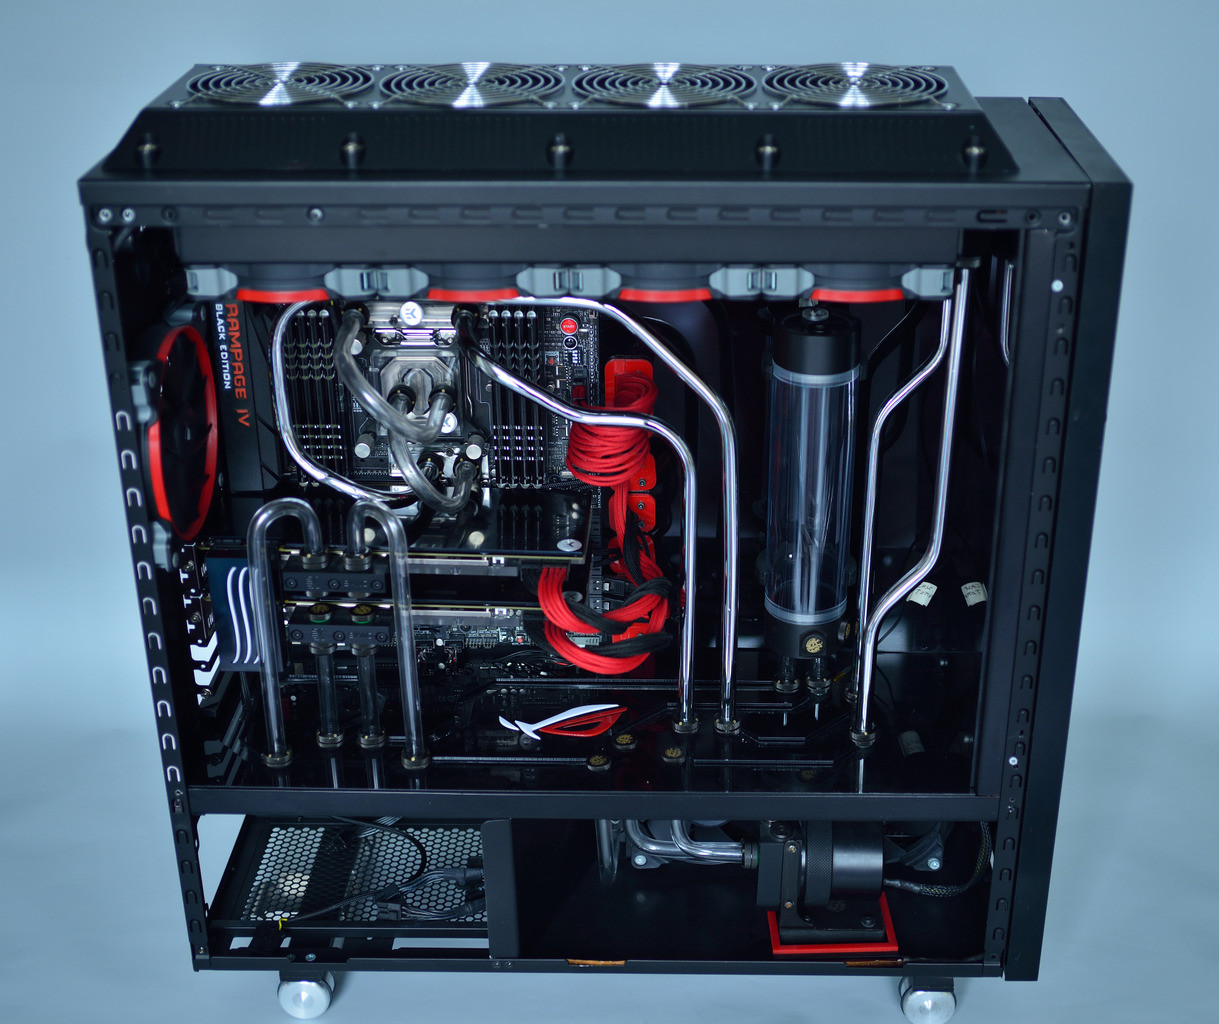
To modify 800D case
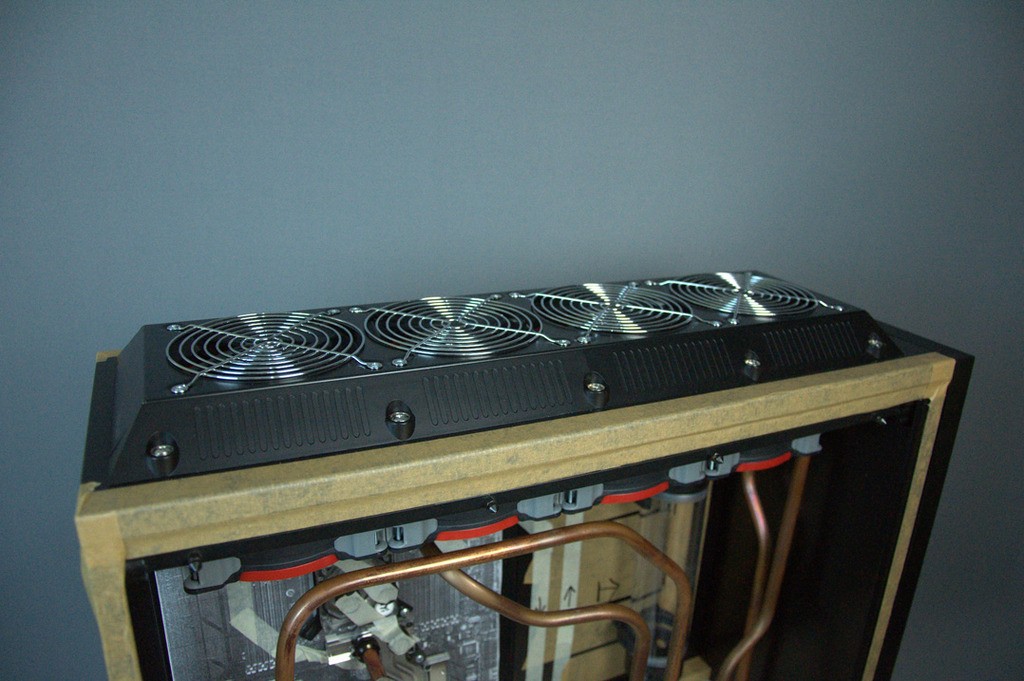
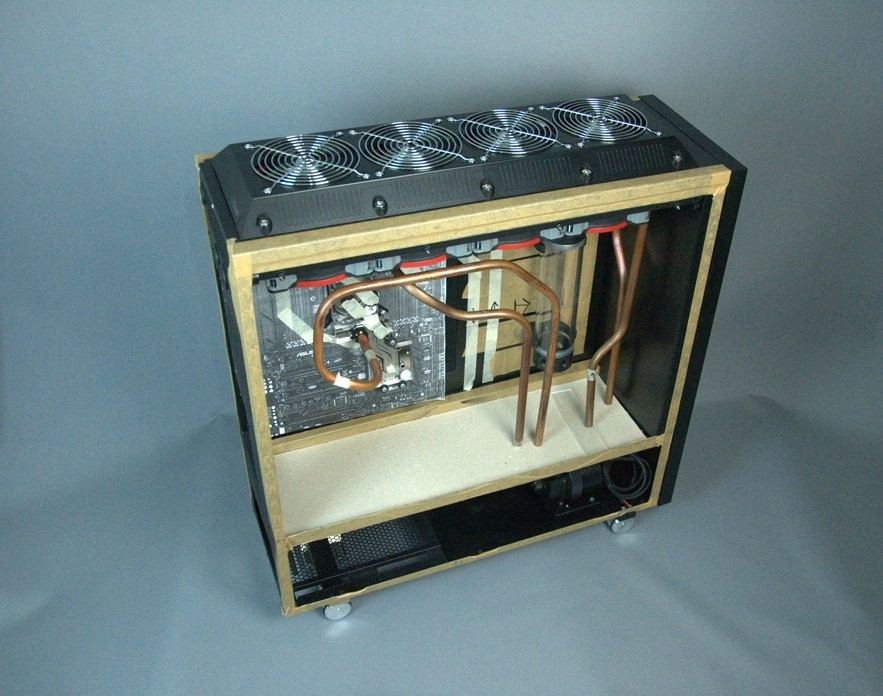
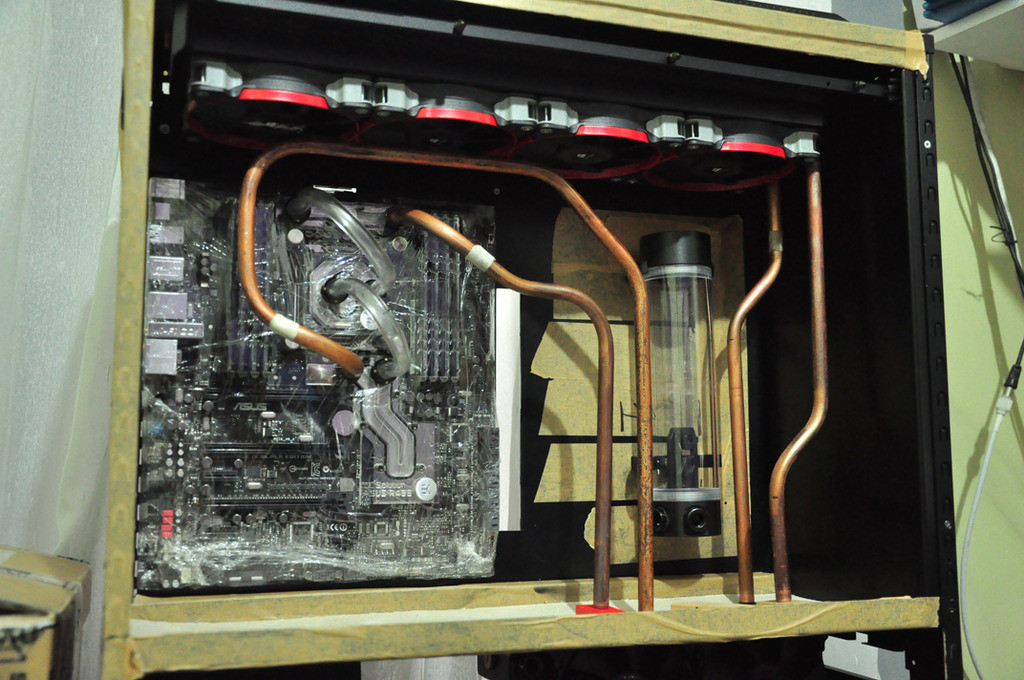
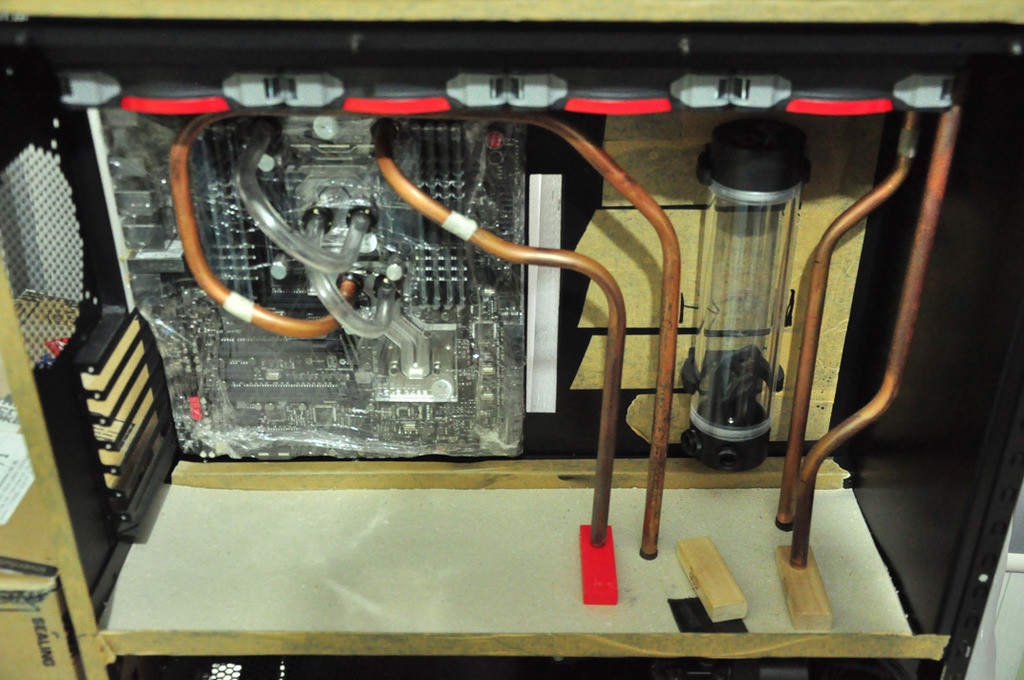
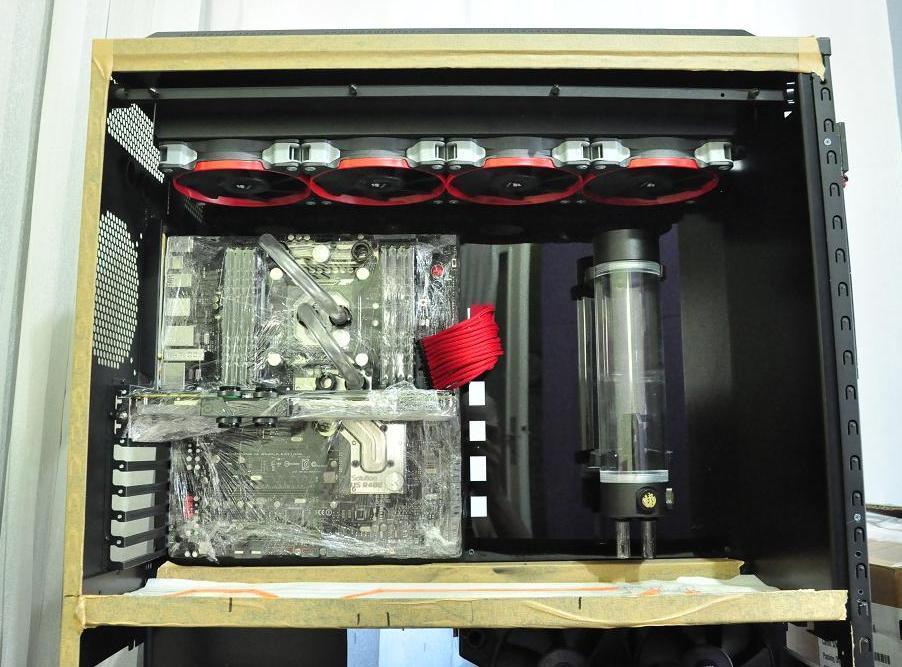
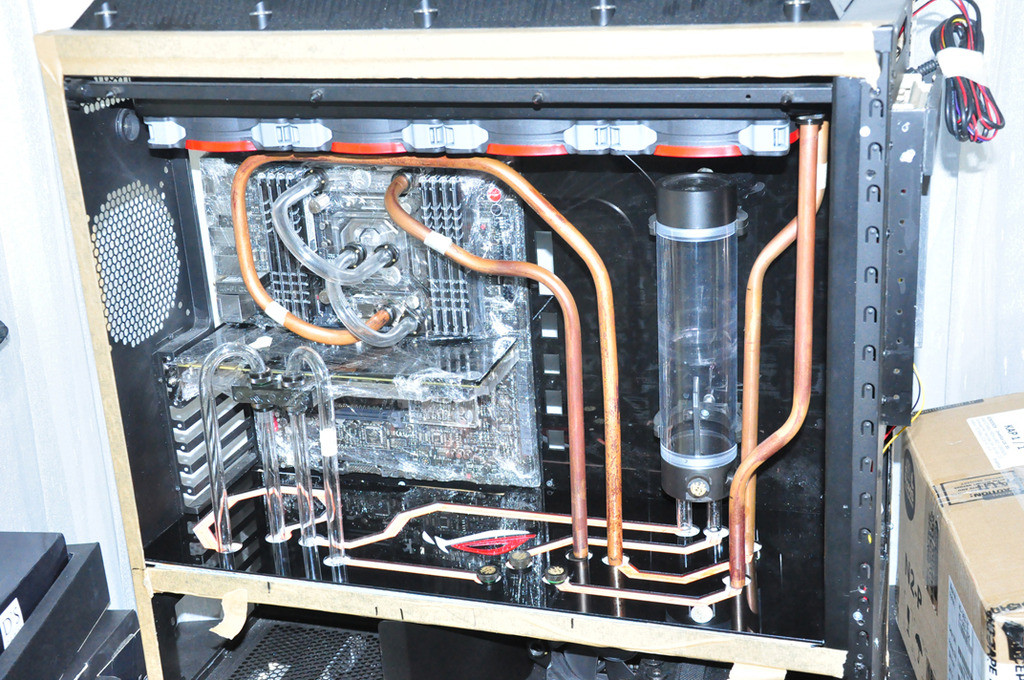
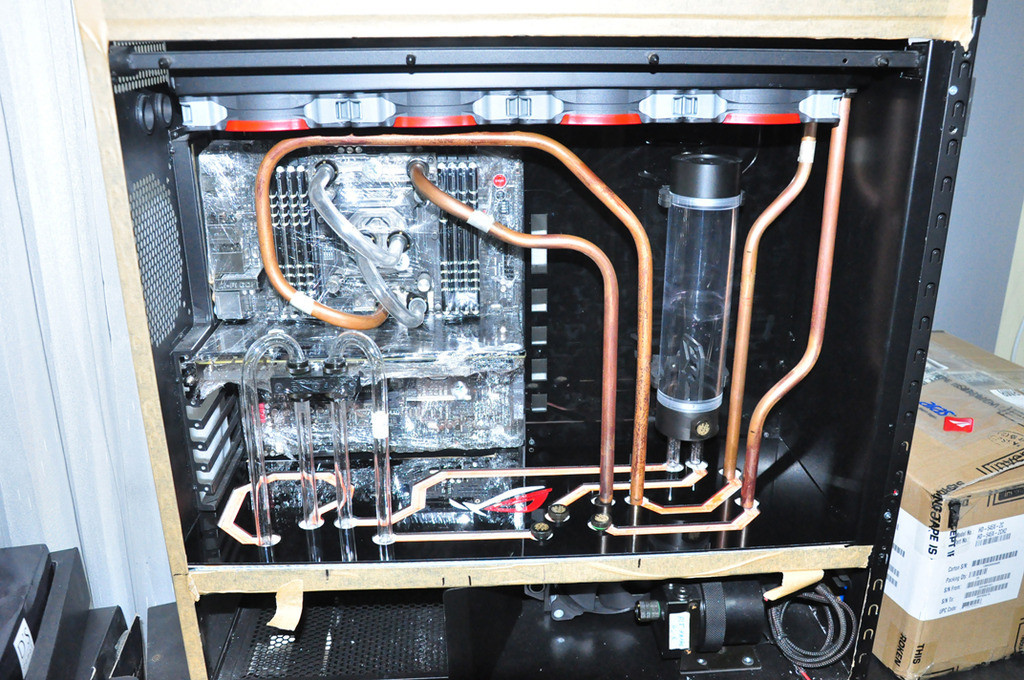
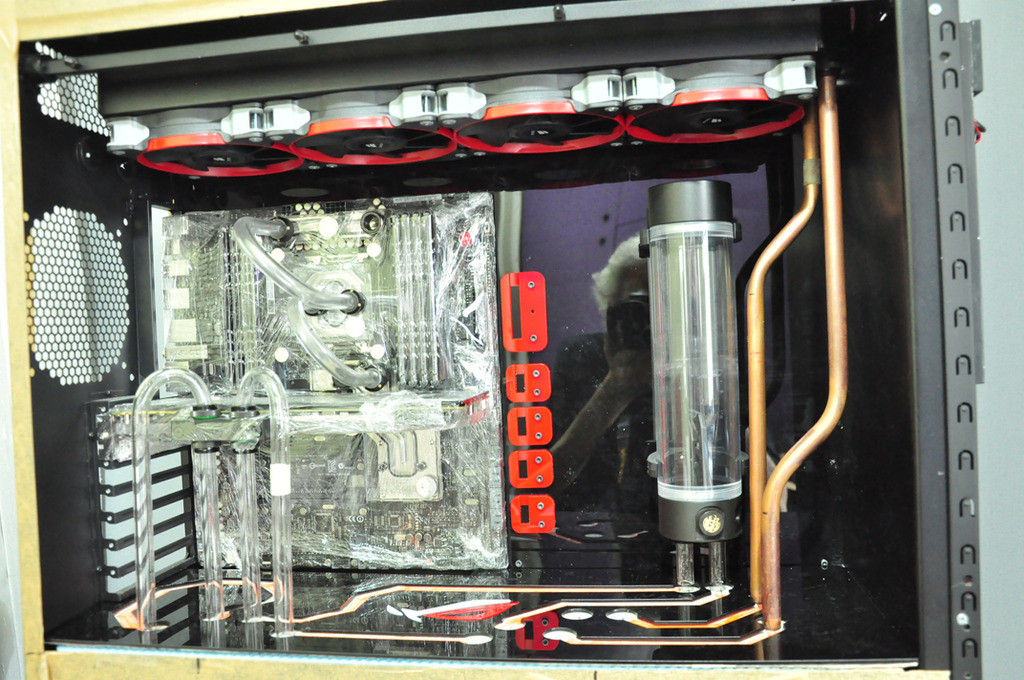
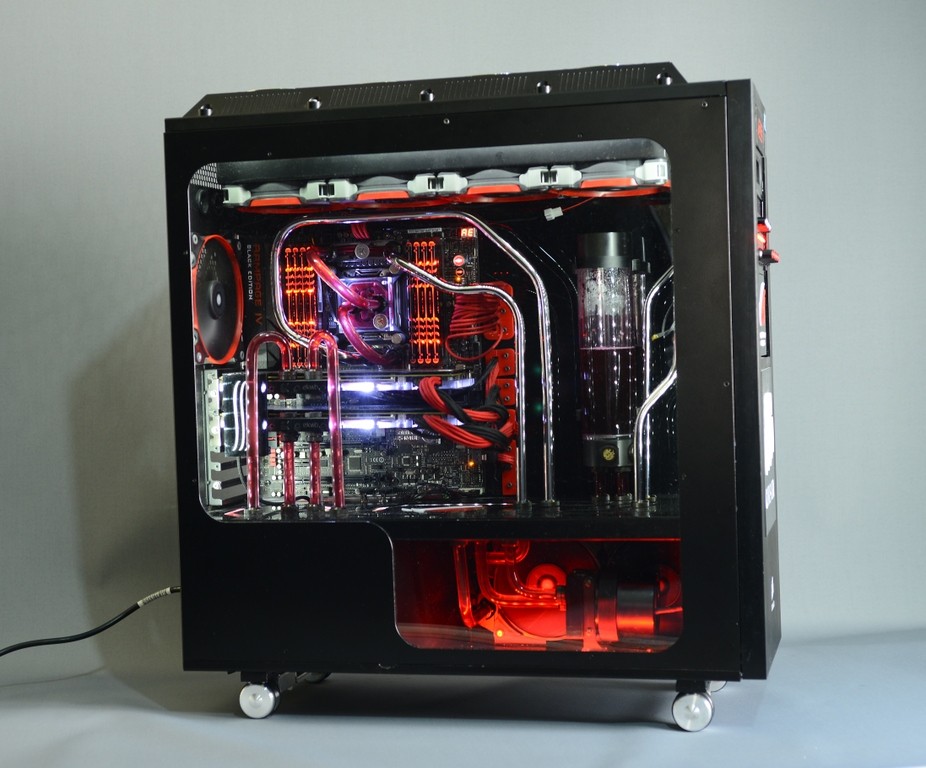
To instal watercooling1x loop with 2x rads (Push-pull)
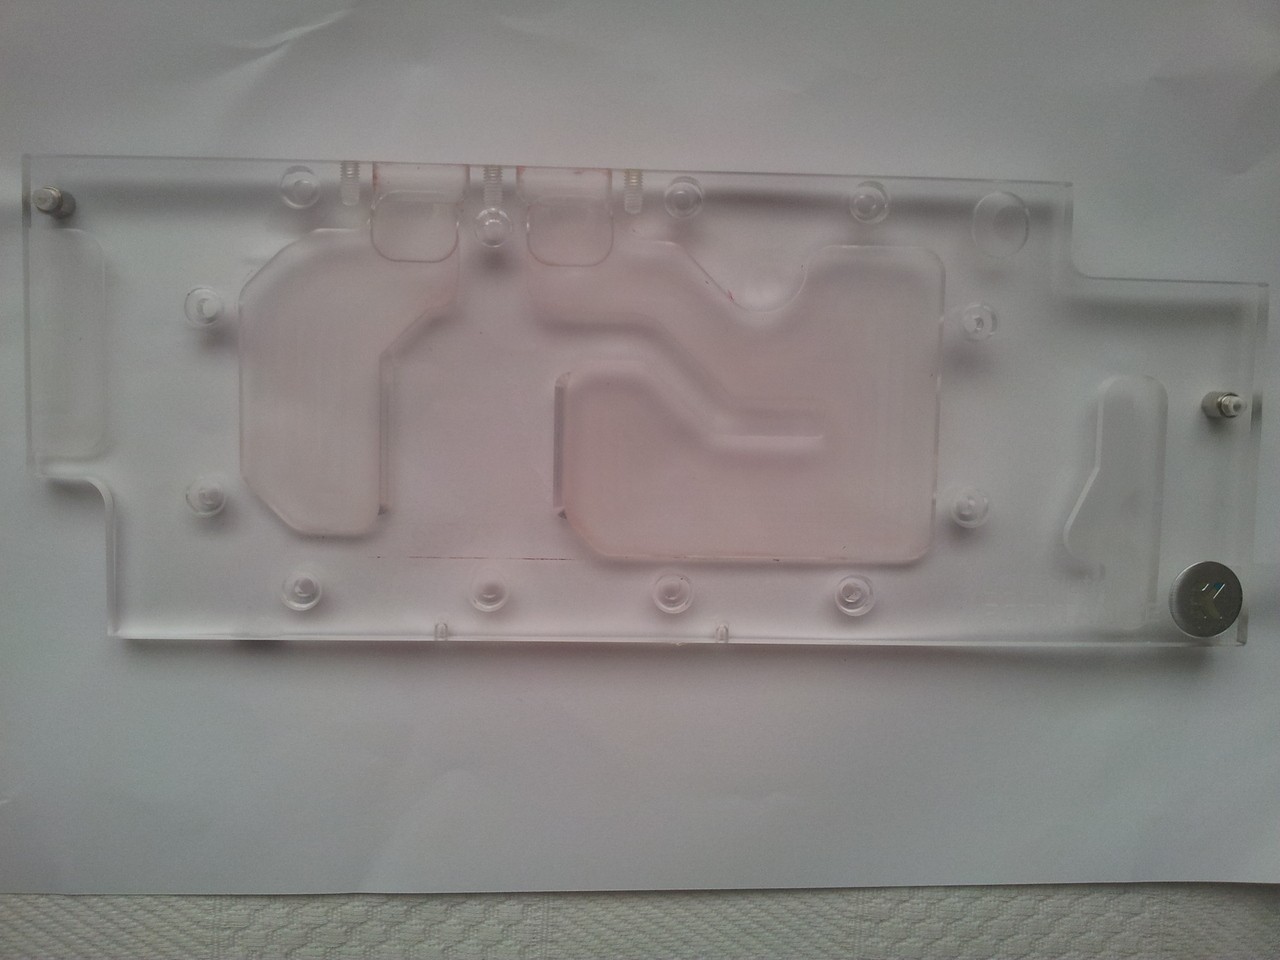
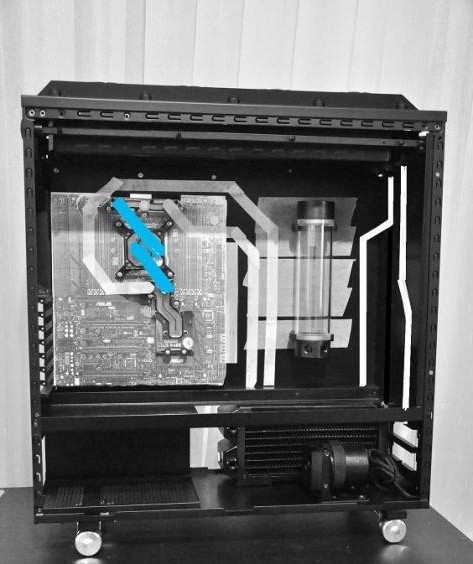
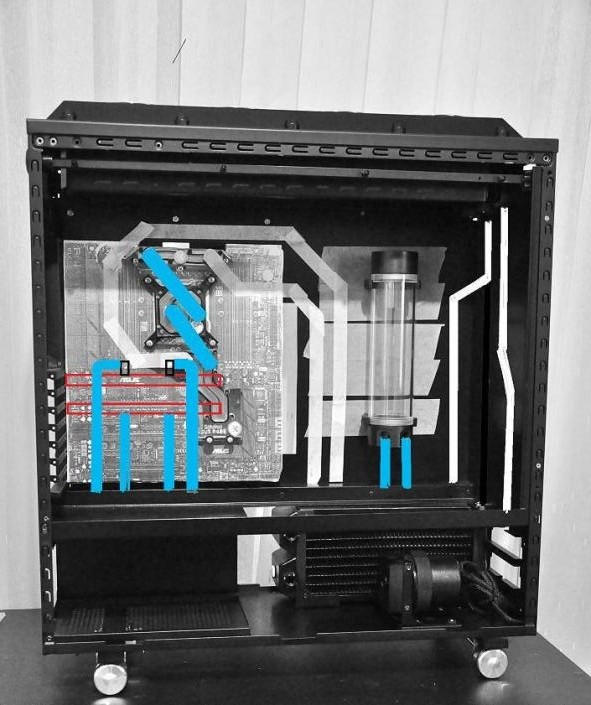
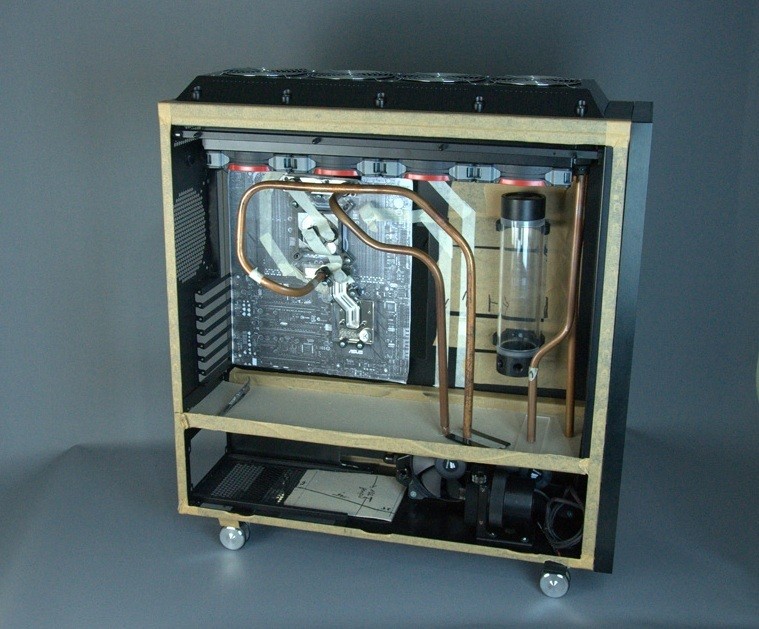
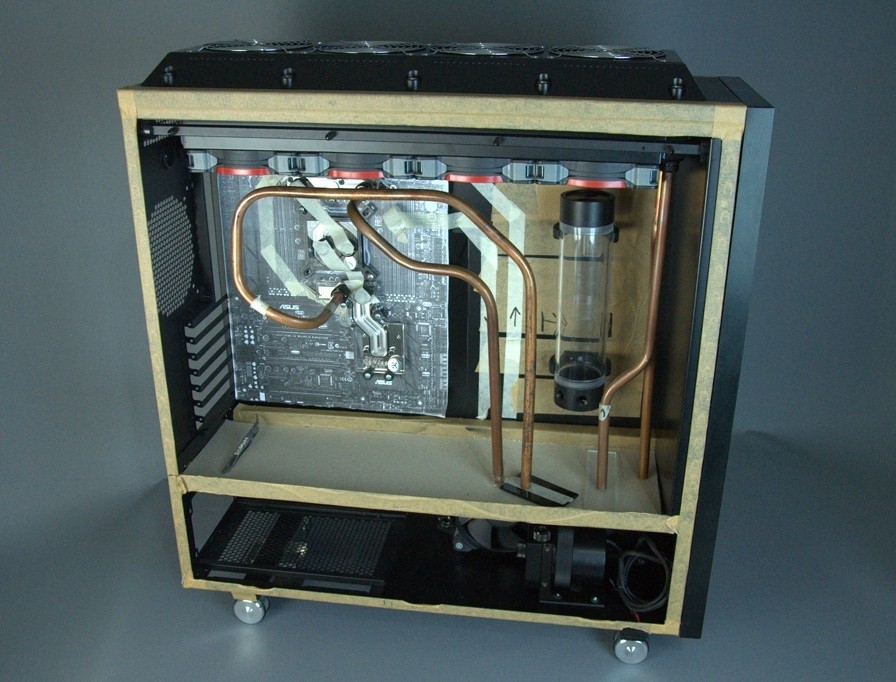
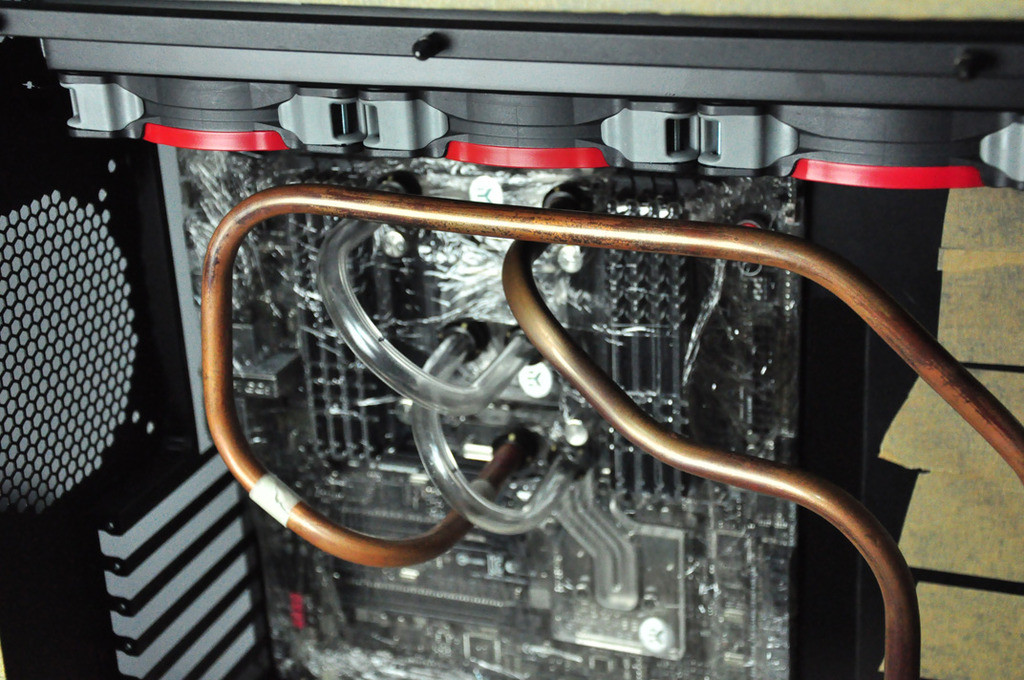
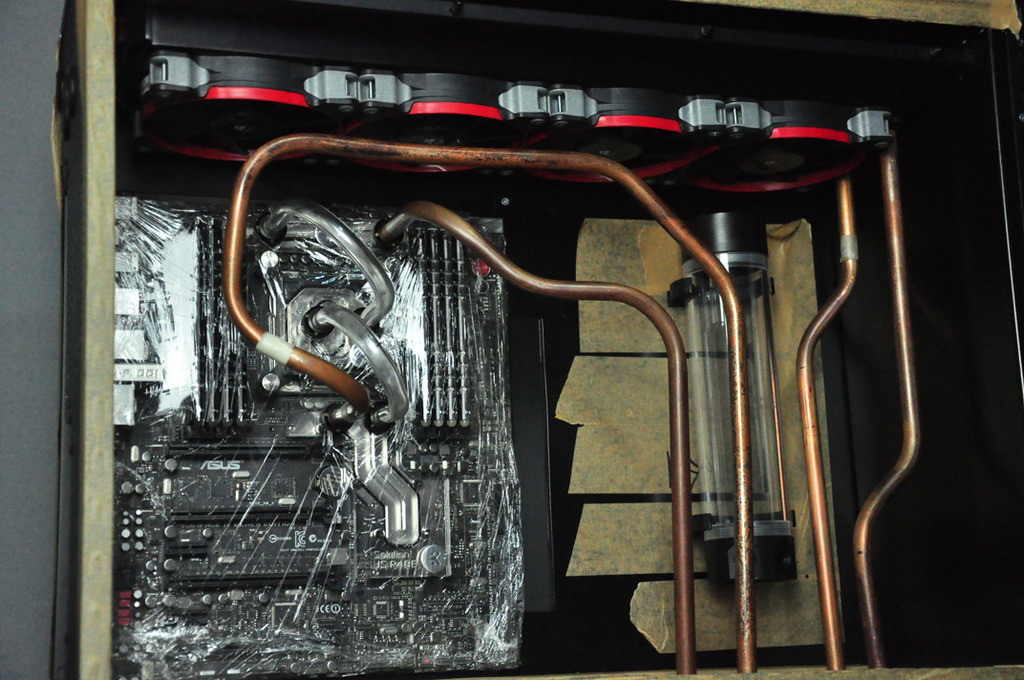
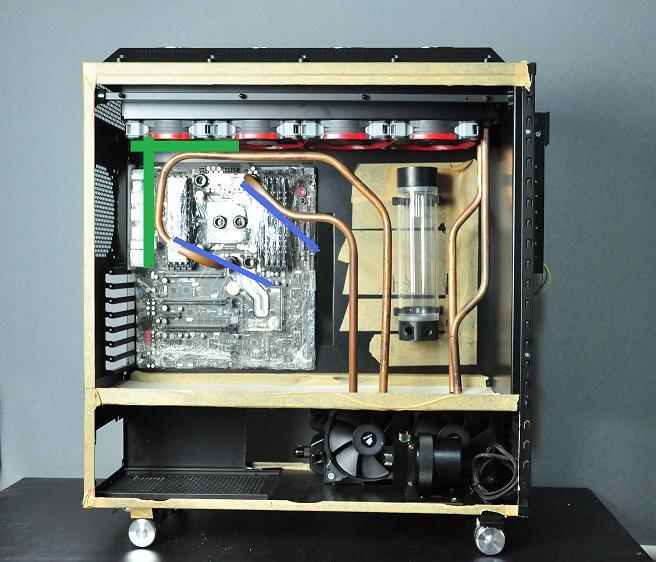
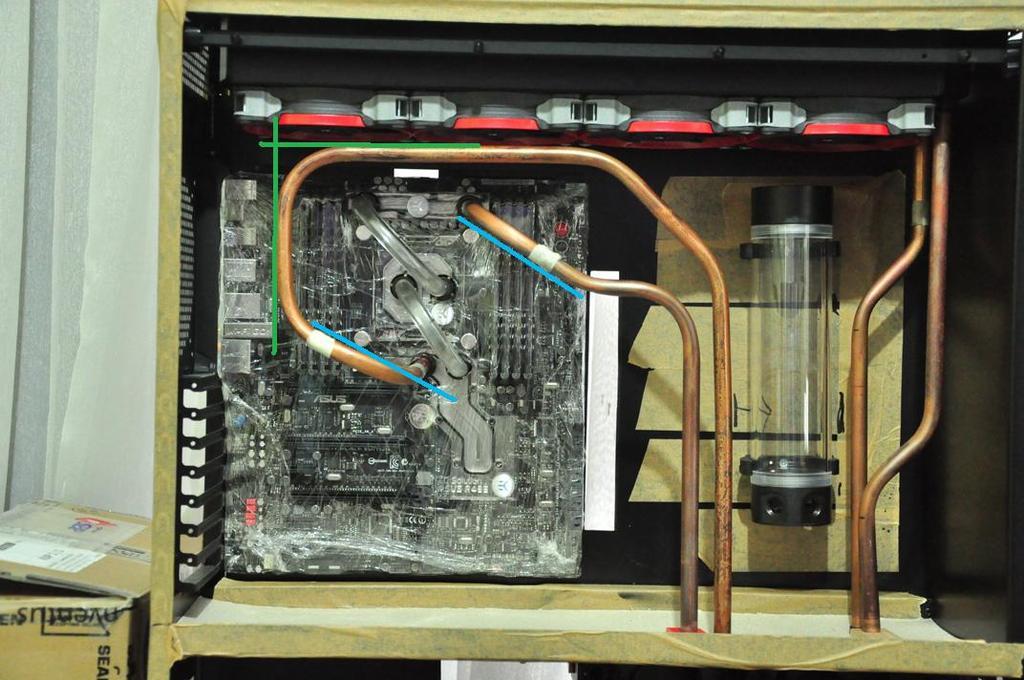
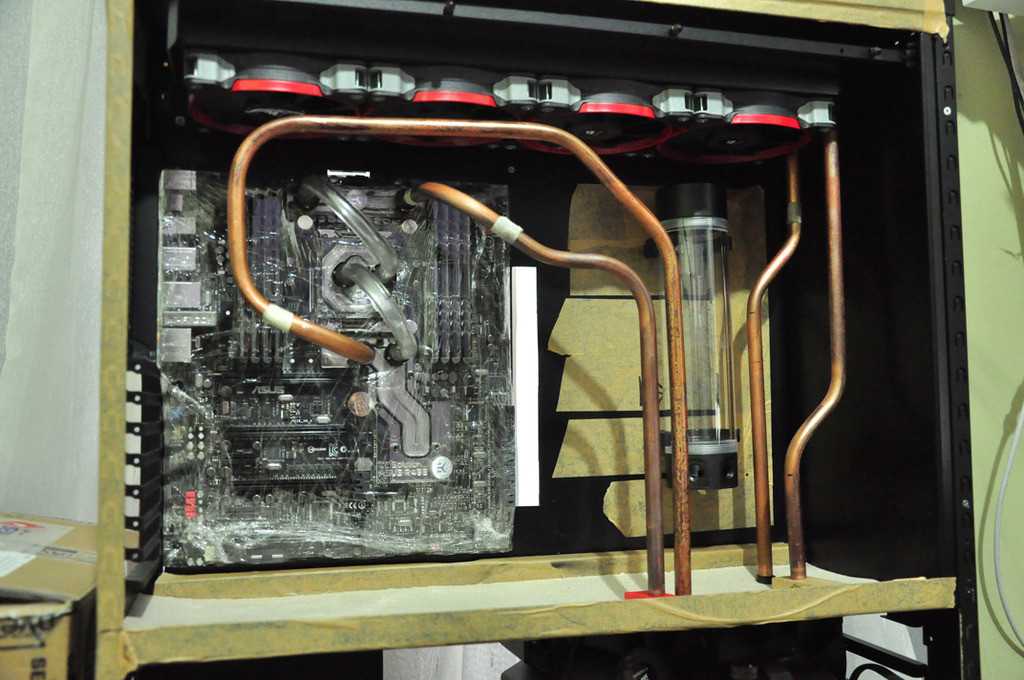
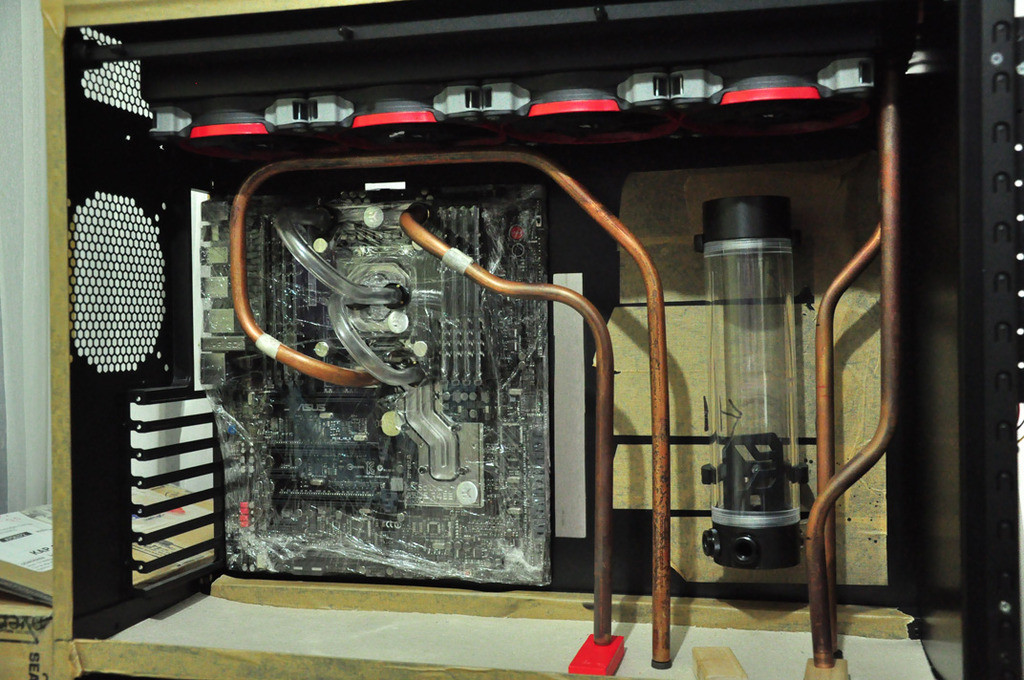
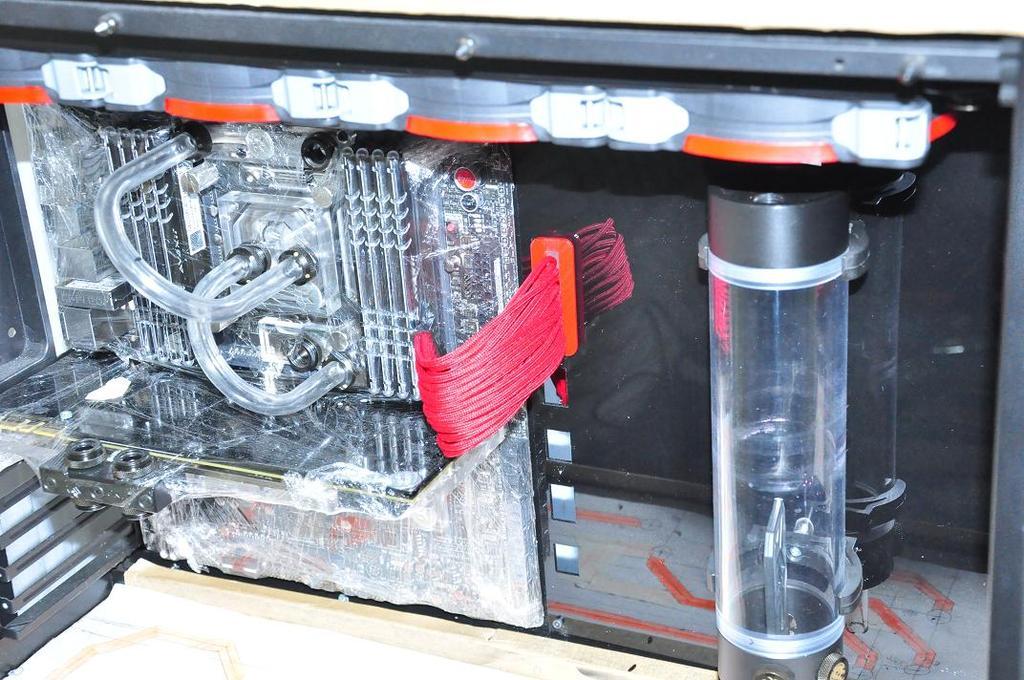
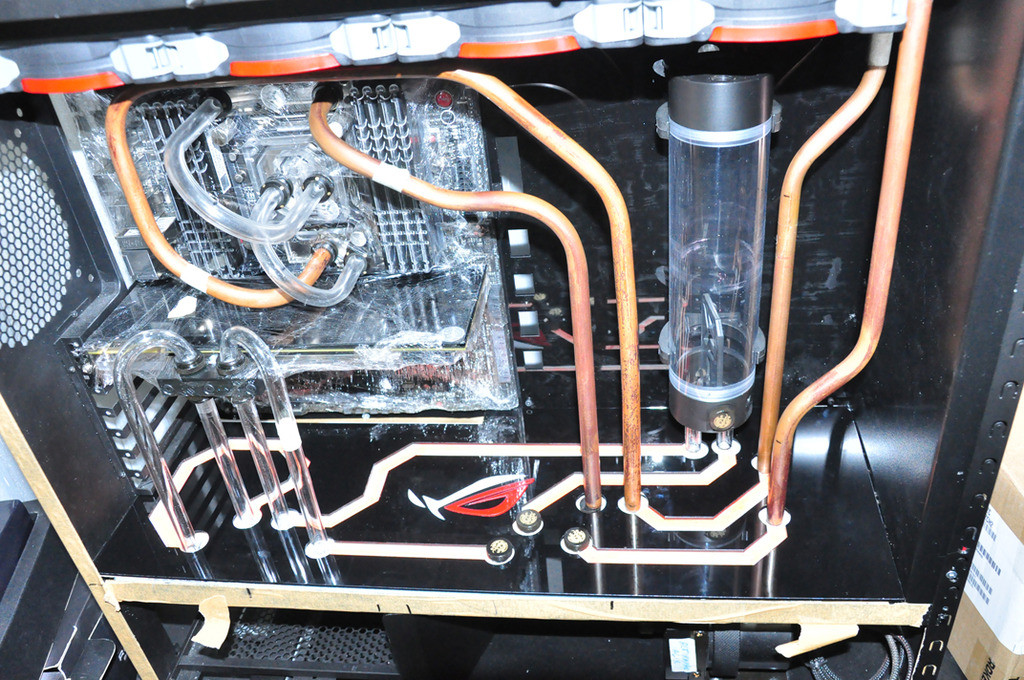
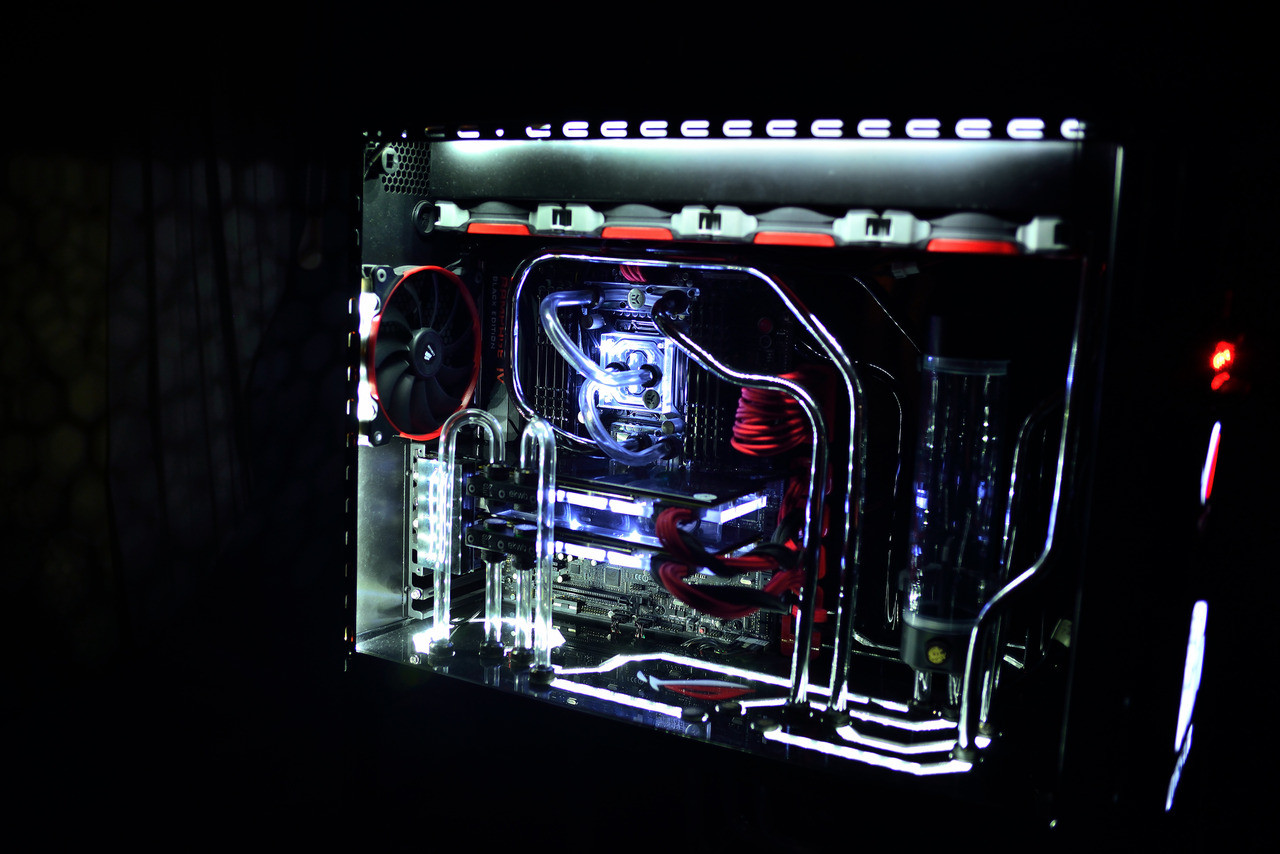
To install liquid cooling via Copper and acrylic pipe.
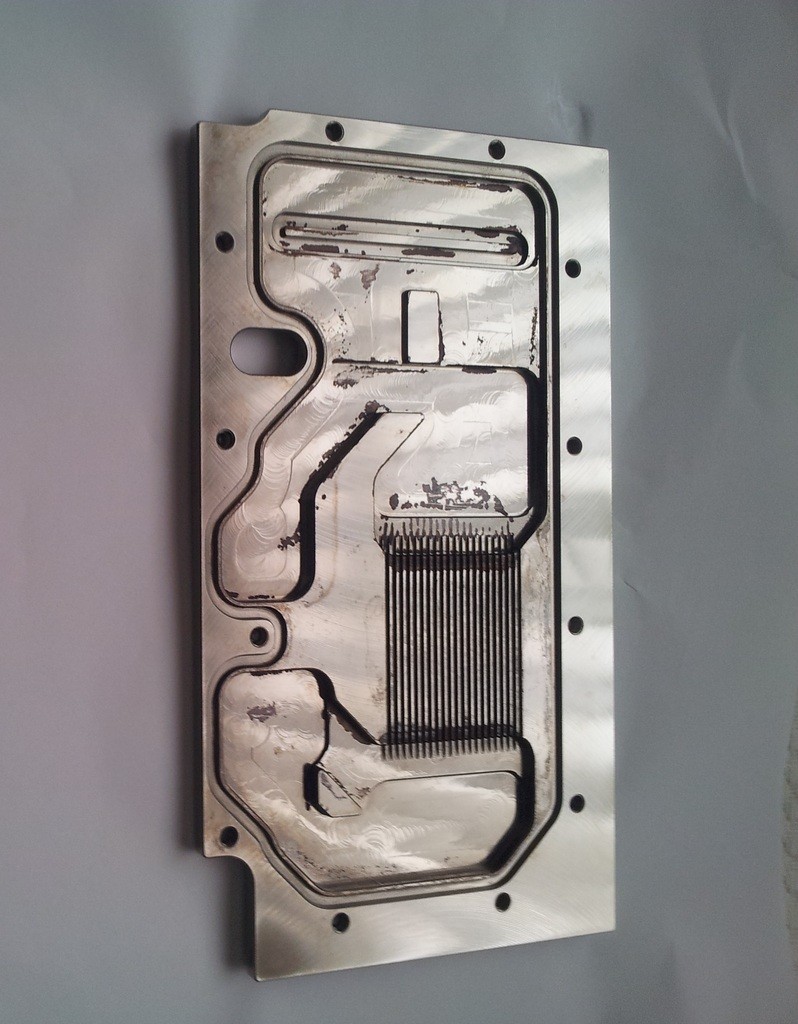
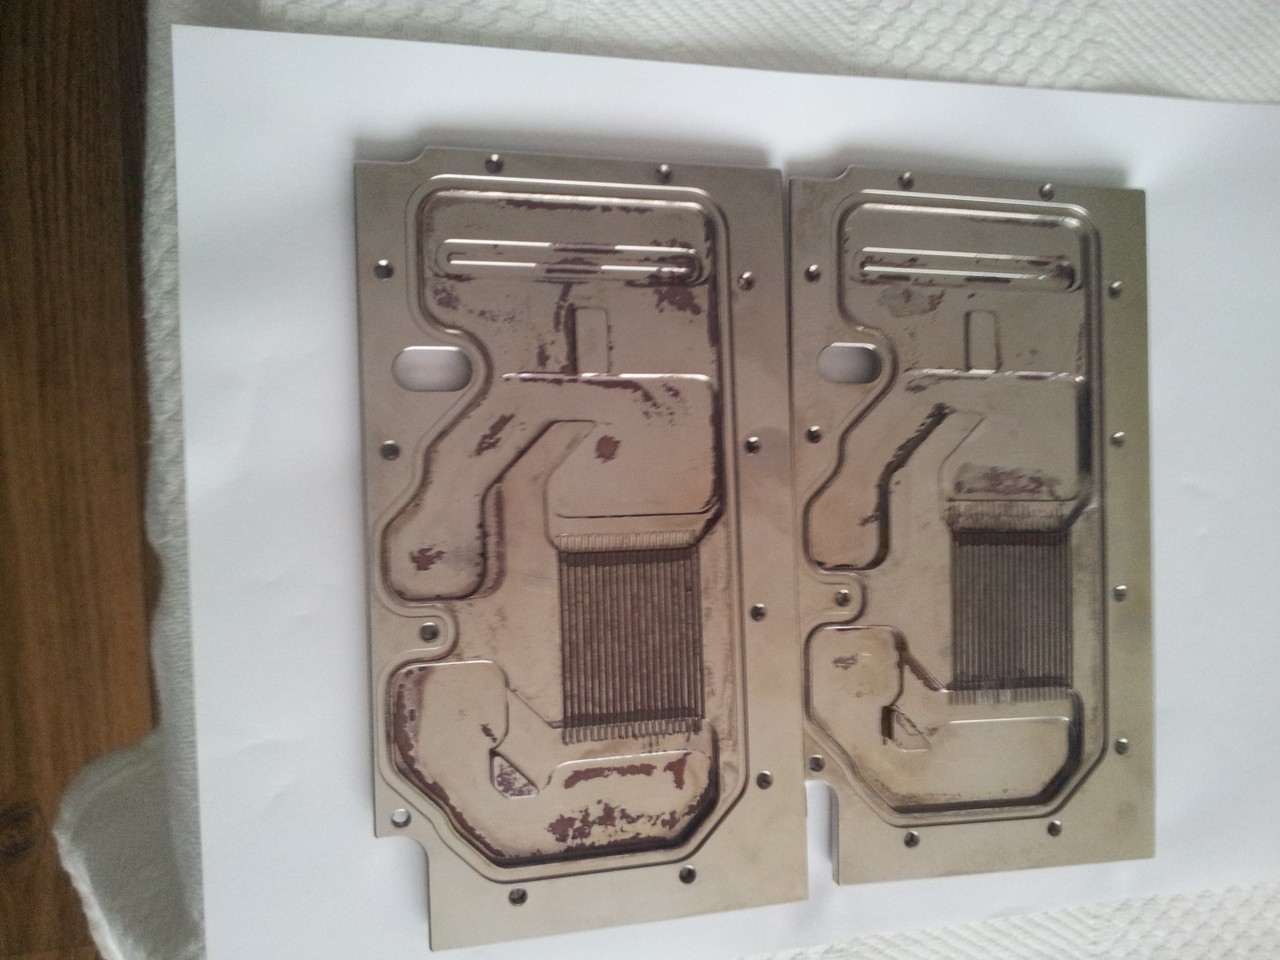
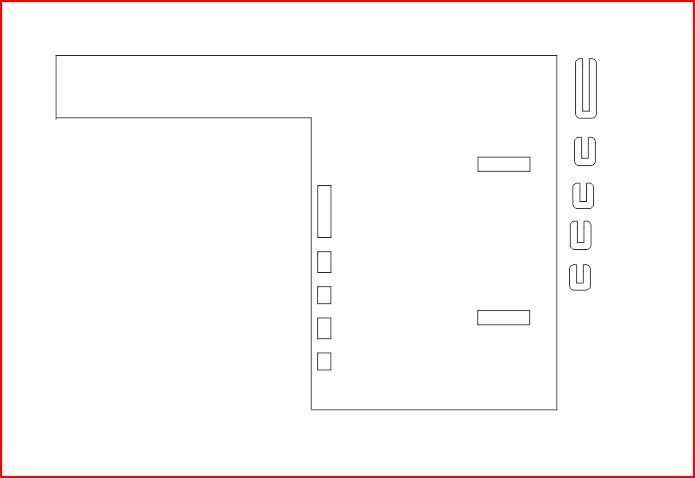
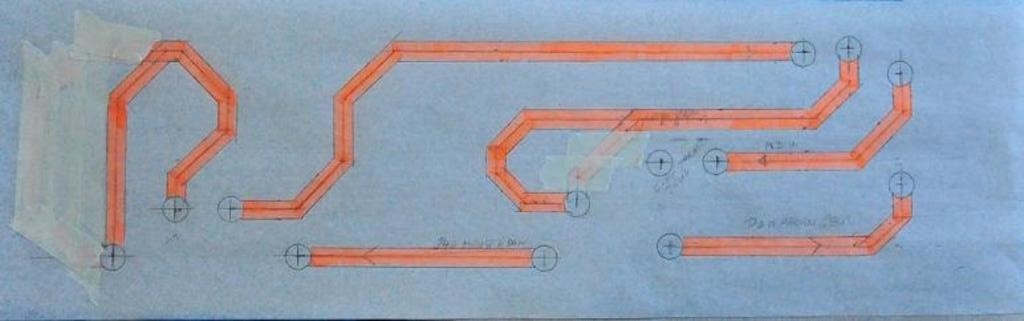
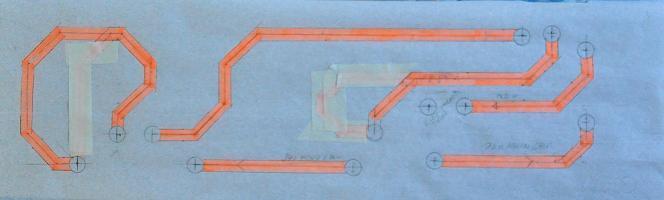
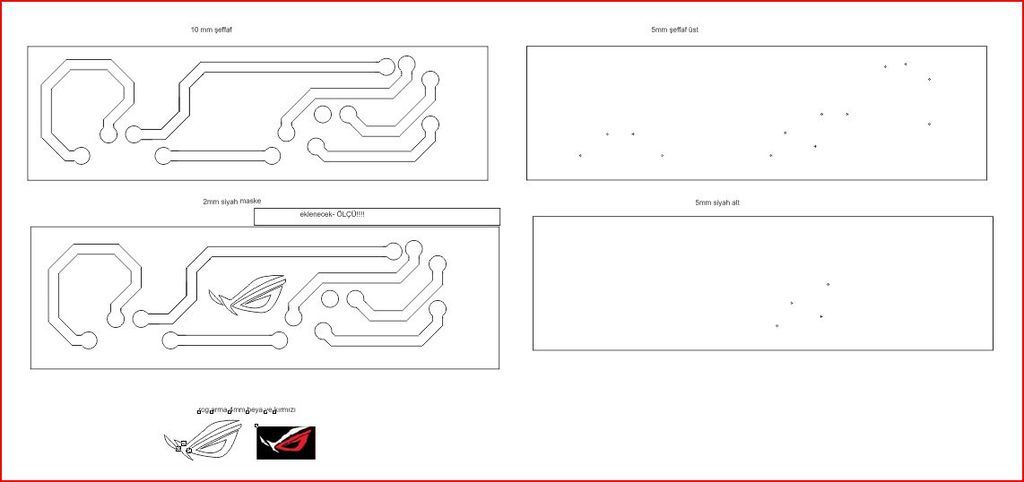
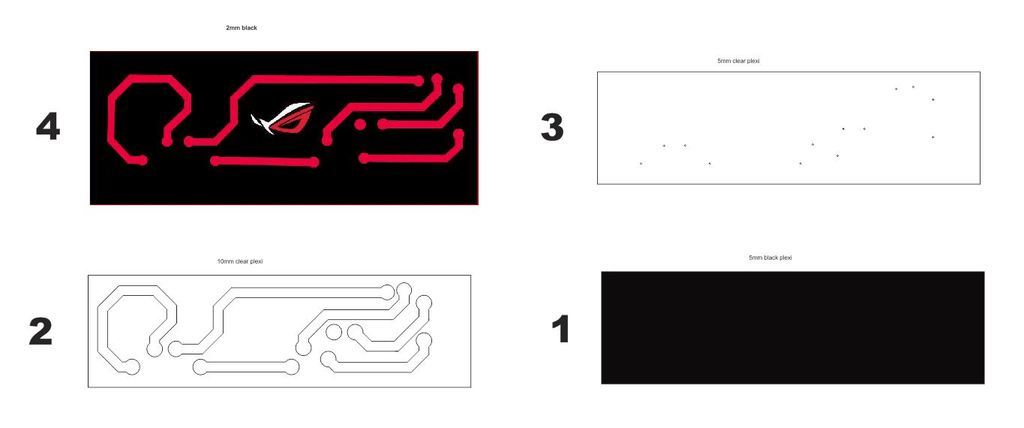
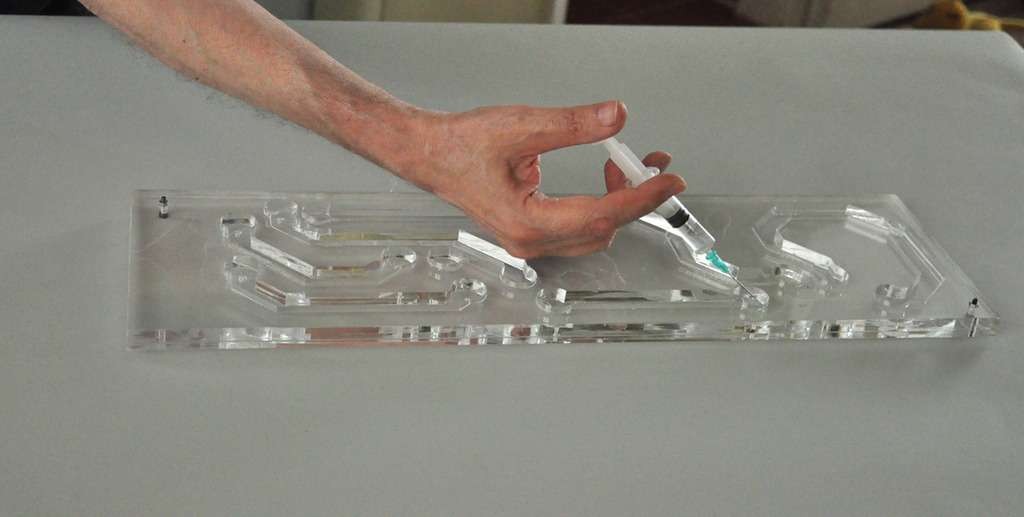
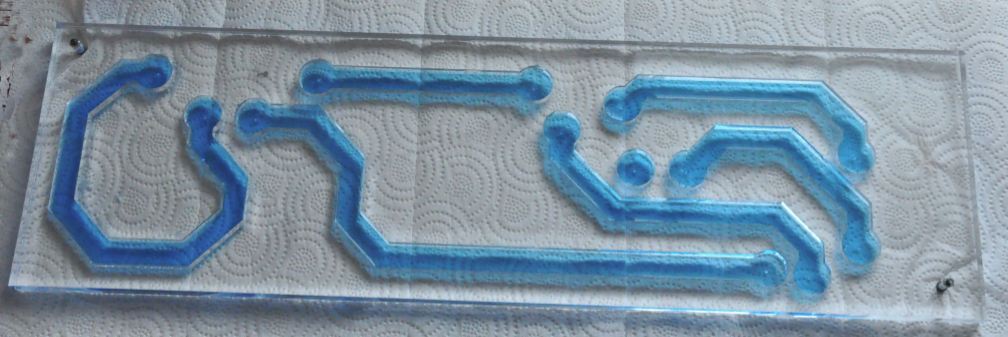
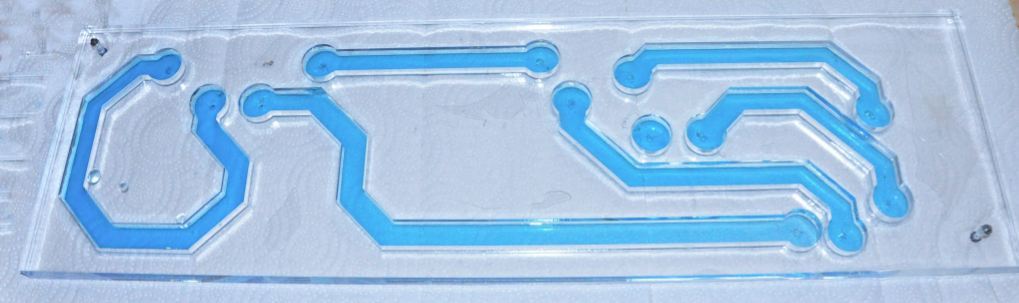
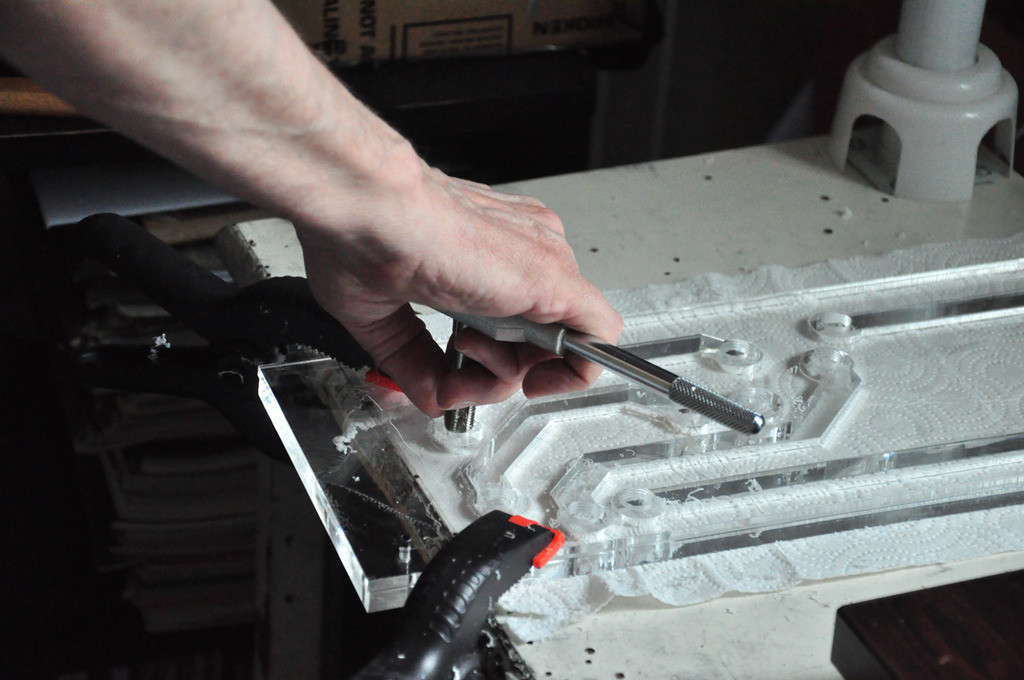
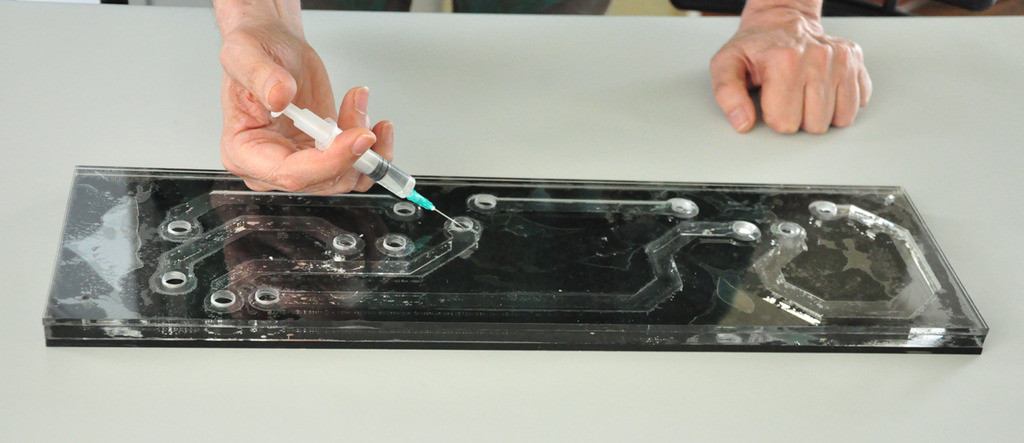
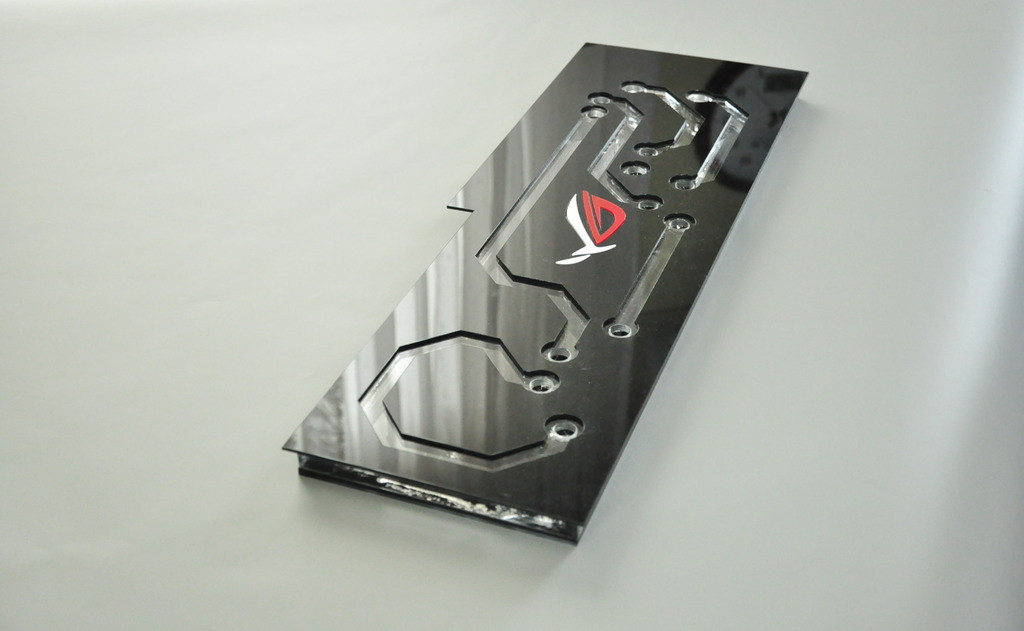
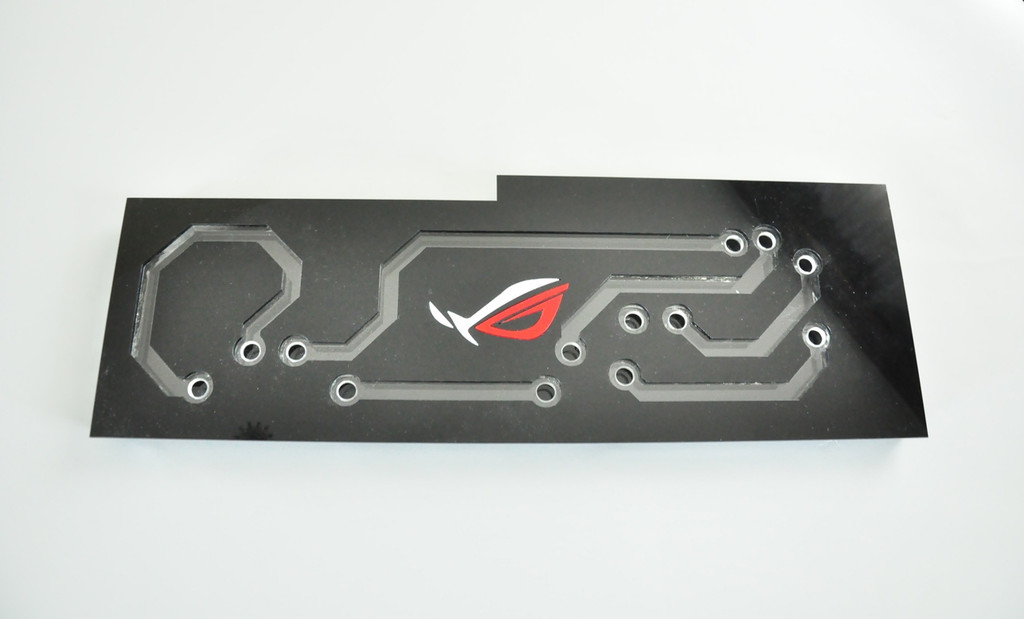
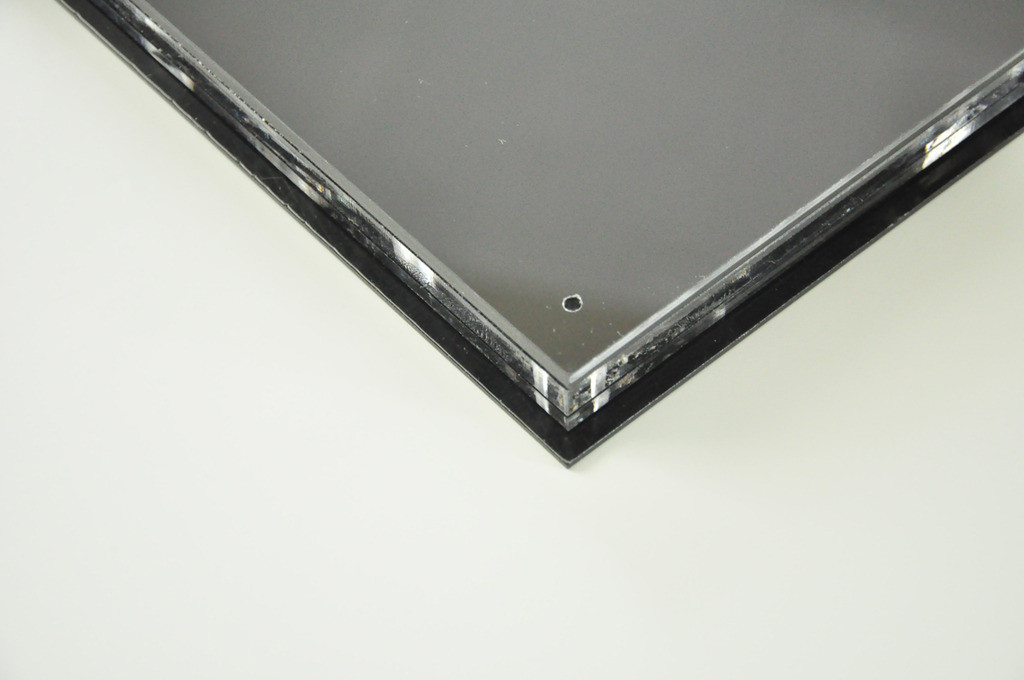
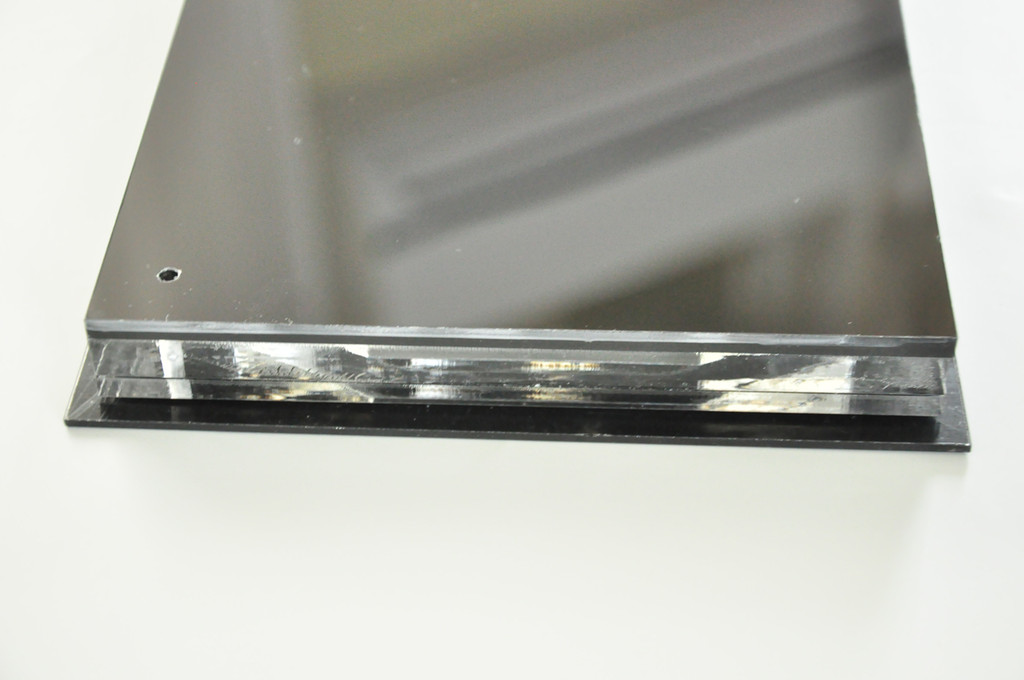
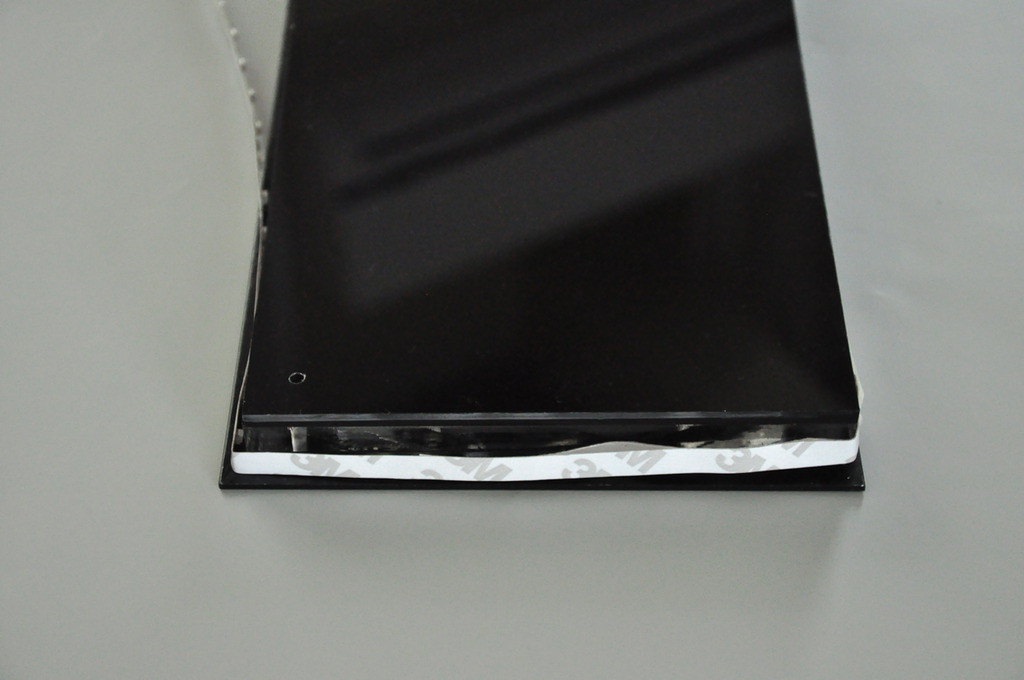
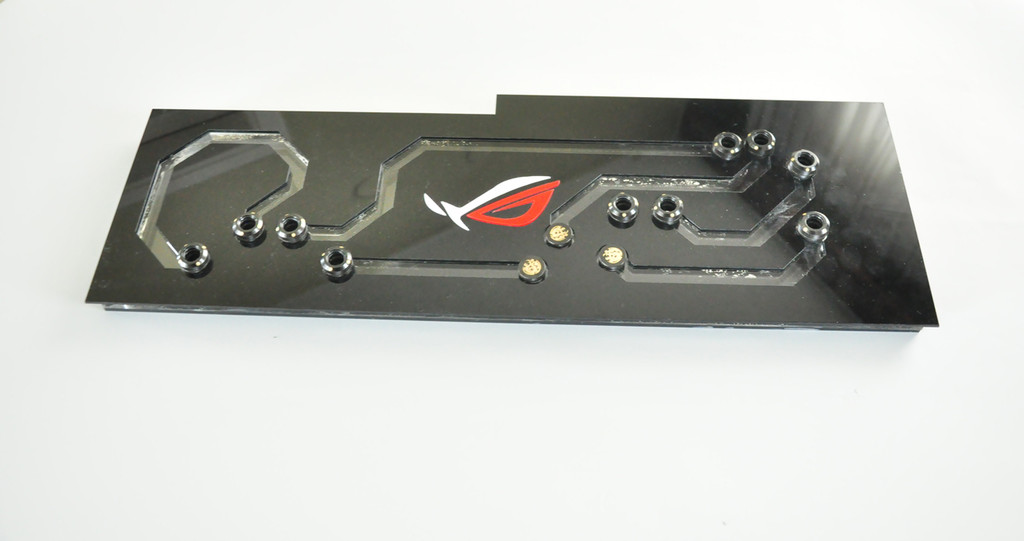
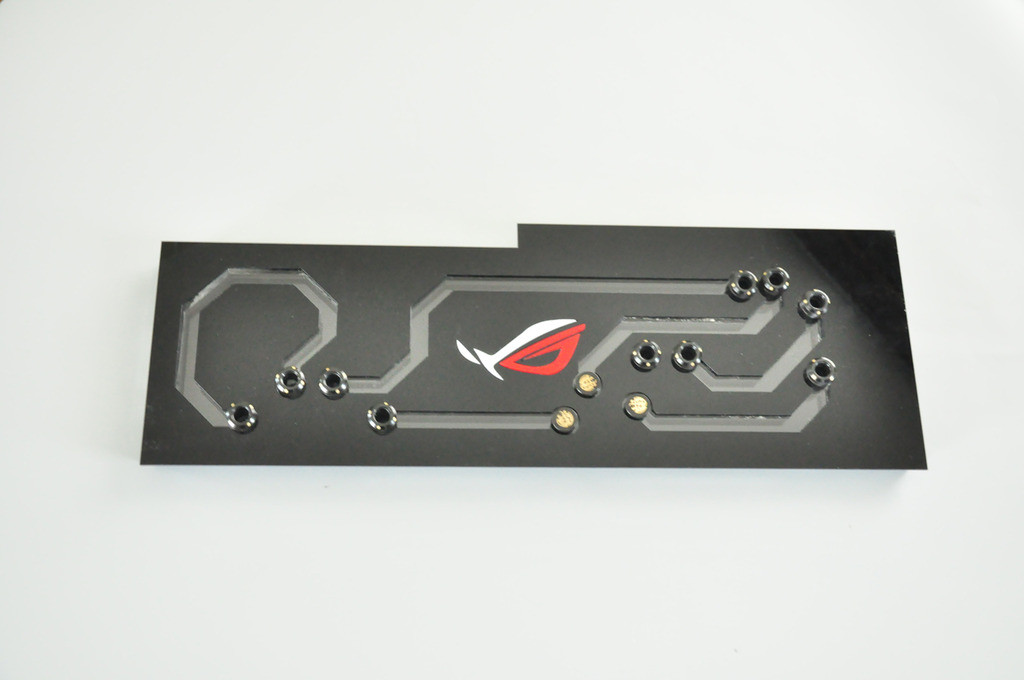
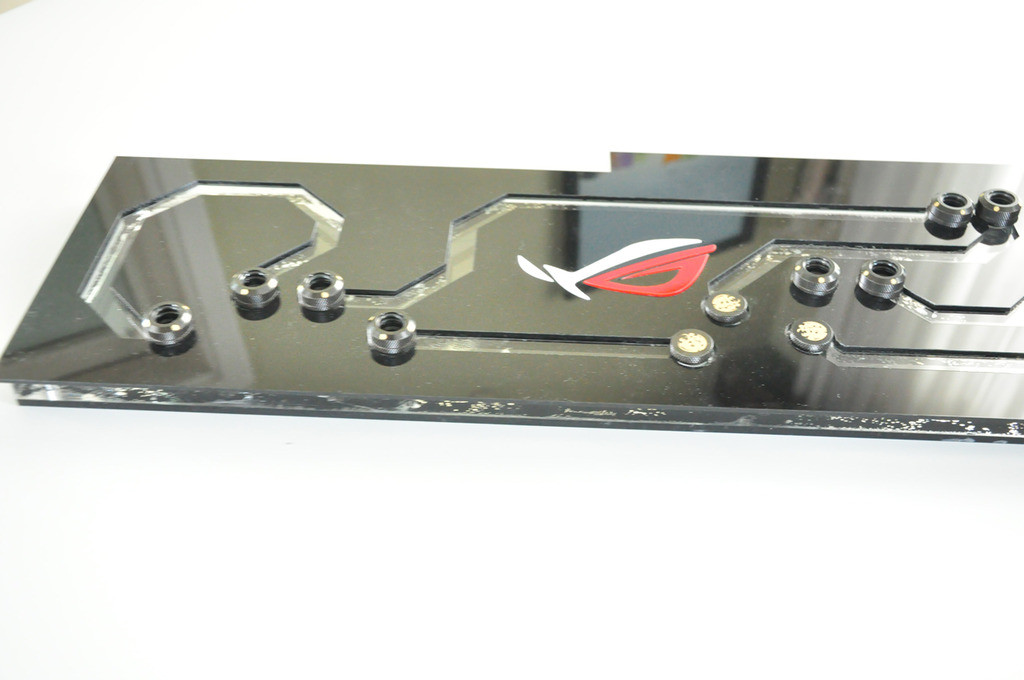
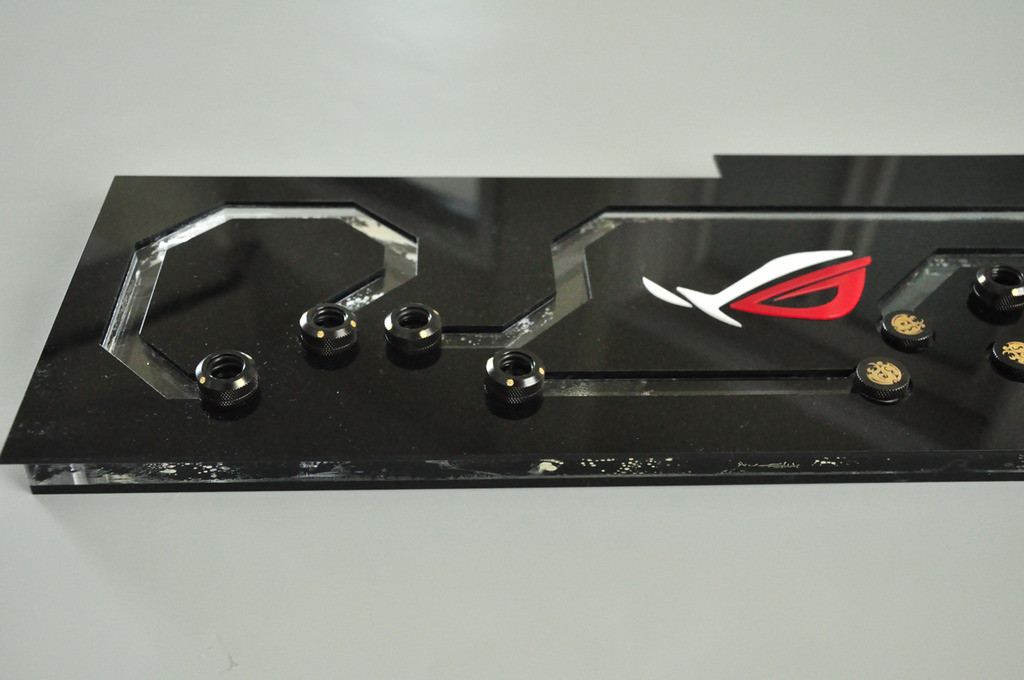
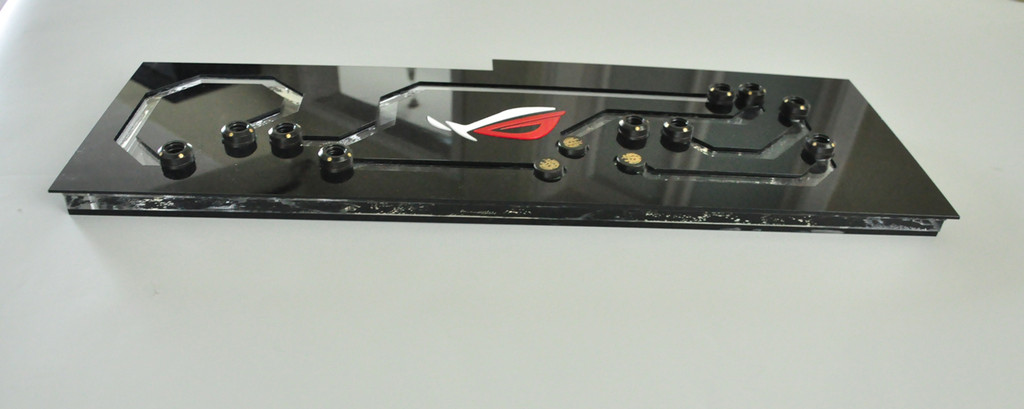
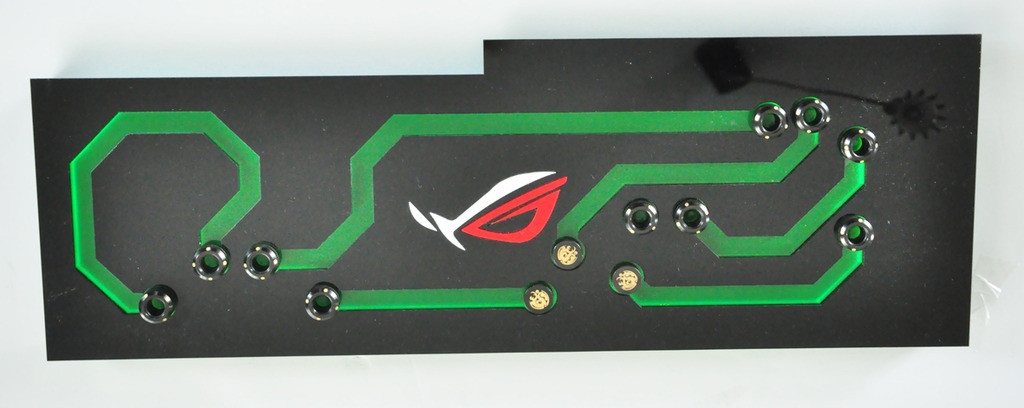
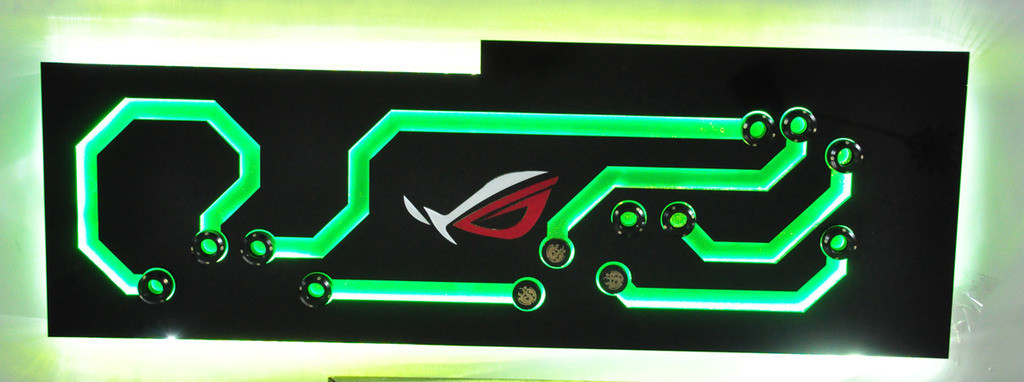
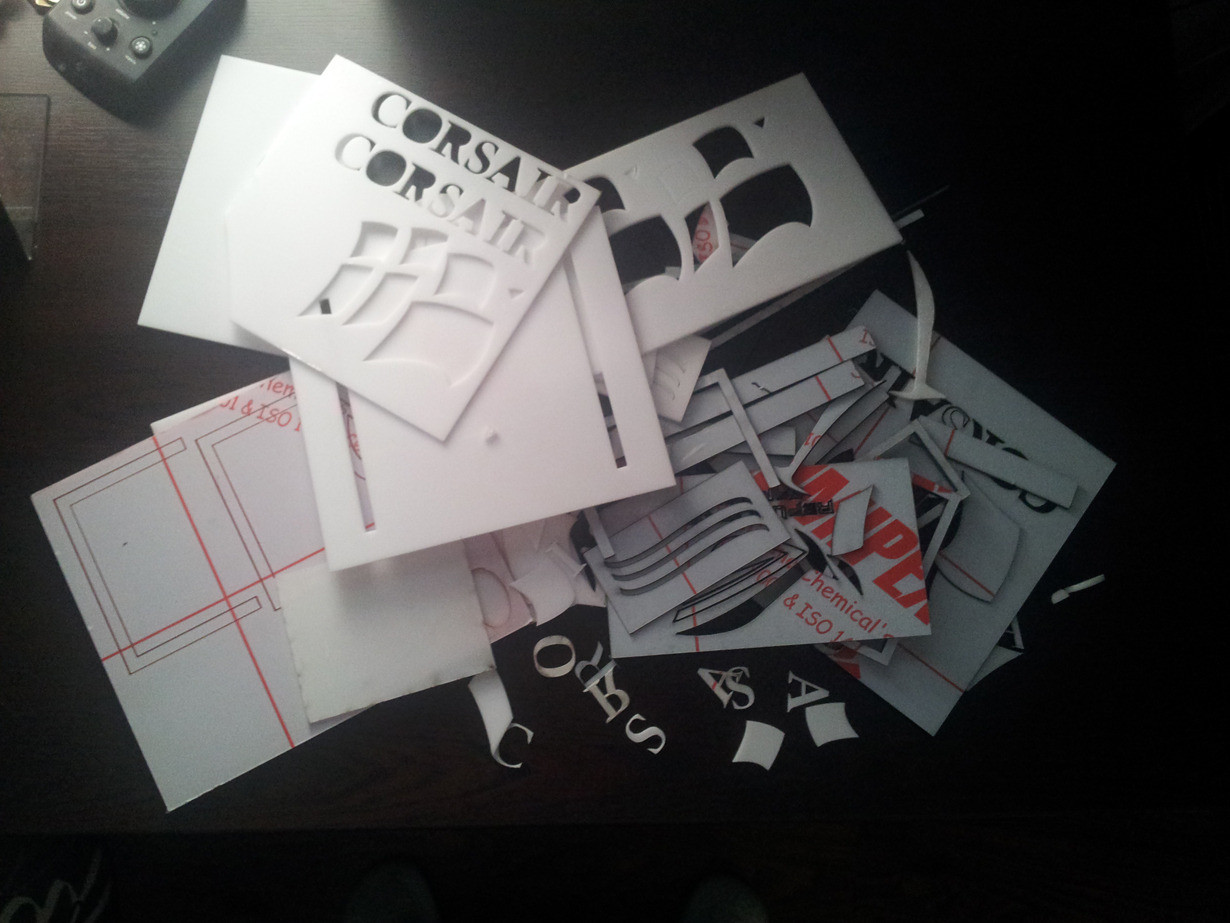
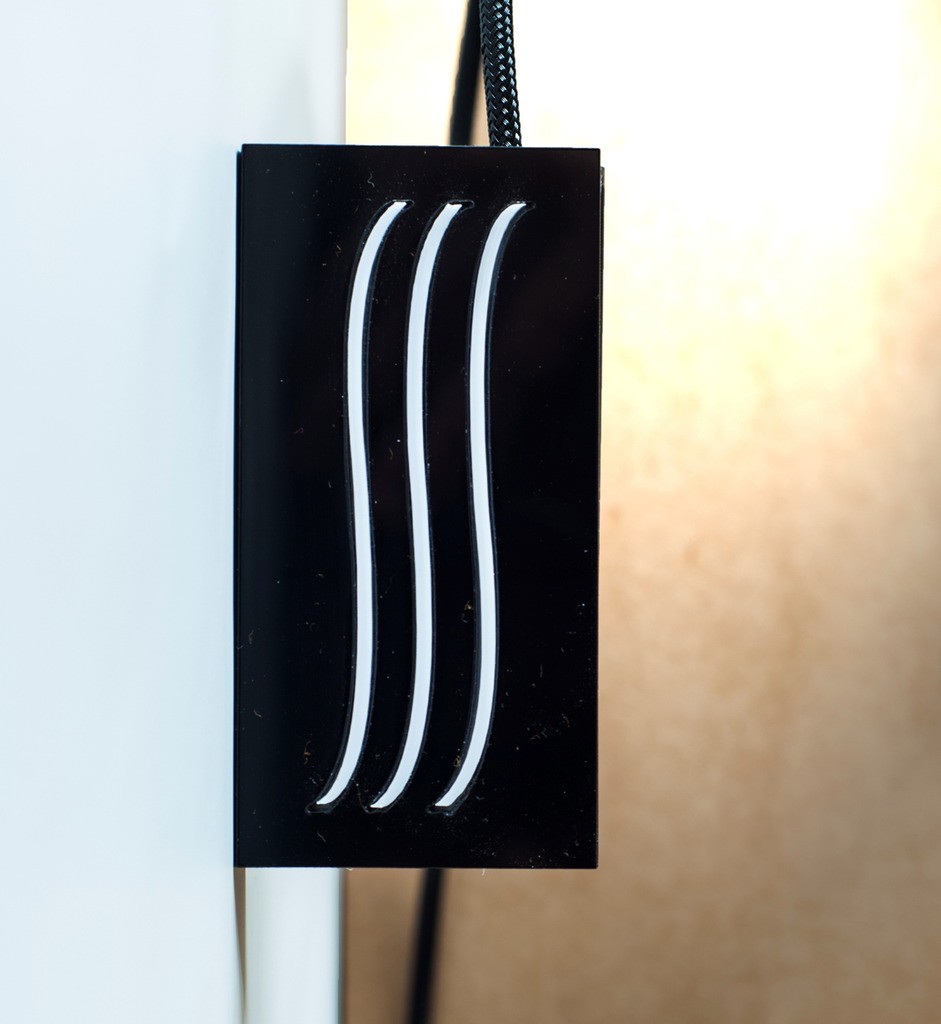
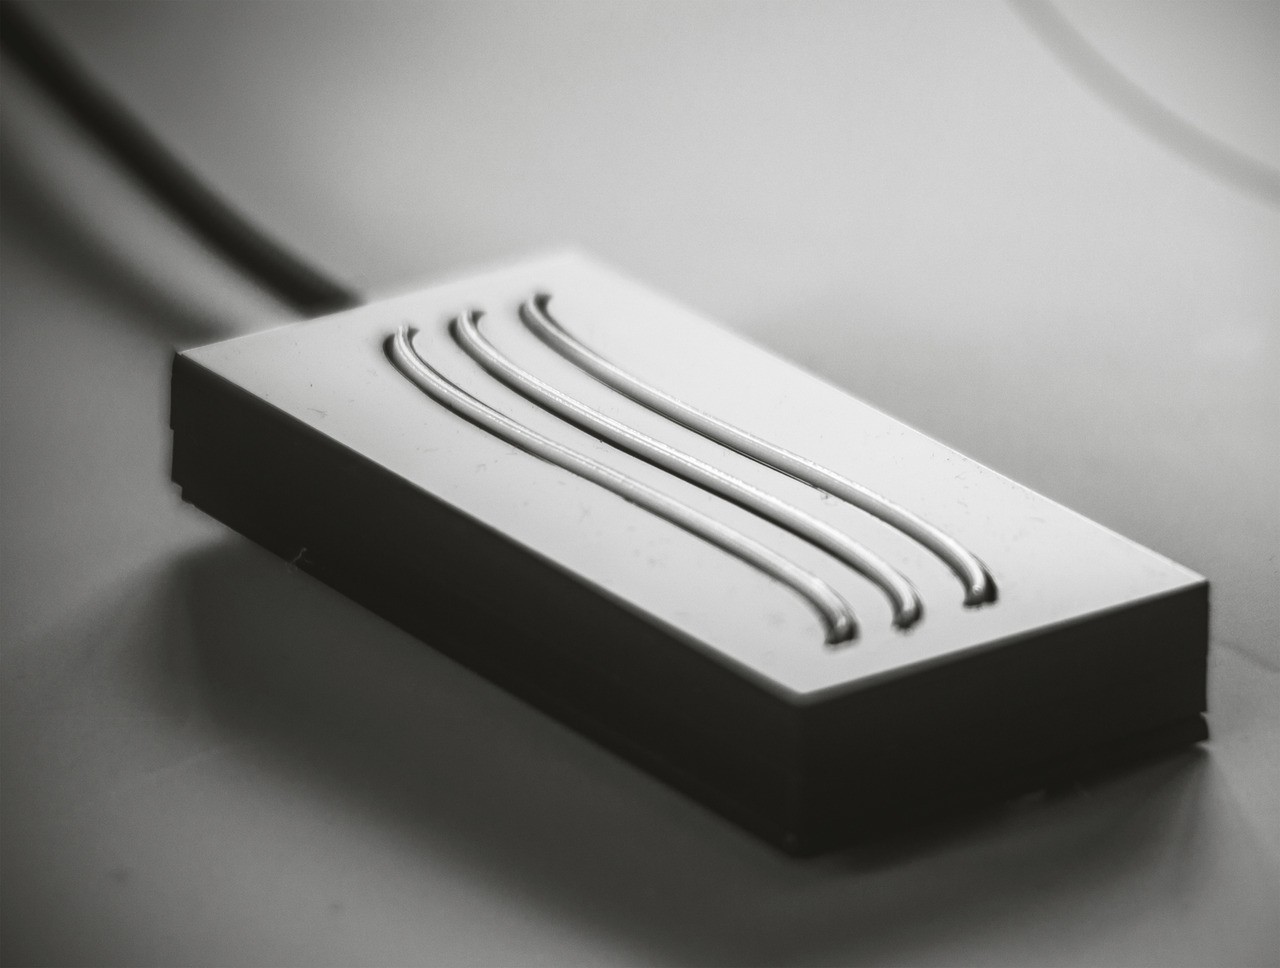
To use a special distributor for water distribution as midplate, laser cutted.
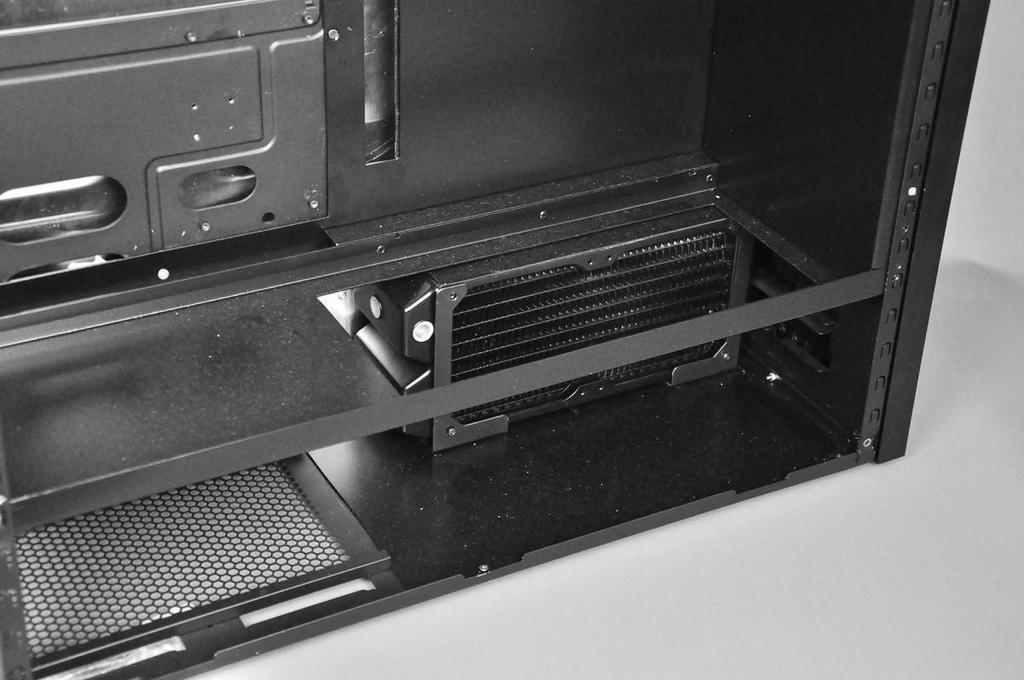
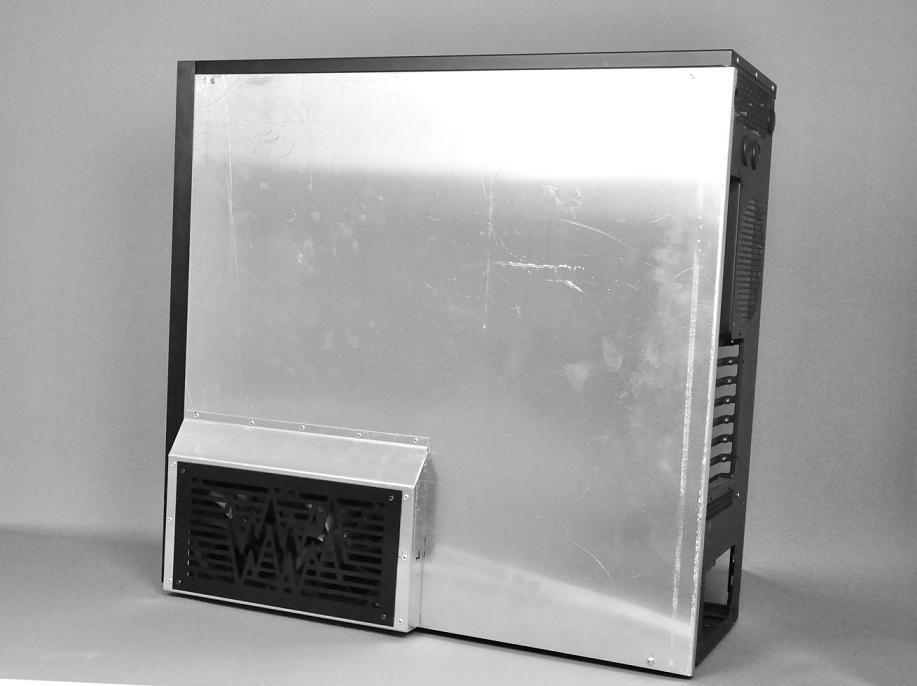
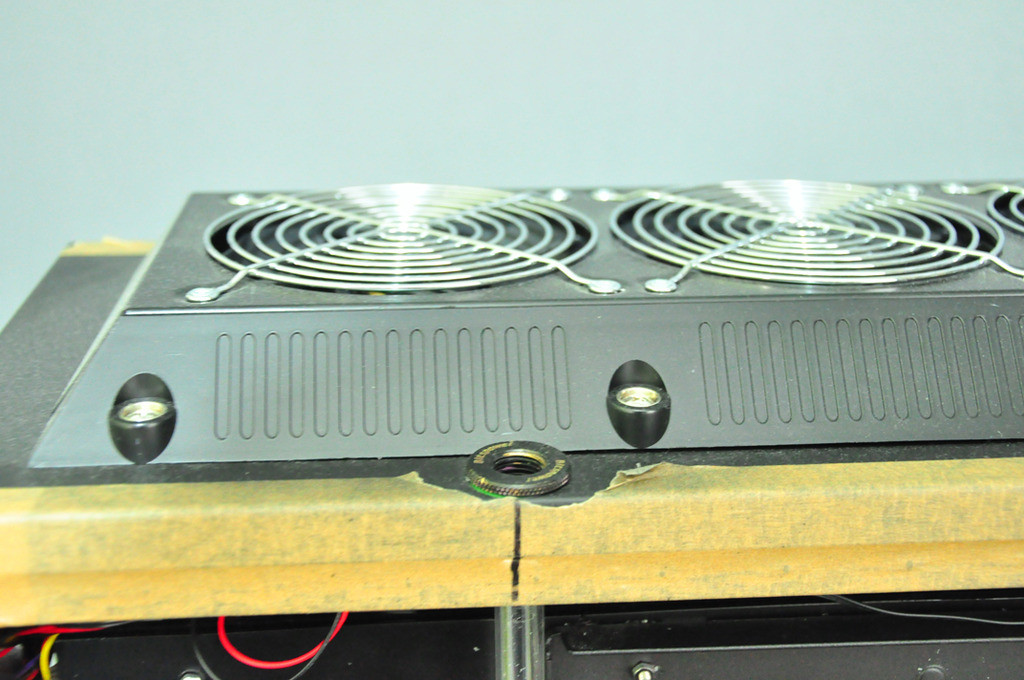
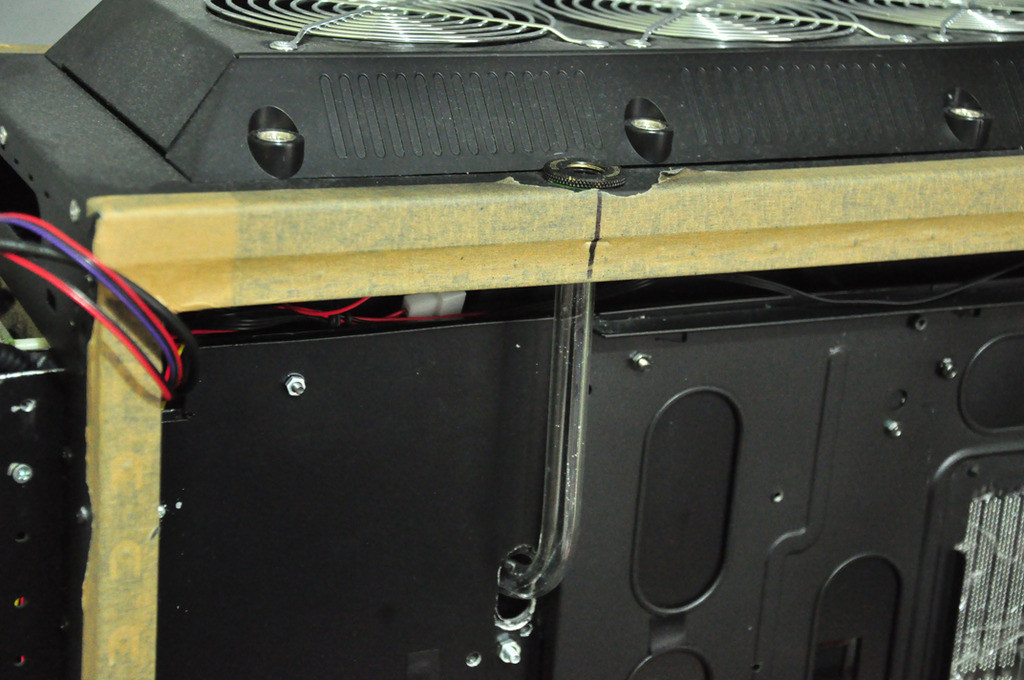
To enlarge the case for radiator fans since it is not wide enough.
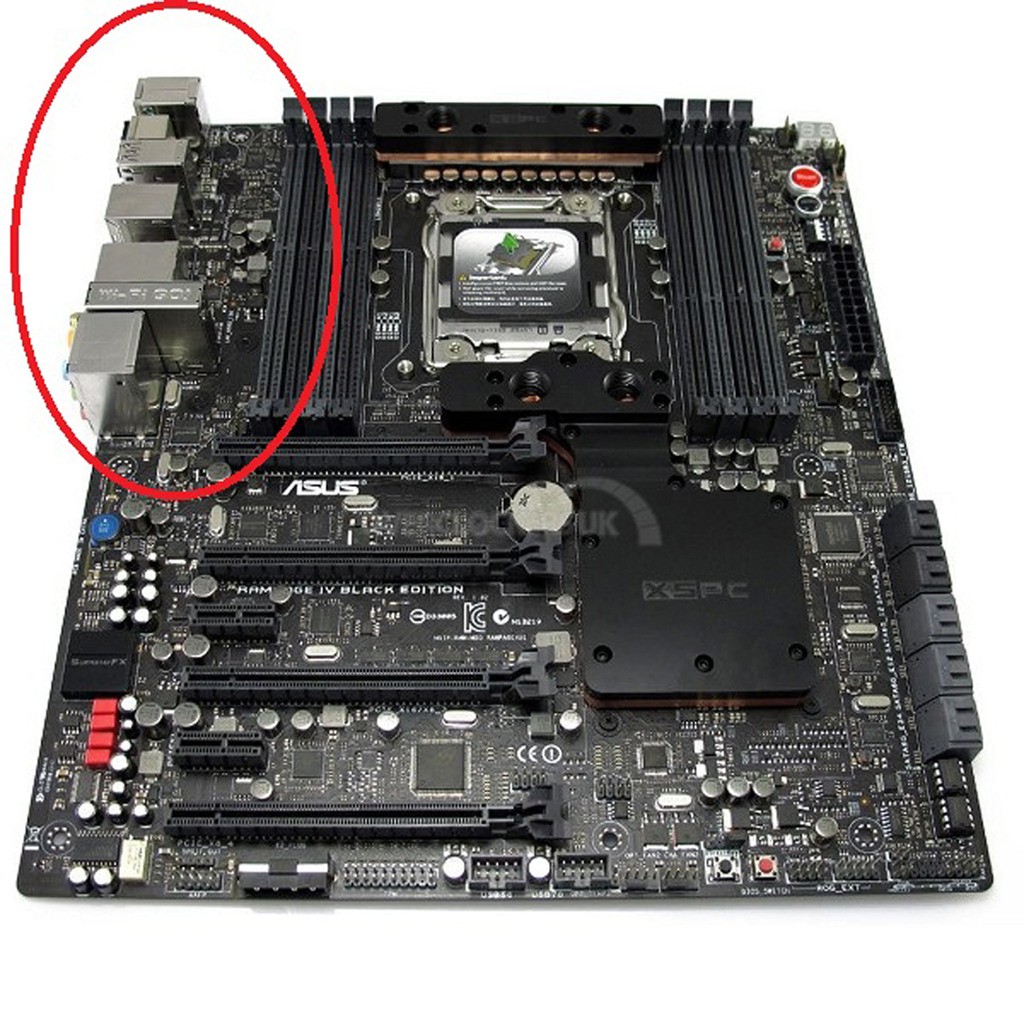
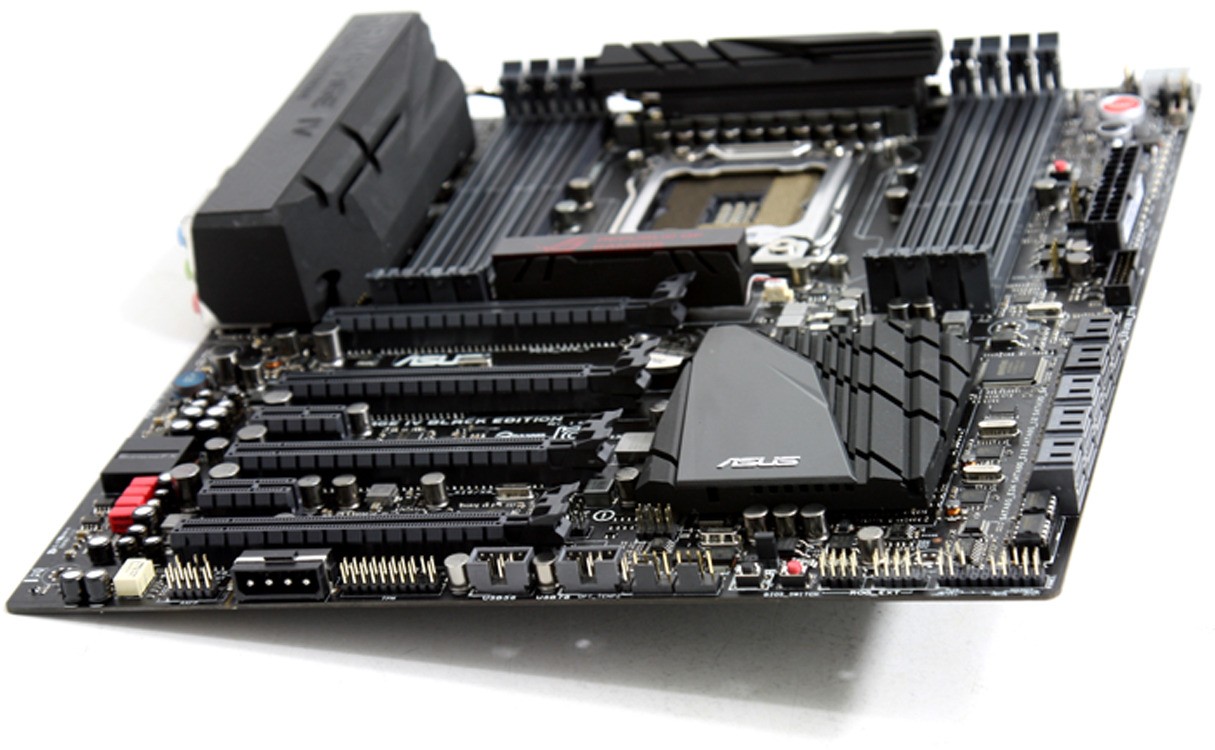
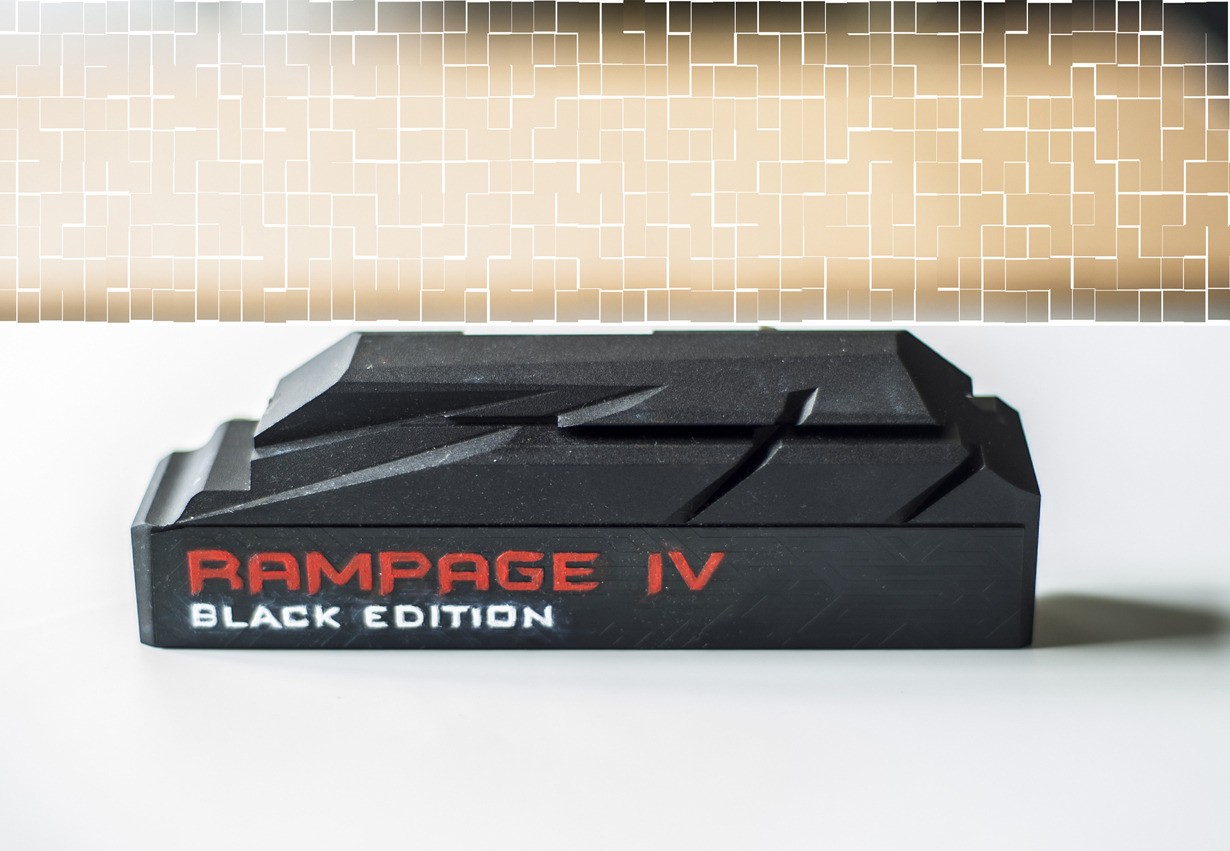
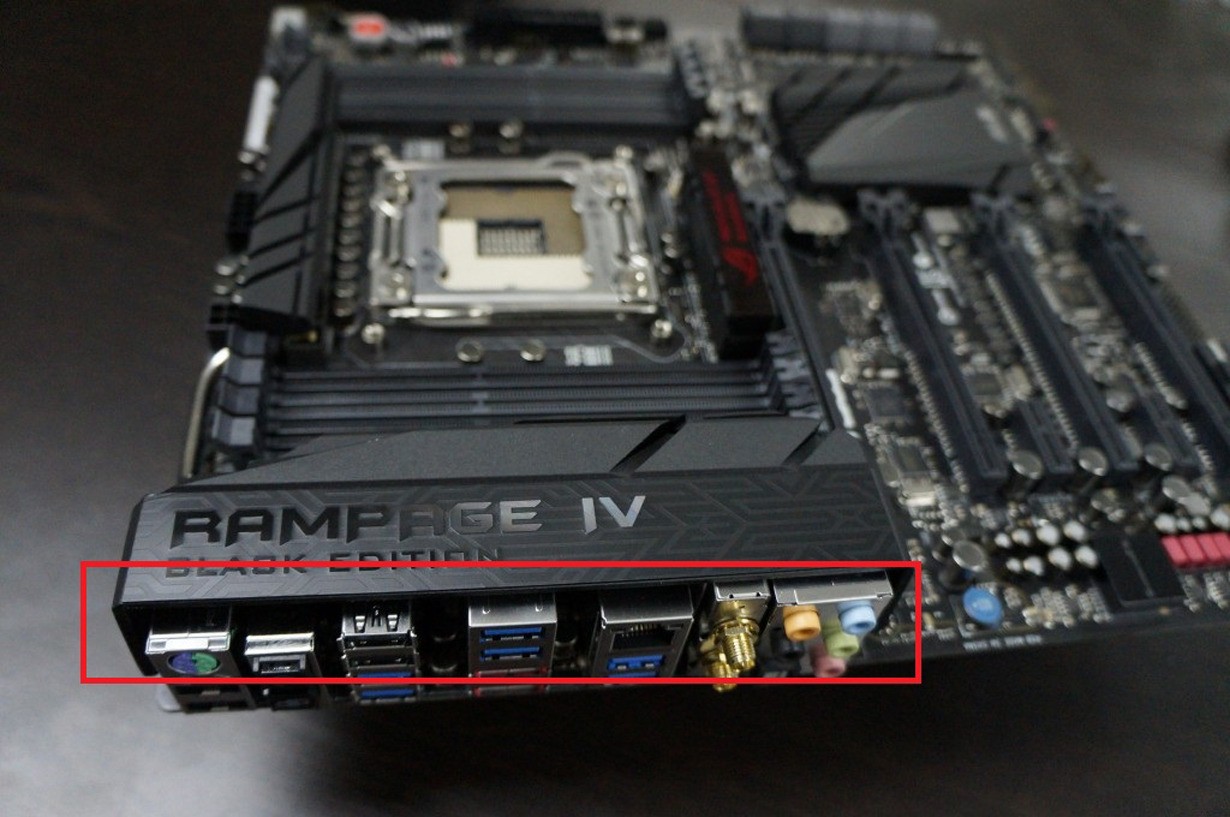
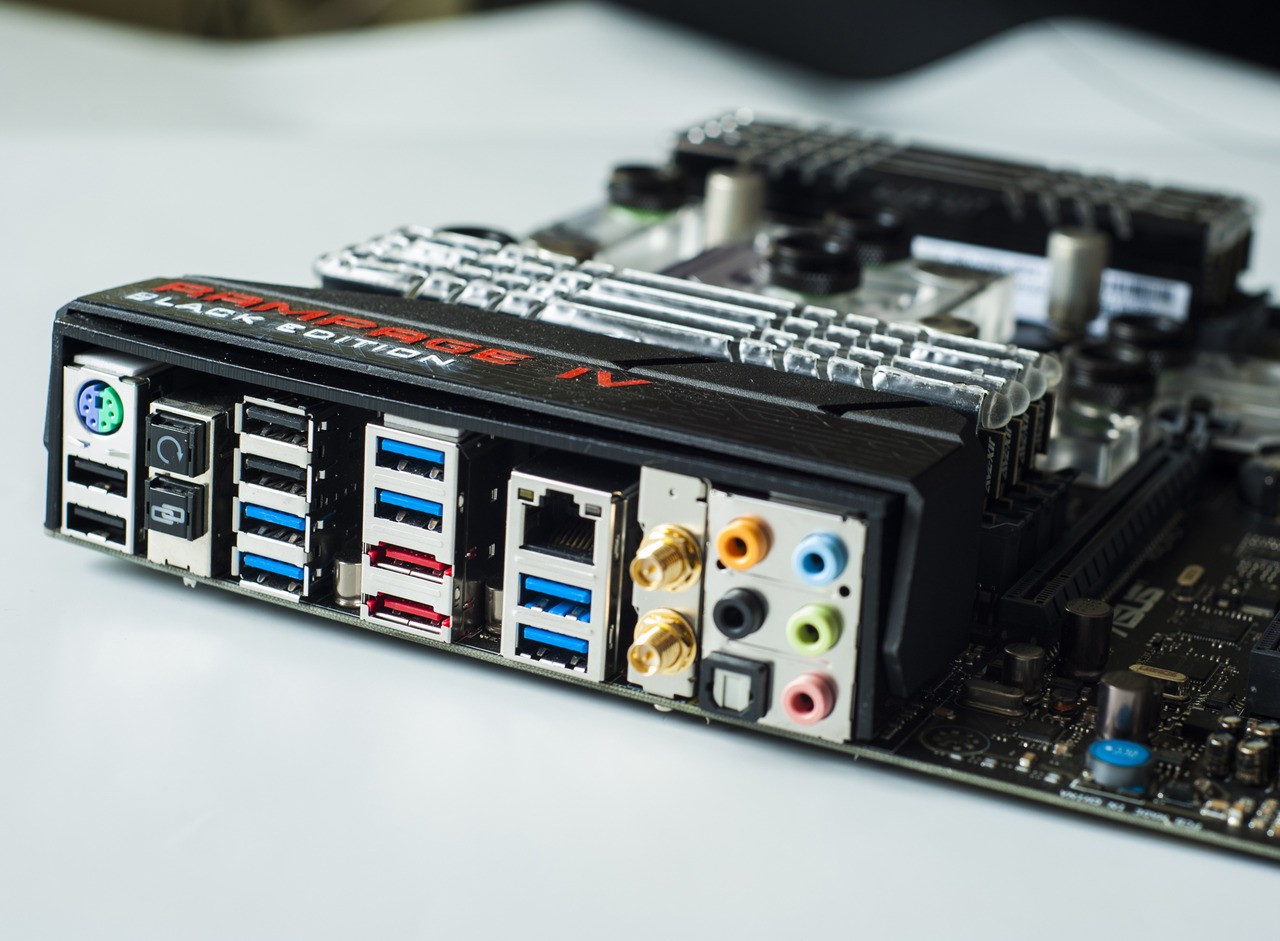
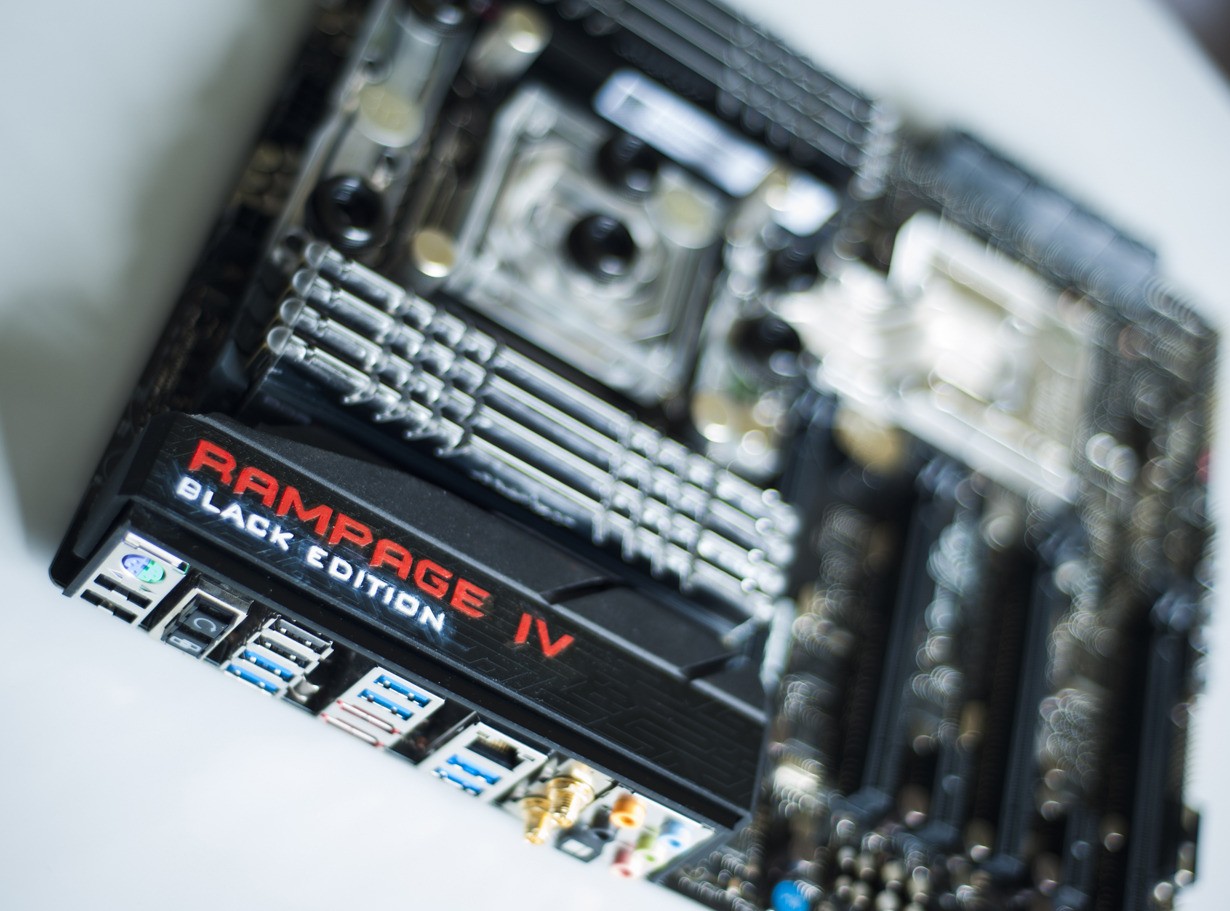
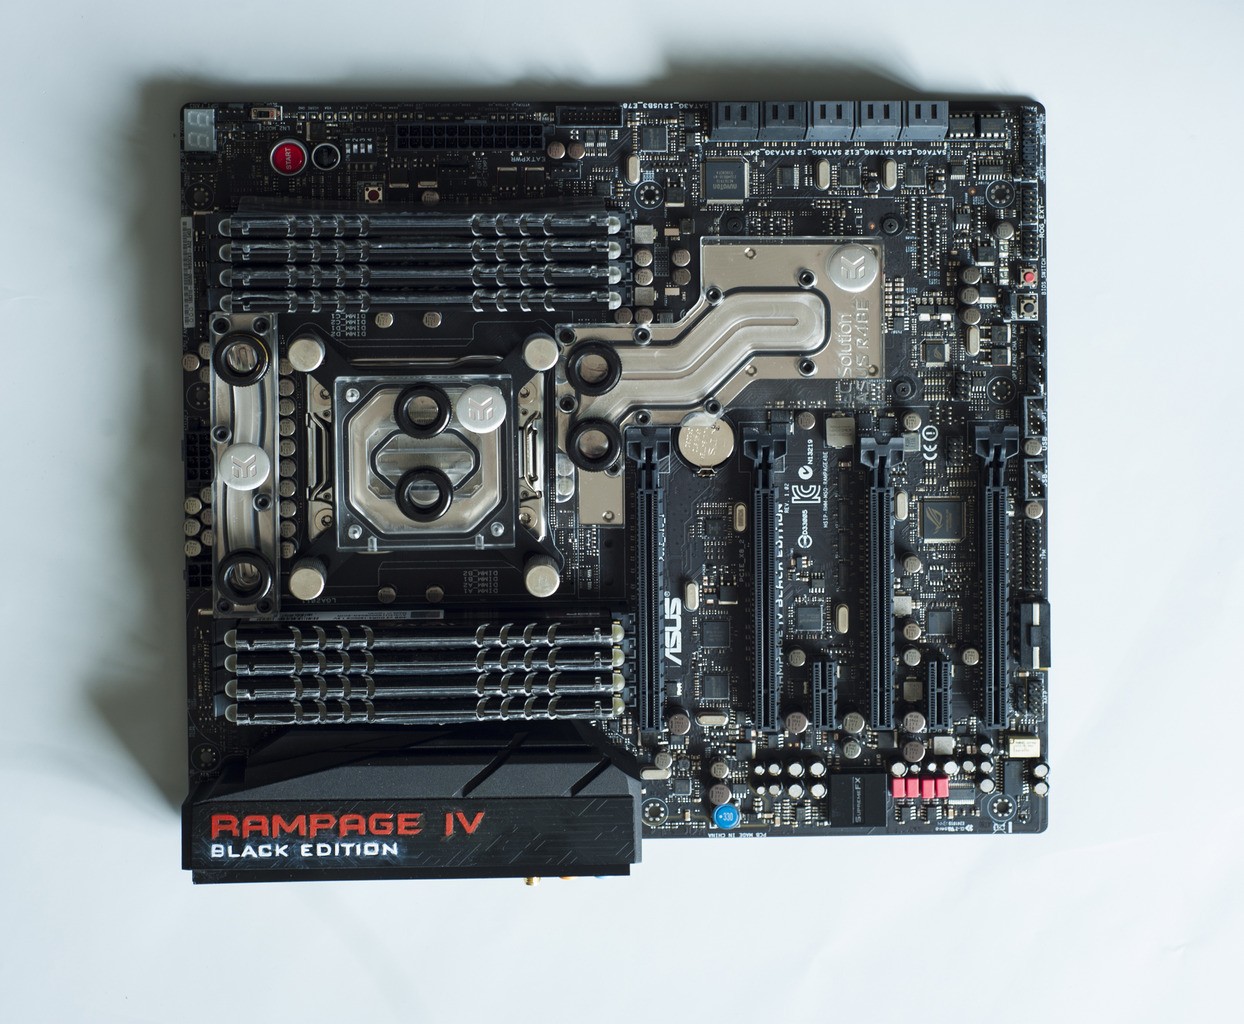
MB
ASUS R4 Black Edition
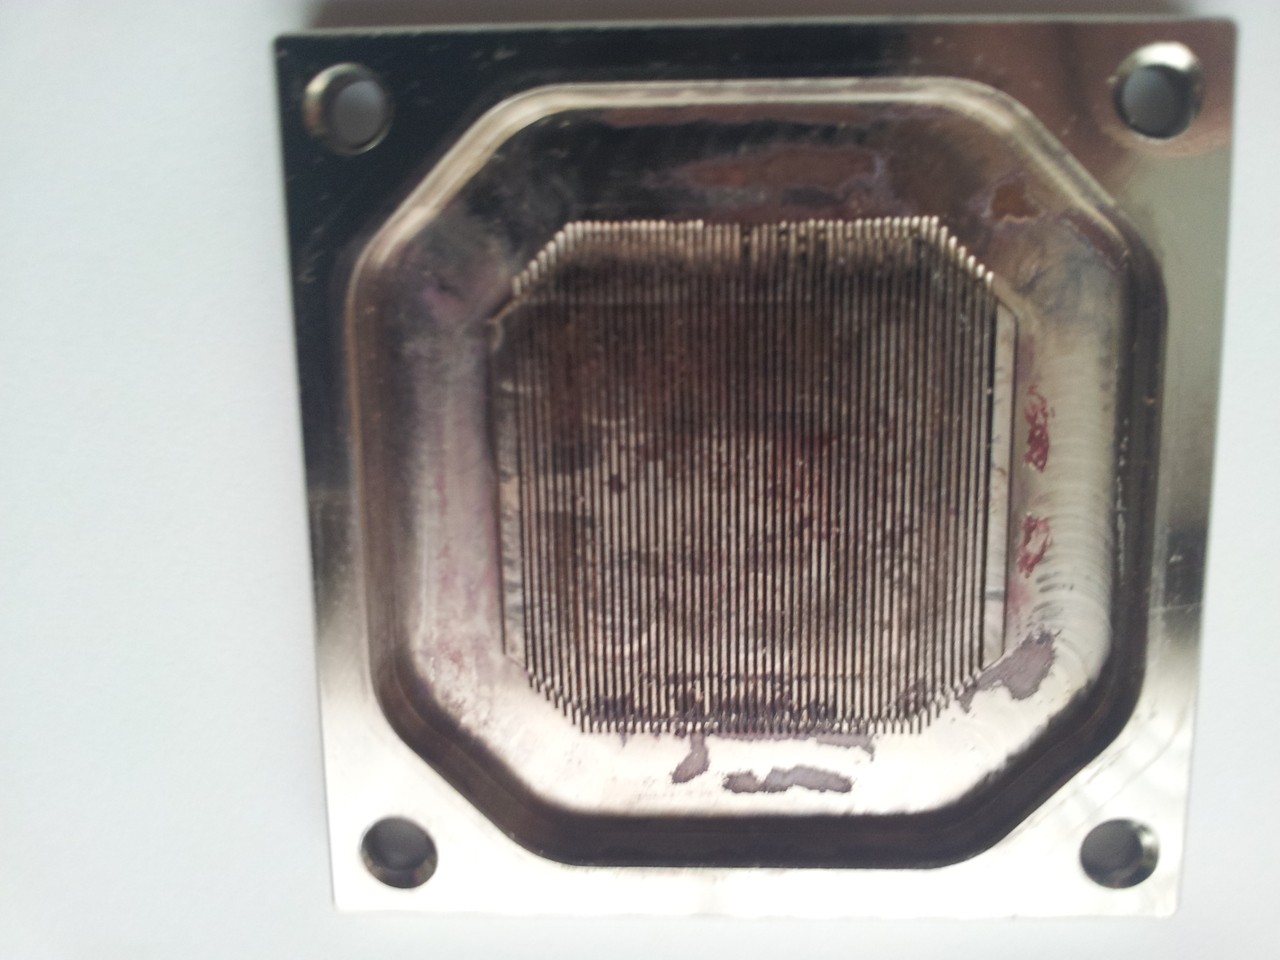
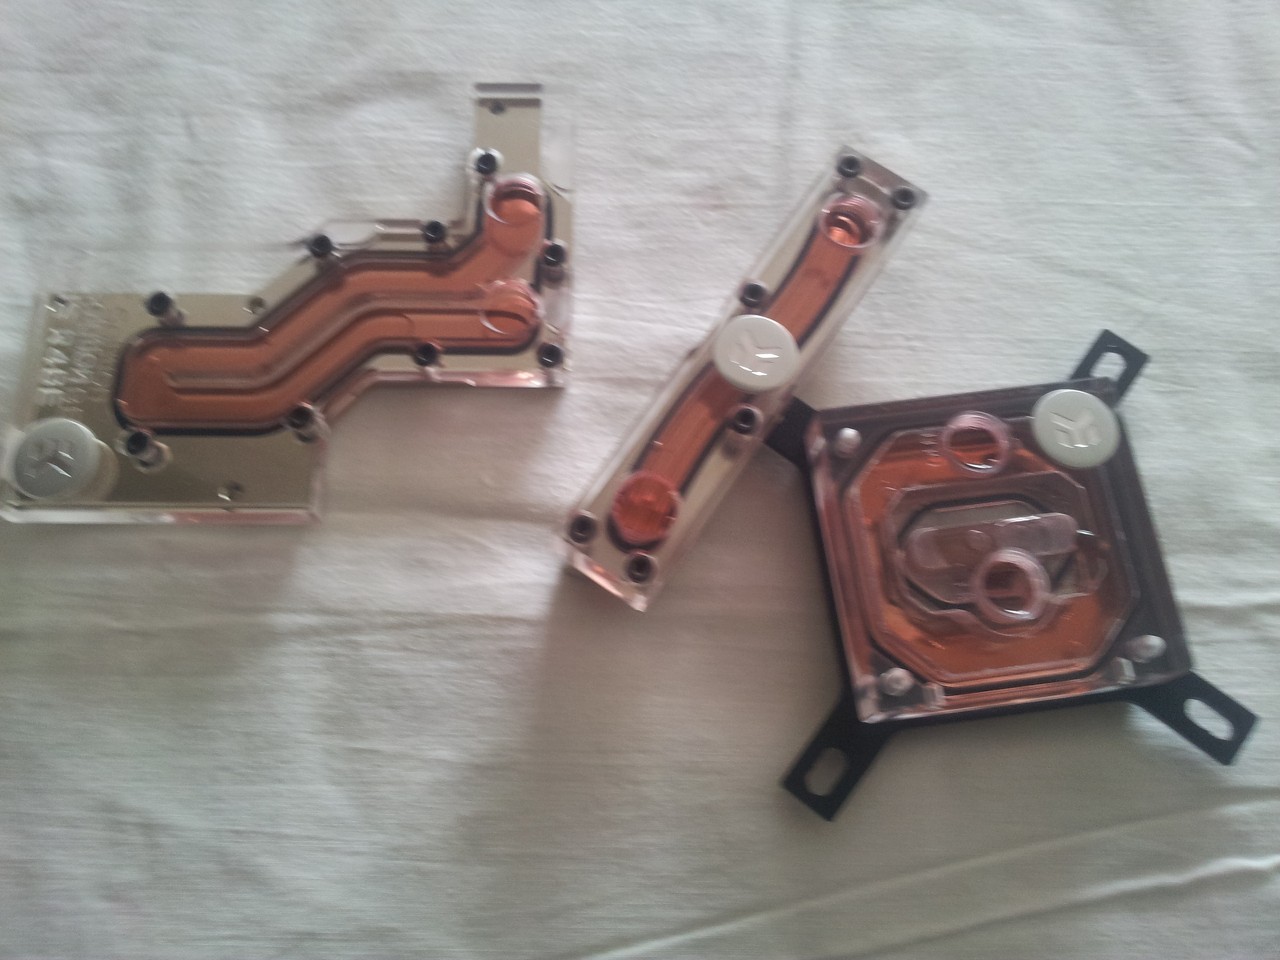
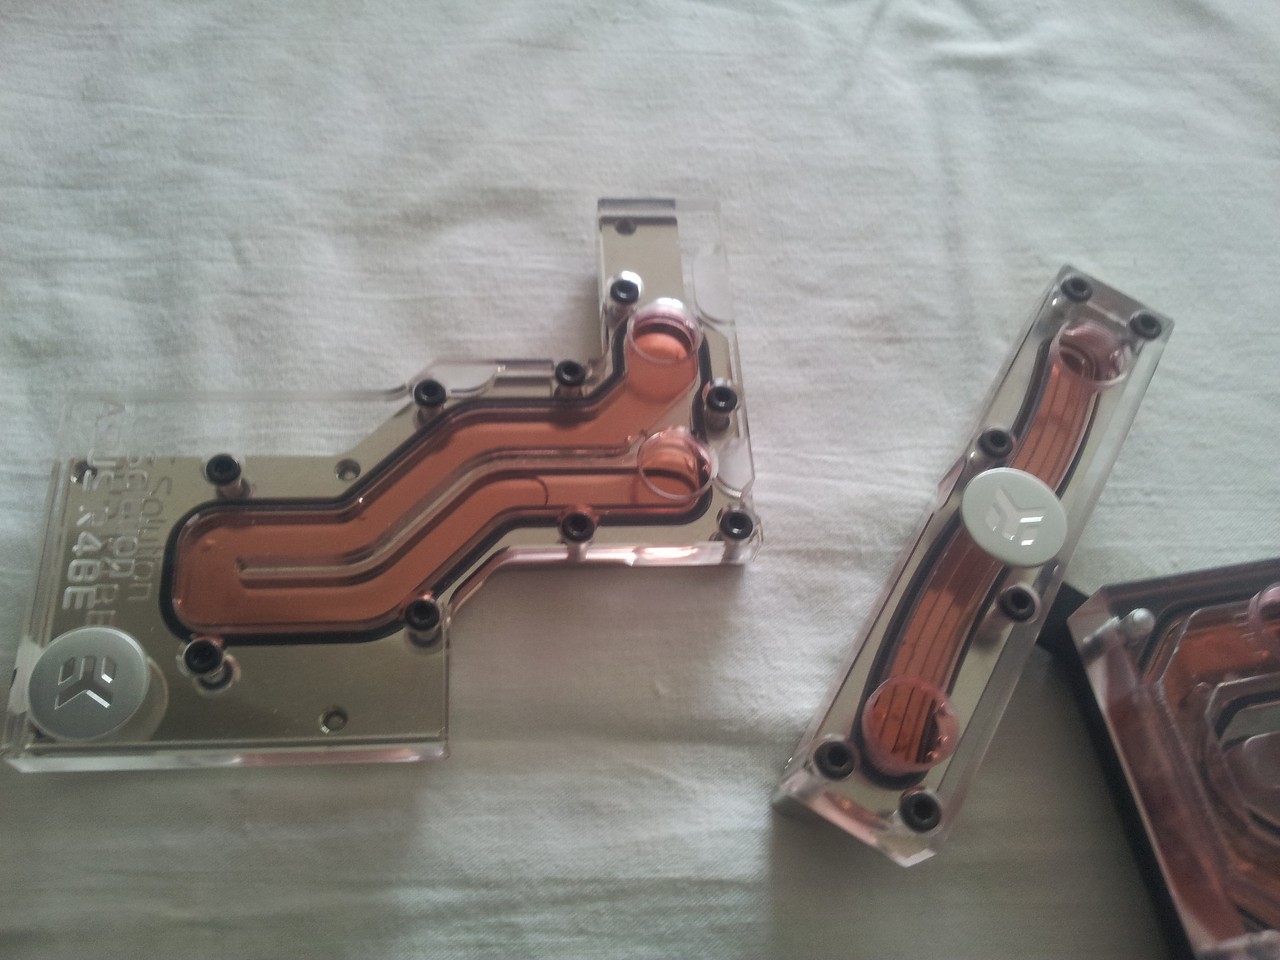
WB for MB
EK-FB KIT ASUS R4BE Nickel Plexi Clean CSQ
Cpu
Core i7 4820K 2011 3.7GHz 10MB
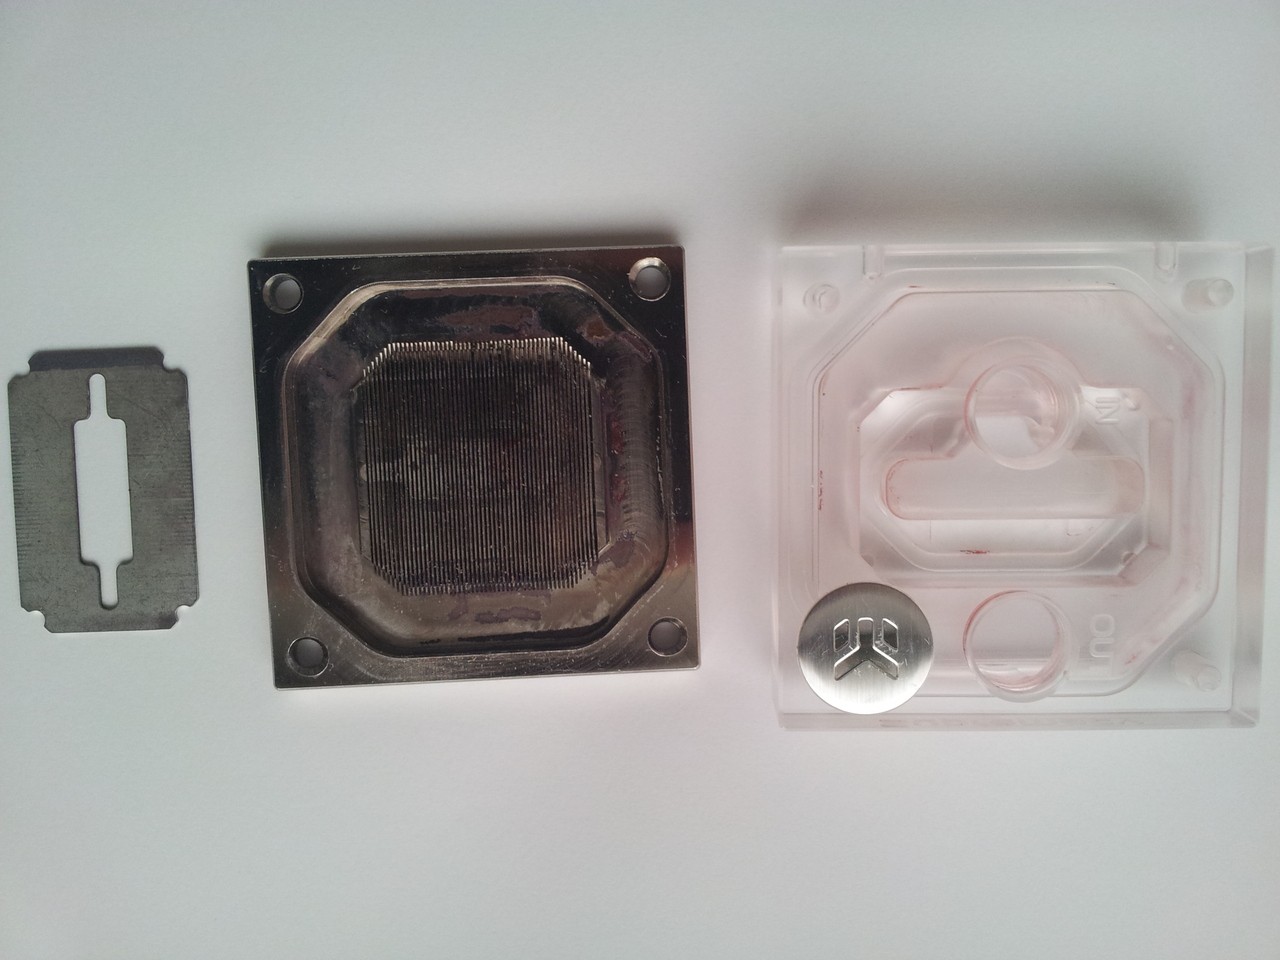
WB for CPU
EK-Supremacy Clean CSQ Nickel Plexi
Video card
2X ZOTAC GTX780 AMP! GDDR5 3GB 384BIT NVIDIA GEFORCE DX11.1
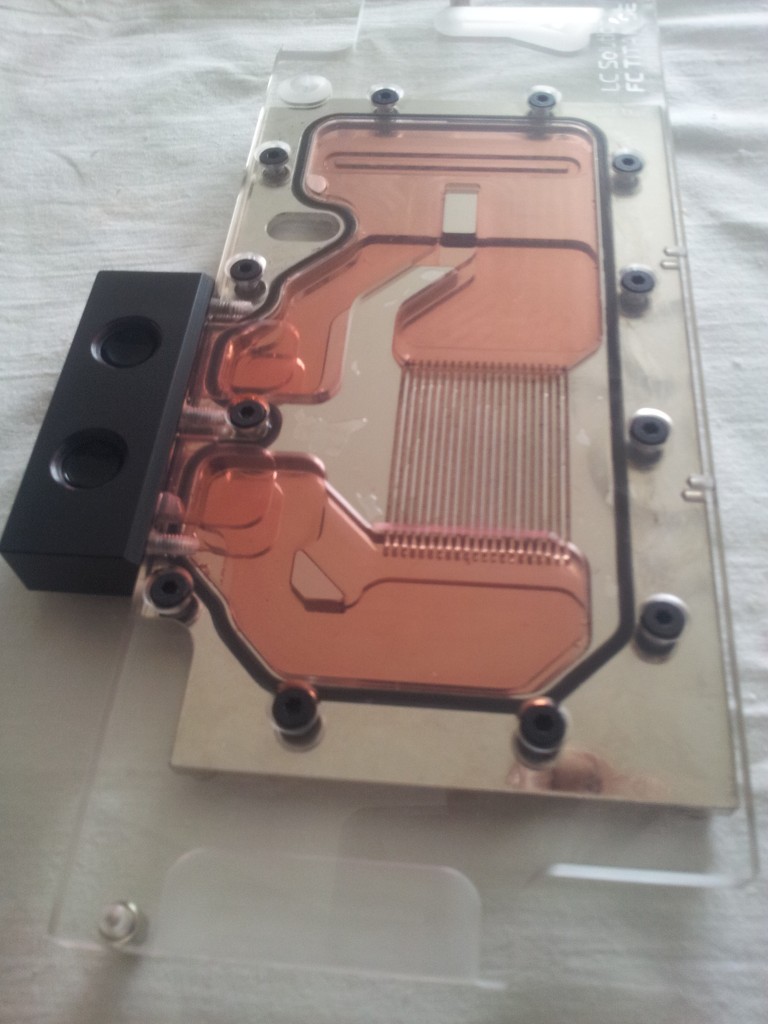
WB for Video
2X EK-FC TİTAN SE Nikel Plexi -Clean CSQ
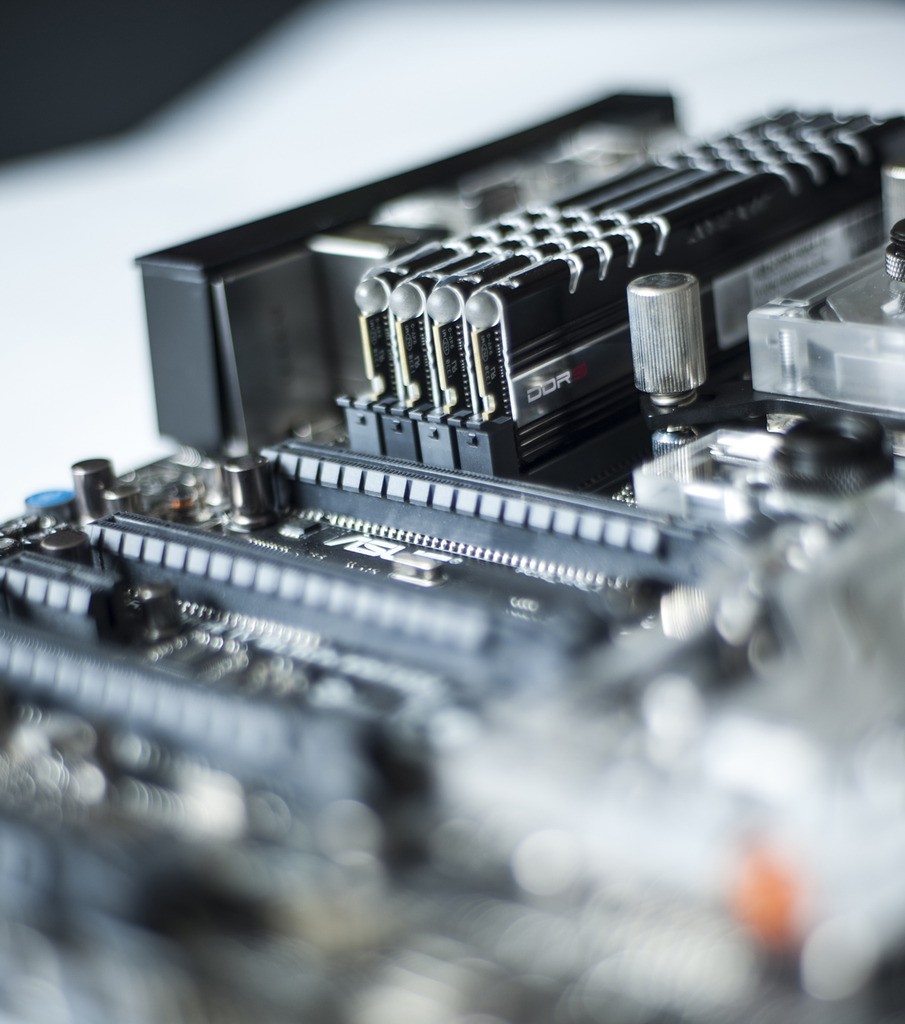
RAM
AVEXİR CORE SERİES 8X4
Rezervuar
EK –X2 250mm
PSU
CORSAİR Prof. Ser. Gold AX1200 — 80 PLUS
Rad
1x Alphacool NexXxoS UT60 Full Copper 360mm
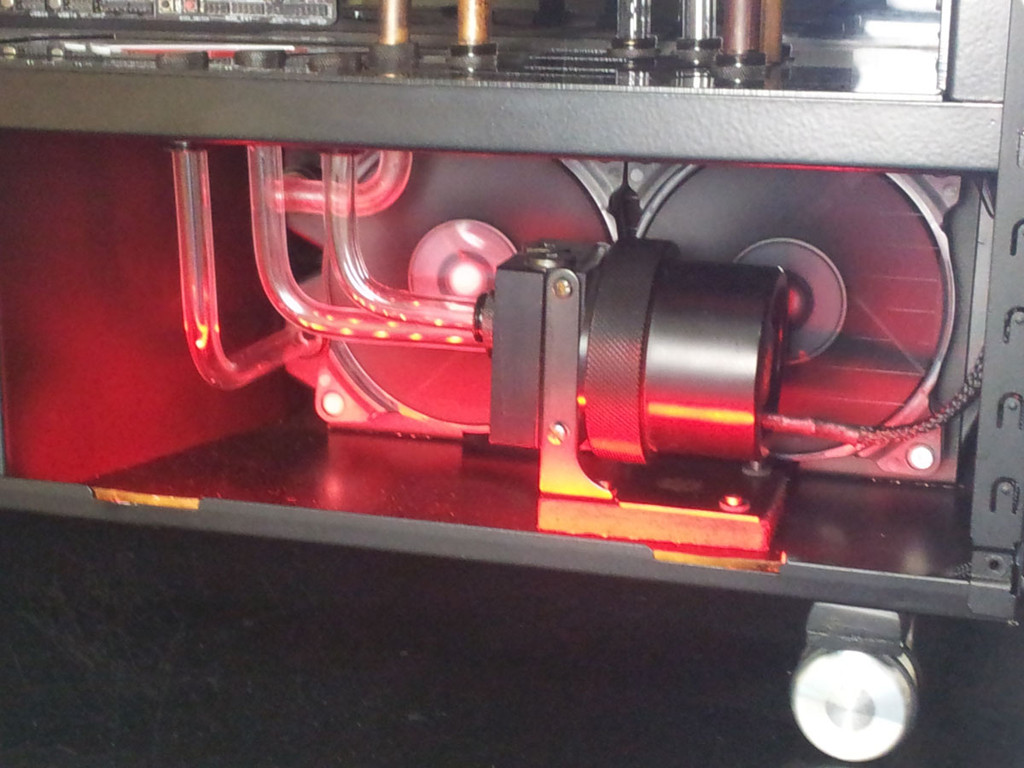
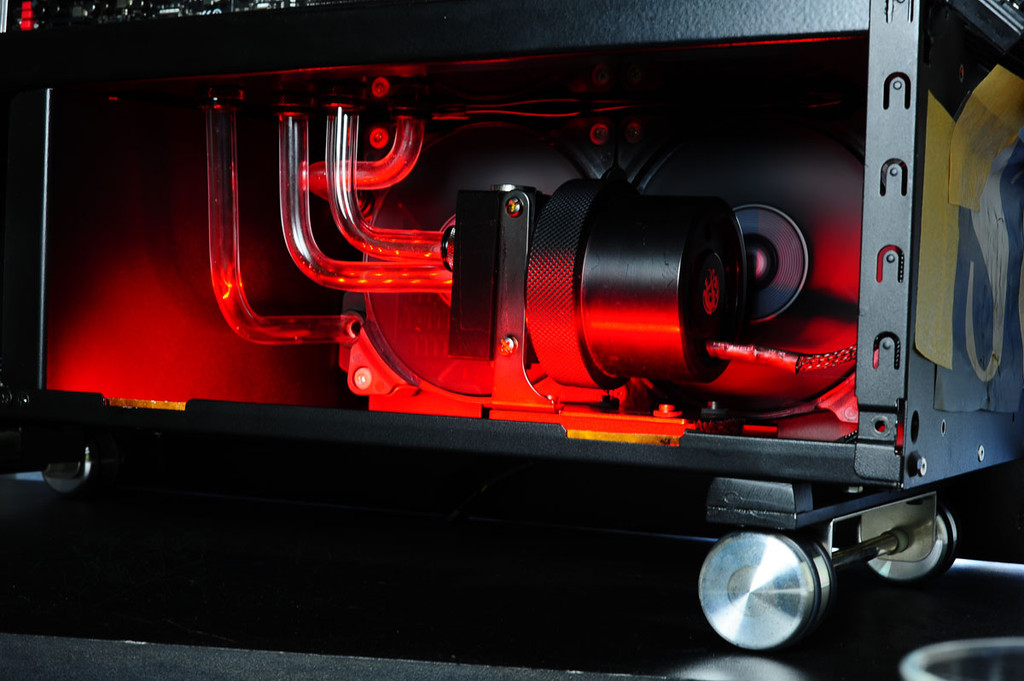
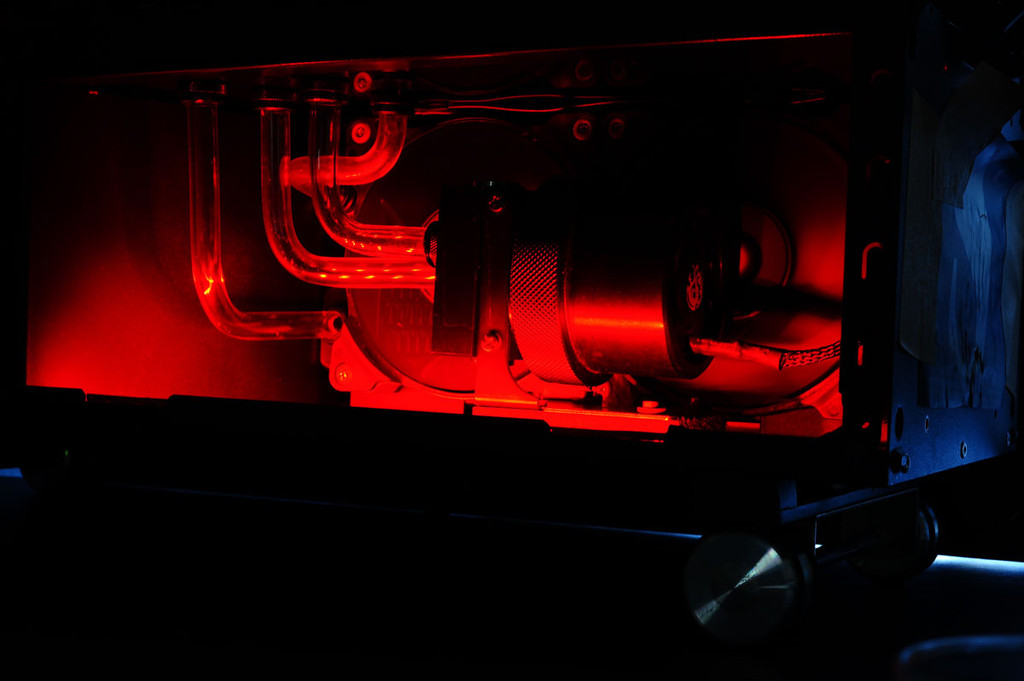
1x Alphacool NexXxoS Monsta 240
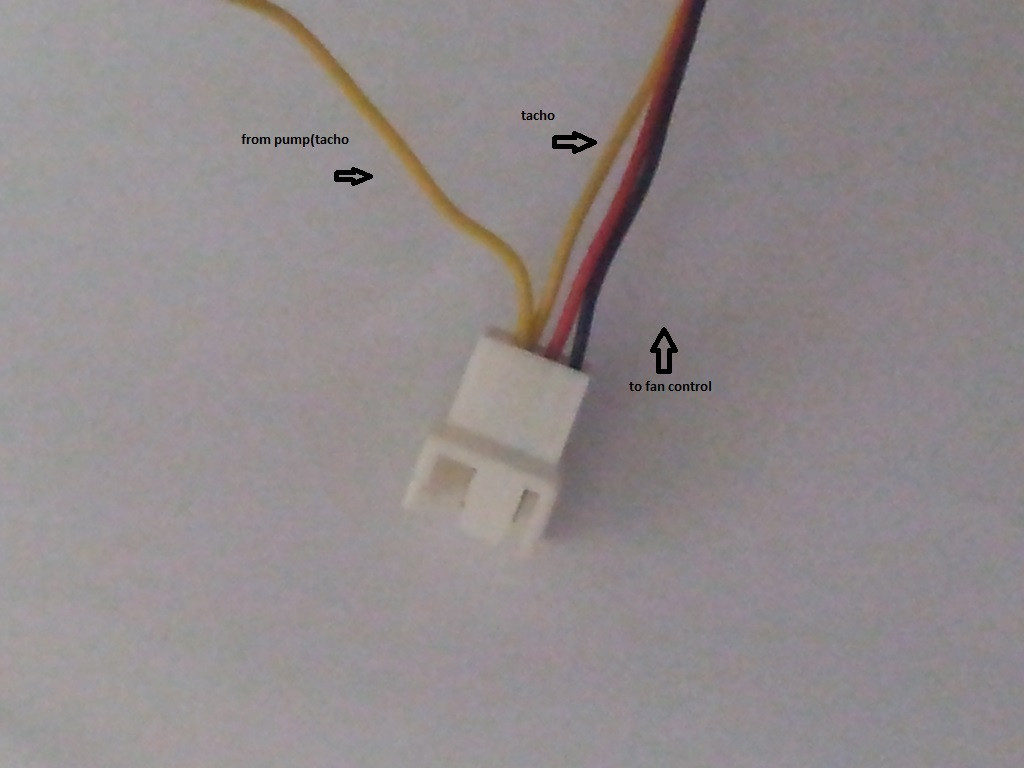
Pump
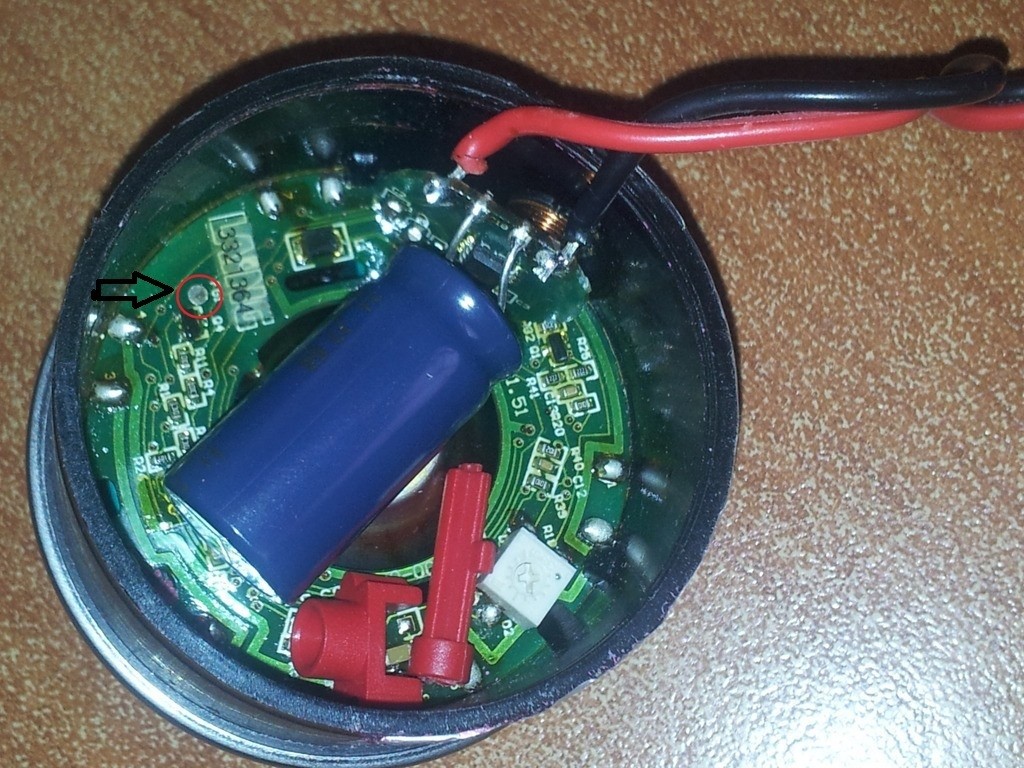
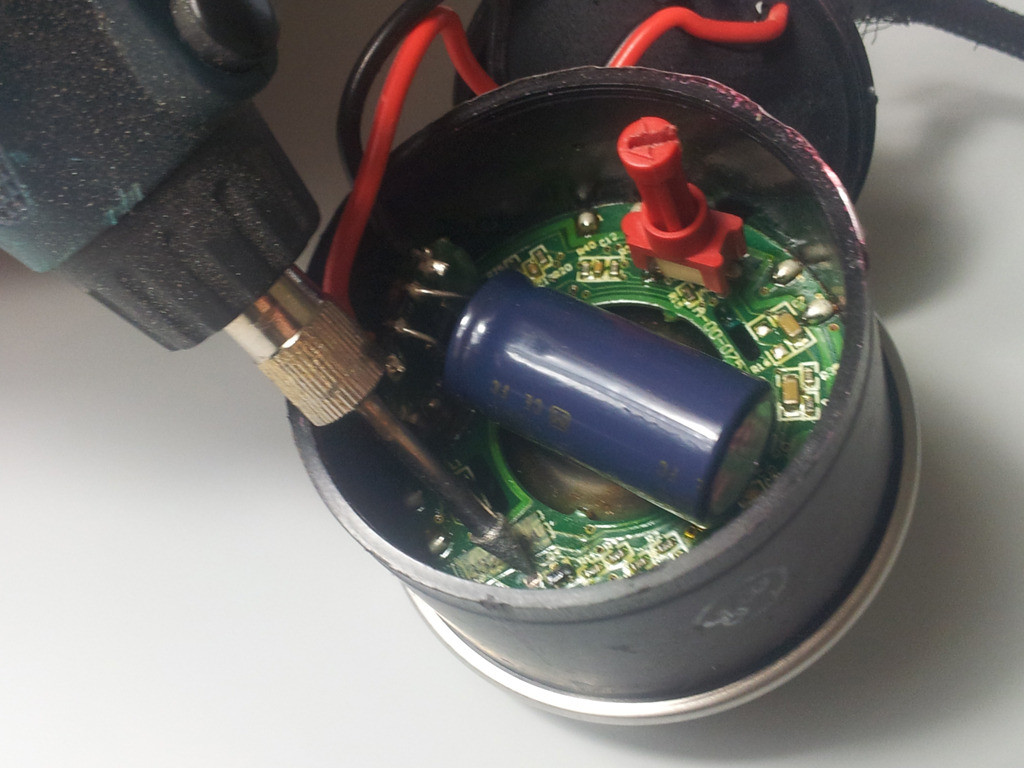
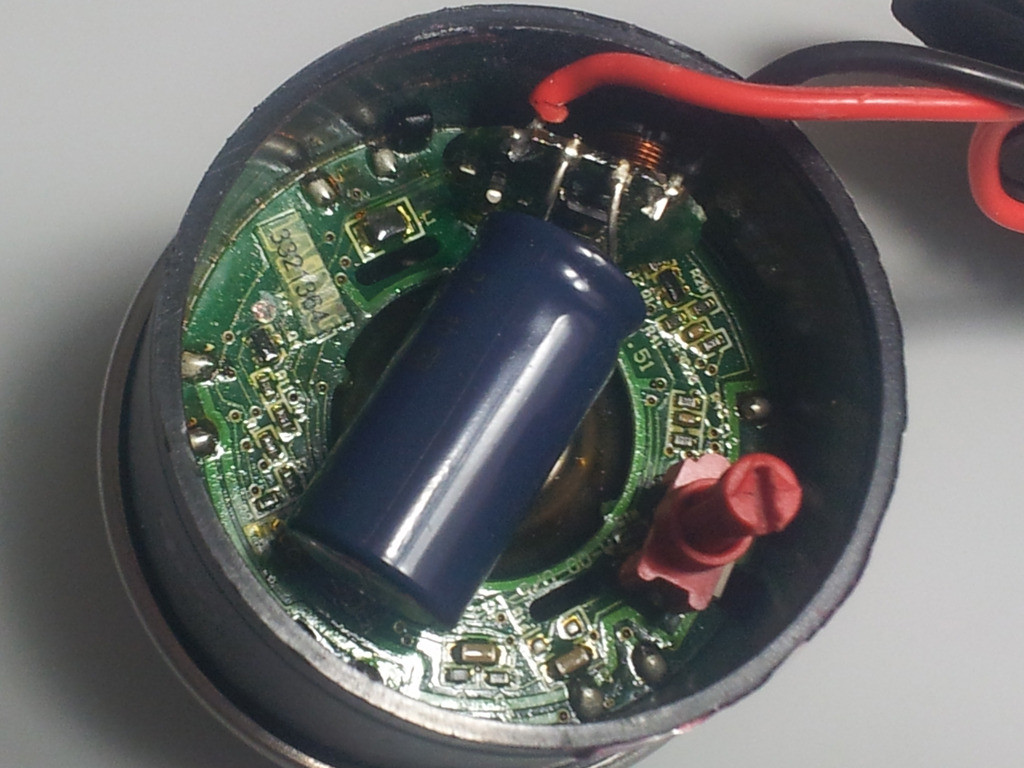
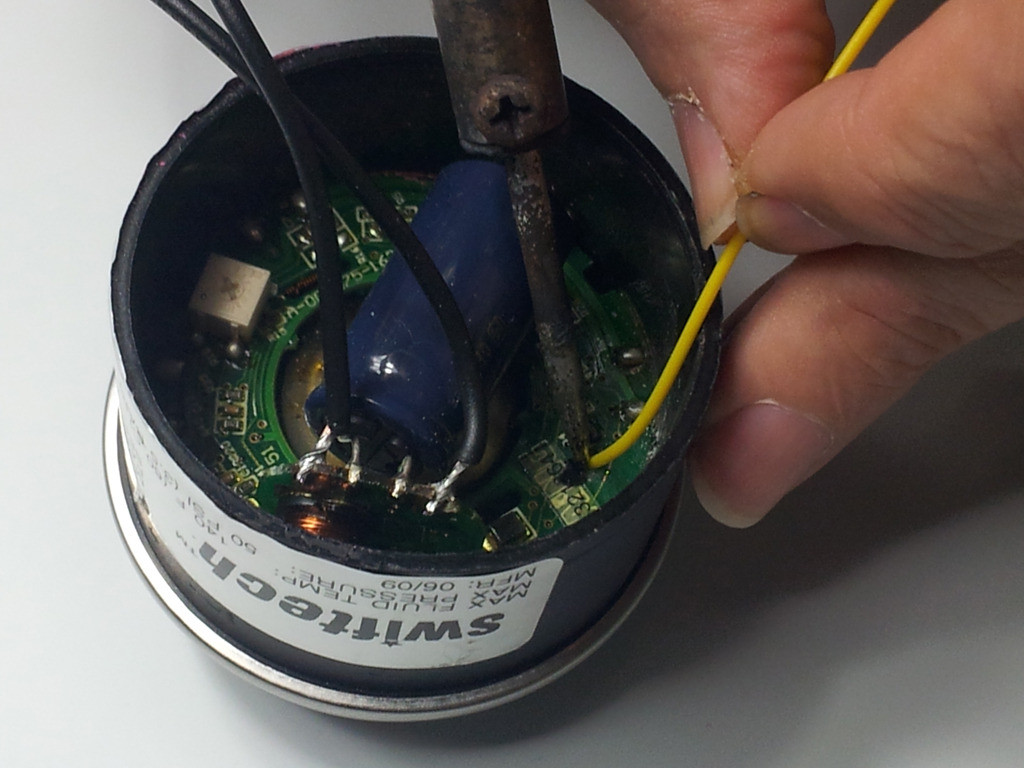
Swiftech MCP655™ Series 12 VDC Water Pumps - With Speed Control
Shroud
1x Koolance 4-Fan Radiator Shroud, Black
Fittings
30x Bitspower G1/4" Matte Black Enhance Dual Multi-Link For Acrylic Tube OD 12MM
Fans
12x CORSAIR Air Series SP120 High Performance Edition High Static Pressure 120mm Case fun
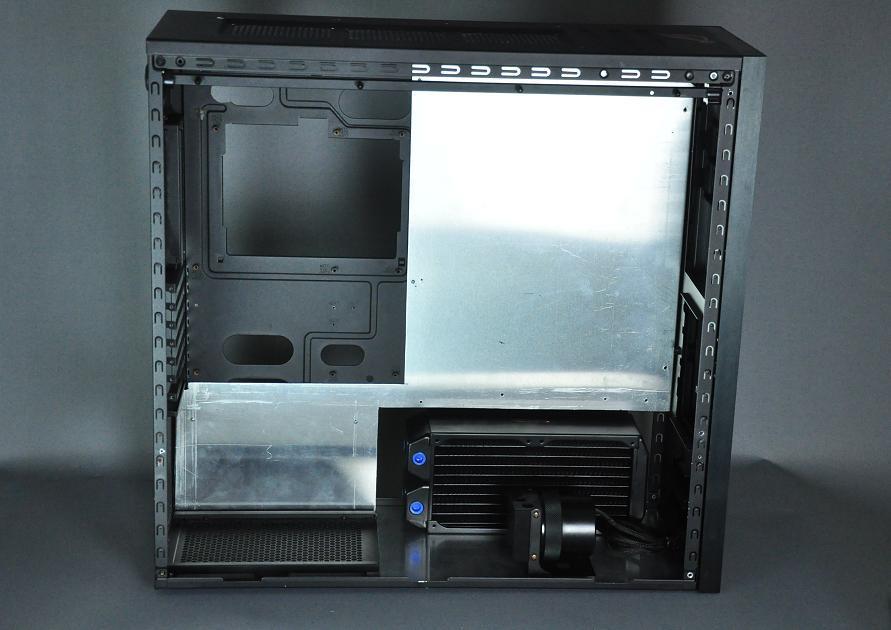
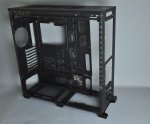
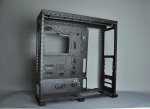
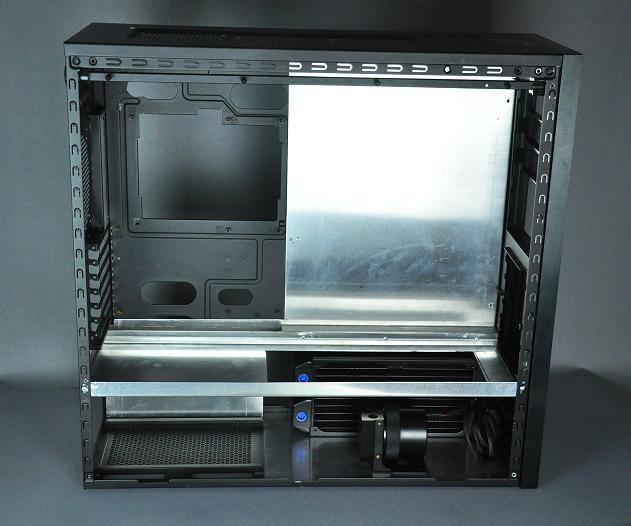
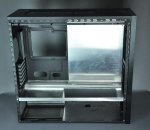
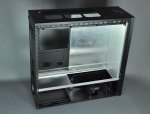
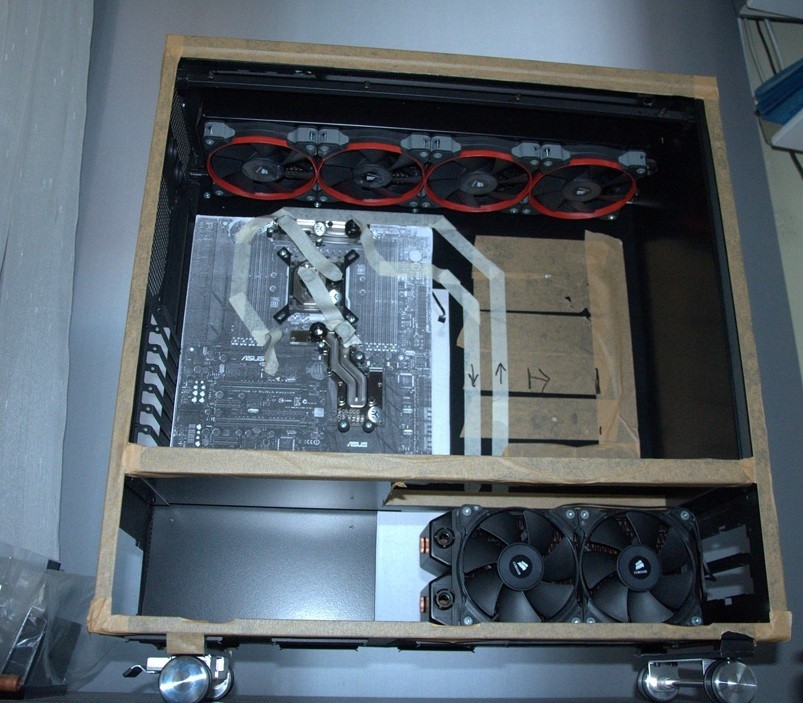
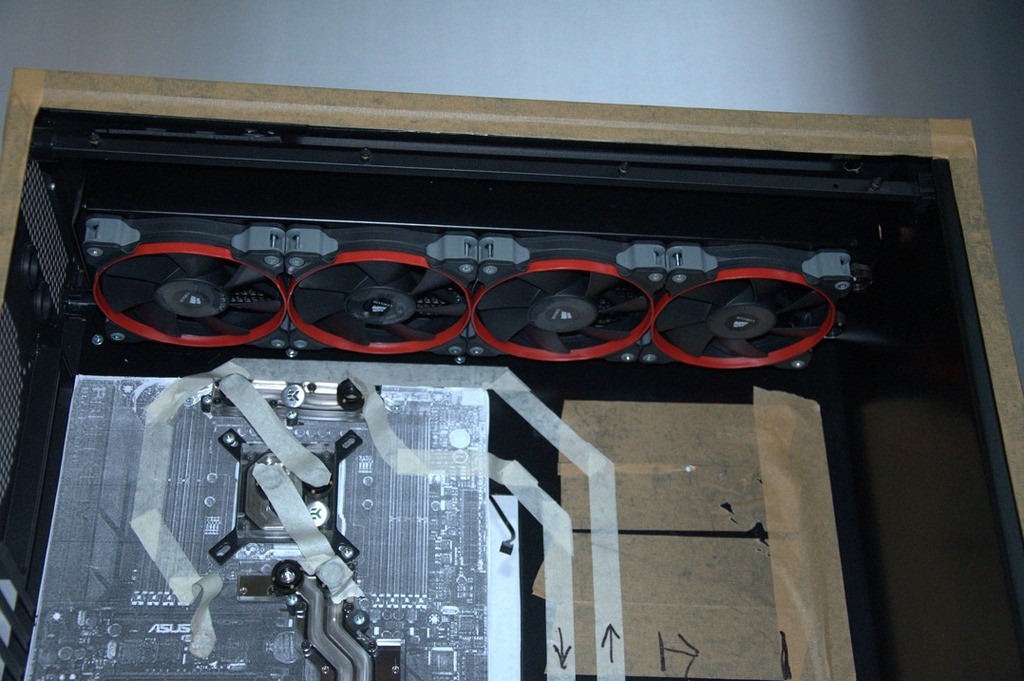
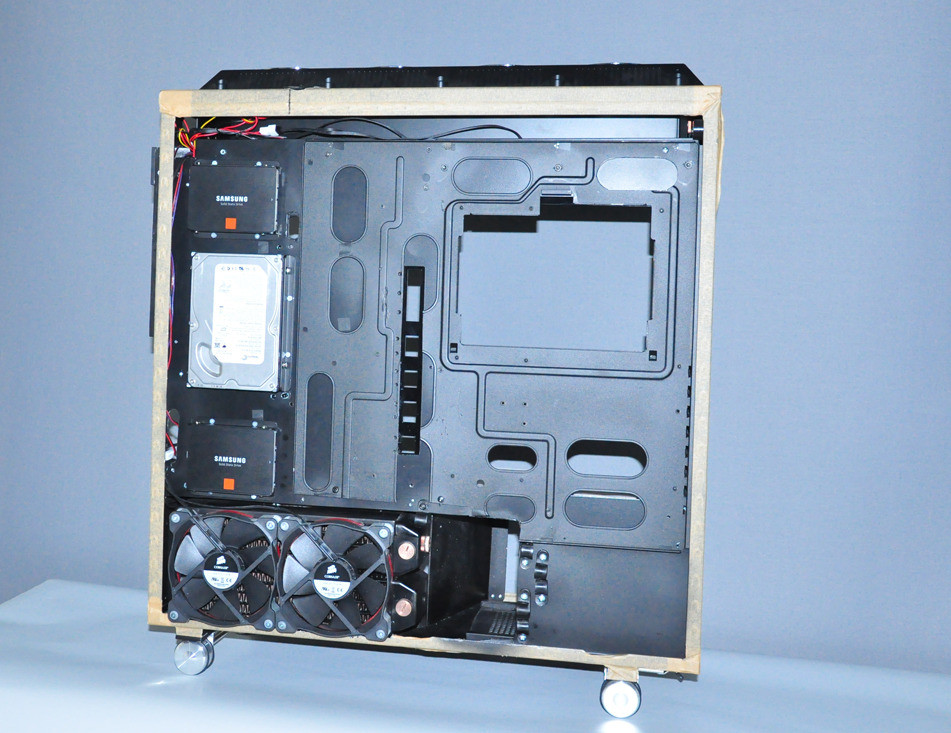
The case naked


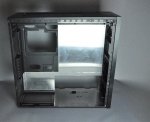
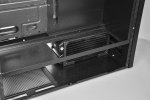
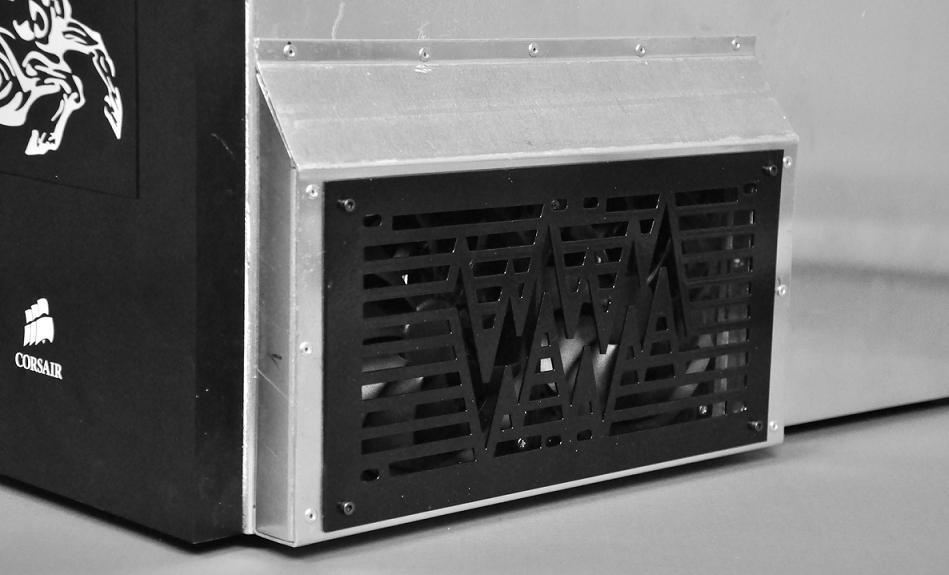
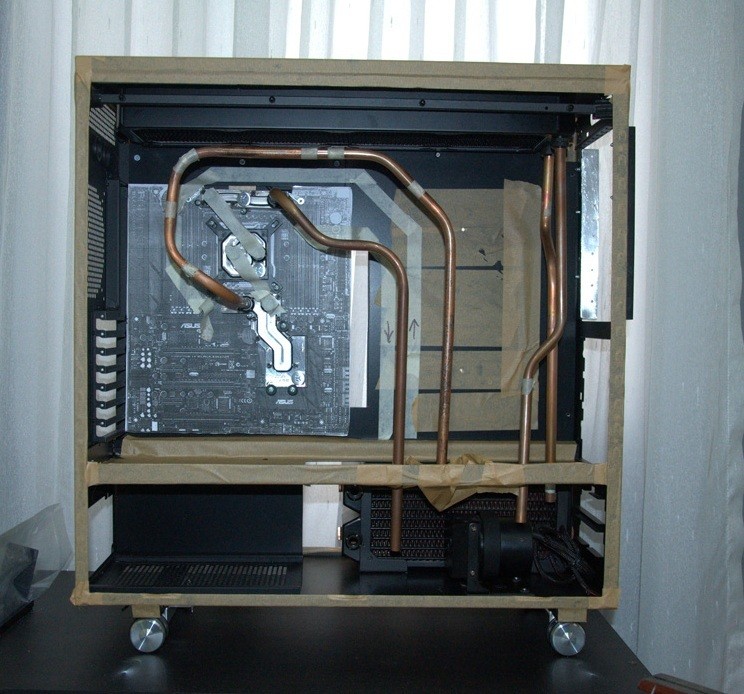
Adding a backplate for the new case

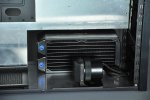
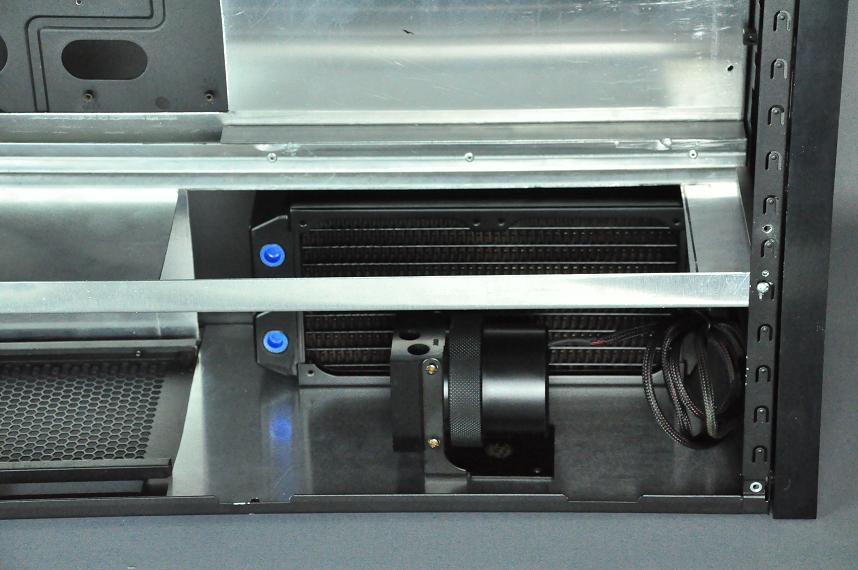
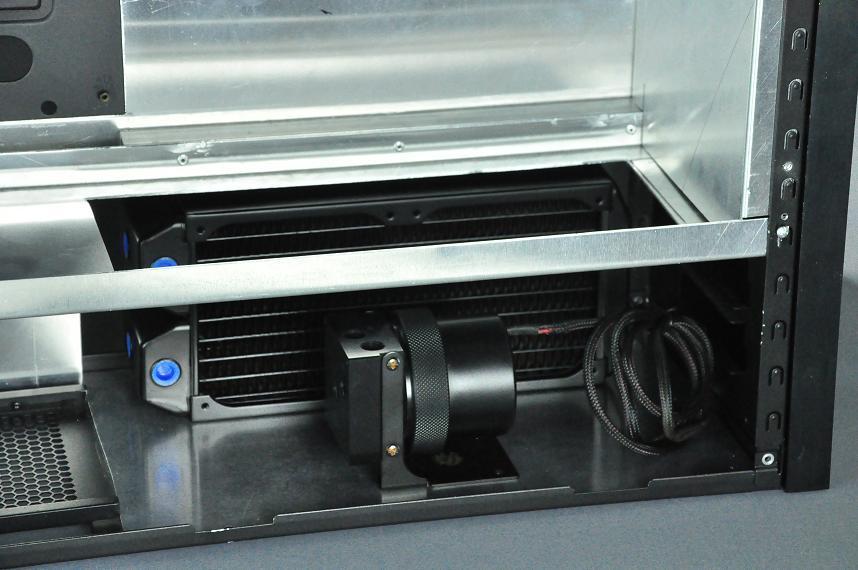
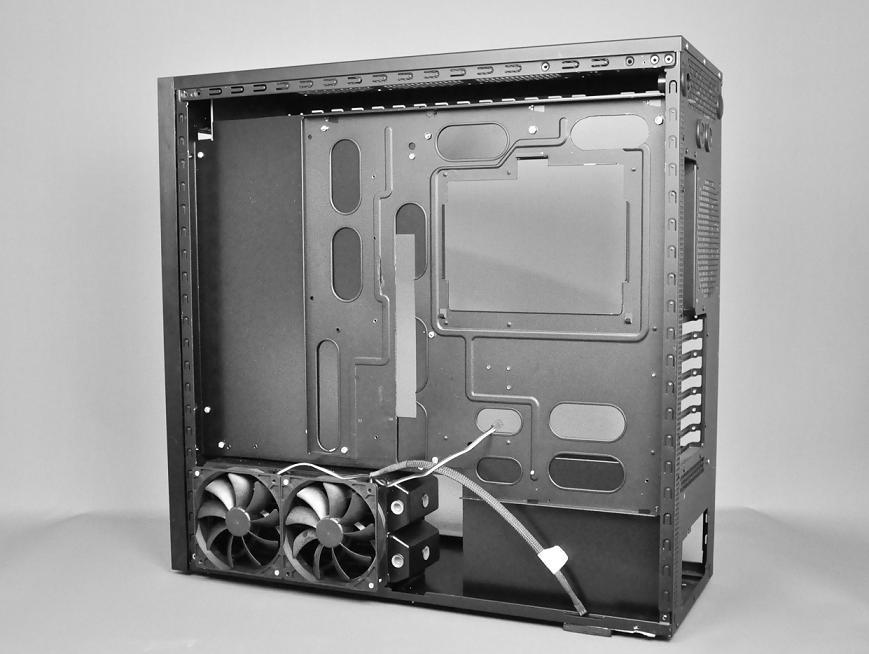
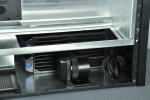
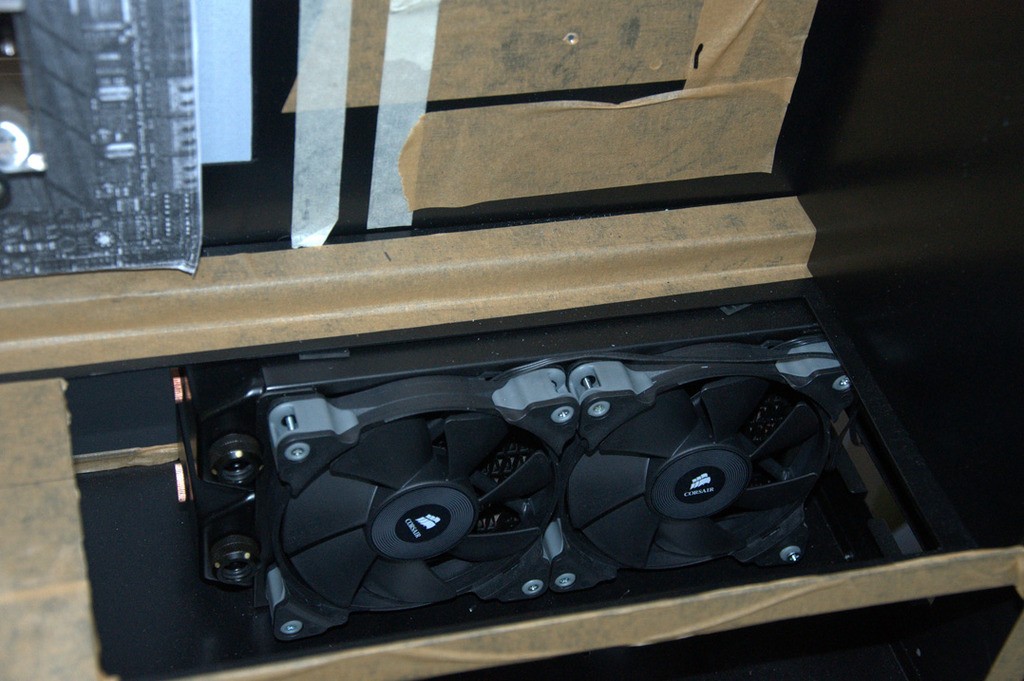
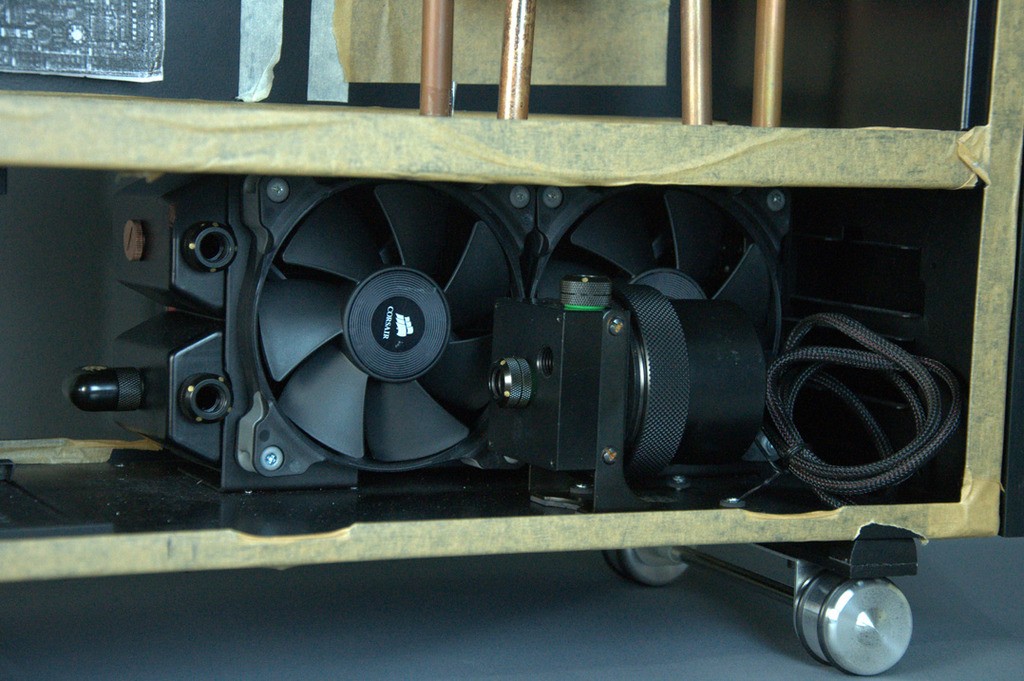
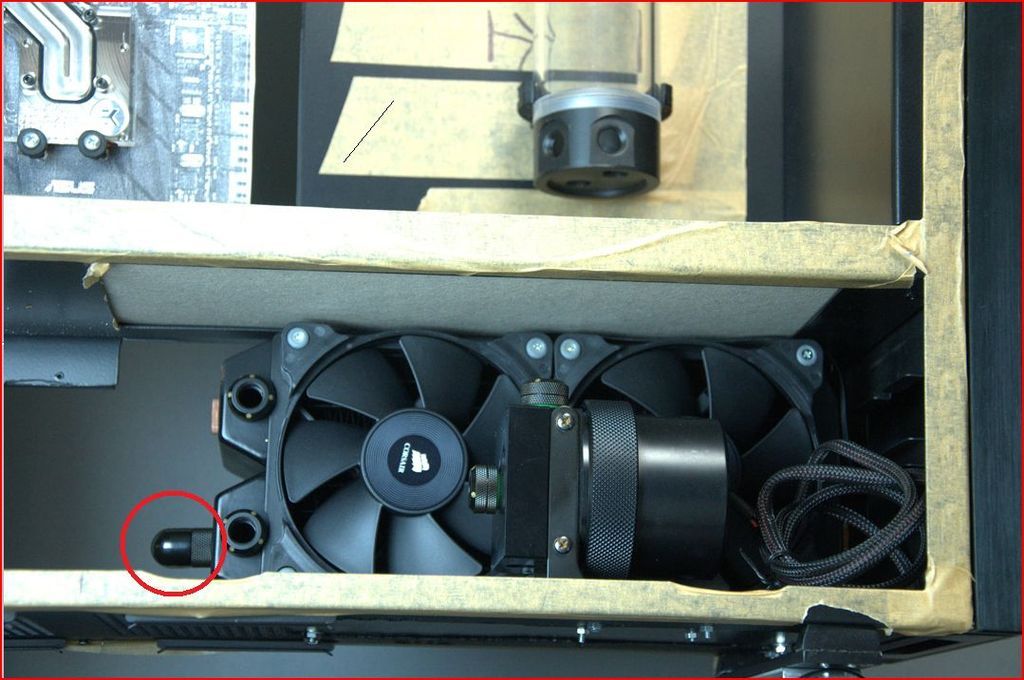
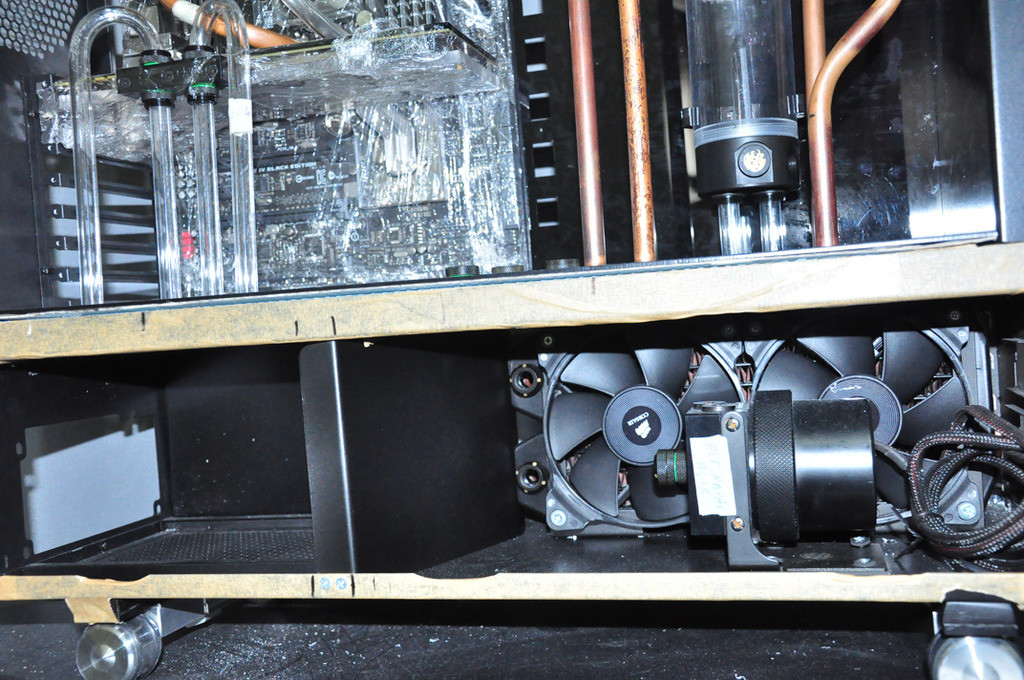
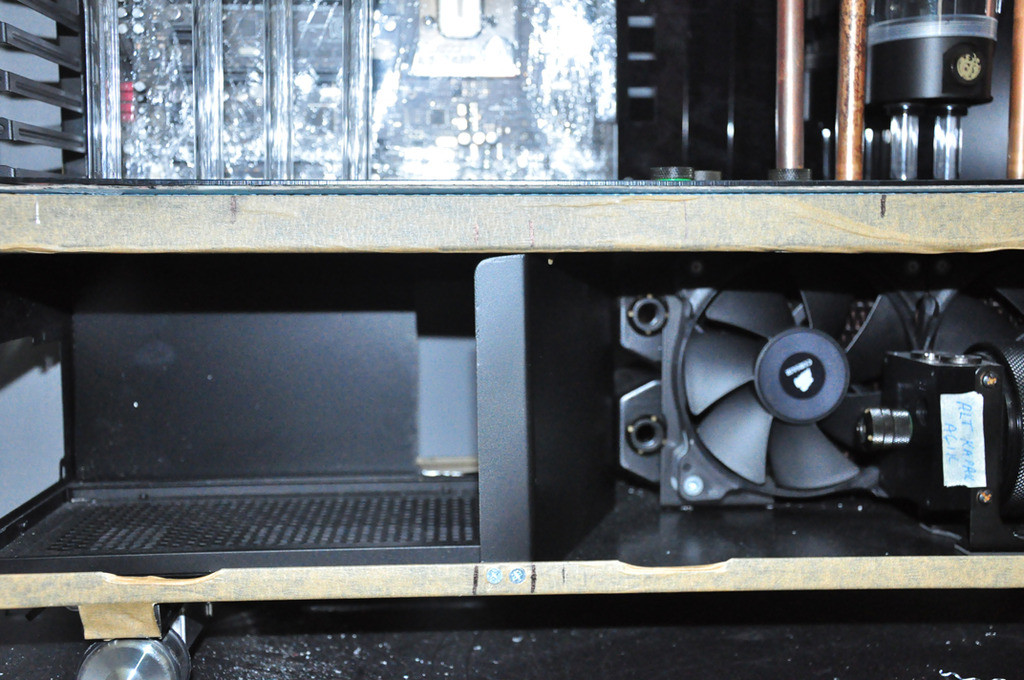
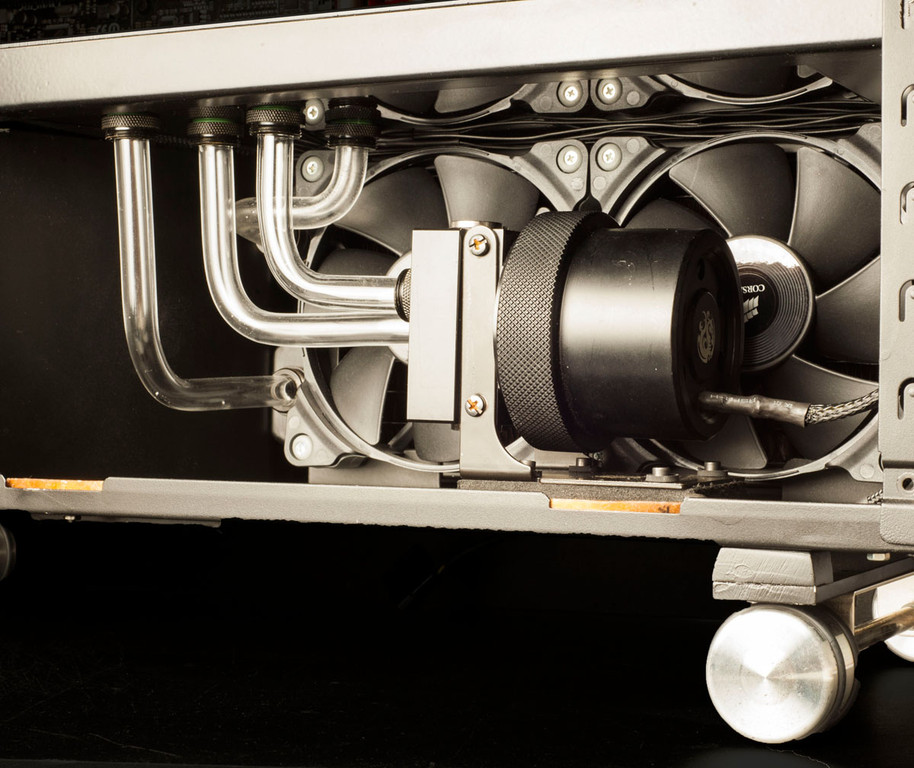
The new place for MONSTA 240 and SWİFTECH 655 pump

OTHER WORKLOGS
Worklog http://www.hardwareluxx.de/community/f143/playdoh-silverstone-tj-07-acrylic-pipe-1012476.html
Worklog http://www.hardwareluxx.de/communit...w-edition-acrylic-tubing-upgrade-1027807.html
Worklog http://www.hardwareluxx.de/community/f143/12-angry-men-900-d-case-p1-1002736.html
Worklog http://www.hardwareluxx.de/community/f143/corsair-900-d-watercooled-mmt-case-997564.html
Worklog http://www.hardwareluxx.de/community/f143/jumbo-case-997157.html
Worklog http://www.hardwareluxx.de/community/f143/corsair-900-d-watercooled-mmt-case-997564.html
Worklog http://www.hardwareluxx.de/community/f143/transformer-case-996669.html
Worklog http://www.hardwareluxx.de/community/f143/how-make-bench-case-old-atx-1-a-1032451.html
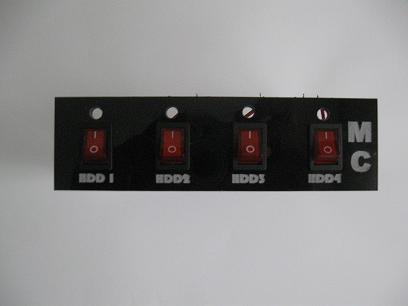
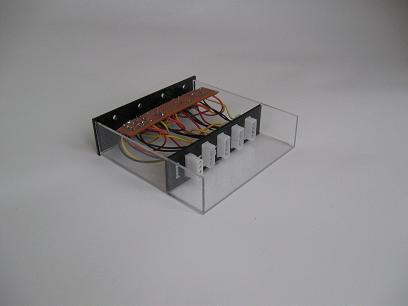
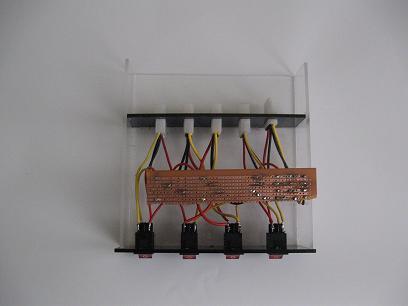
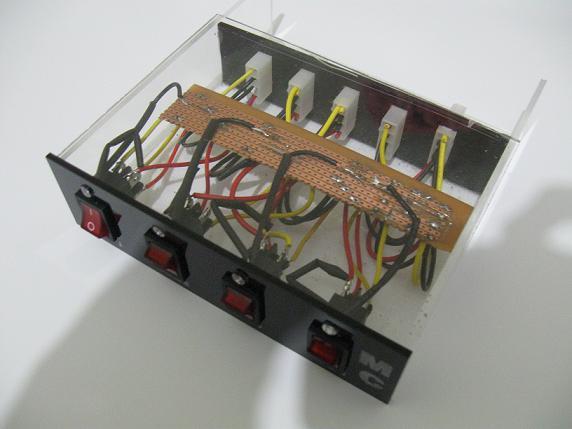
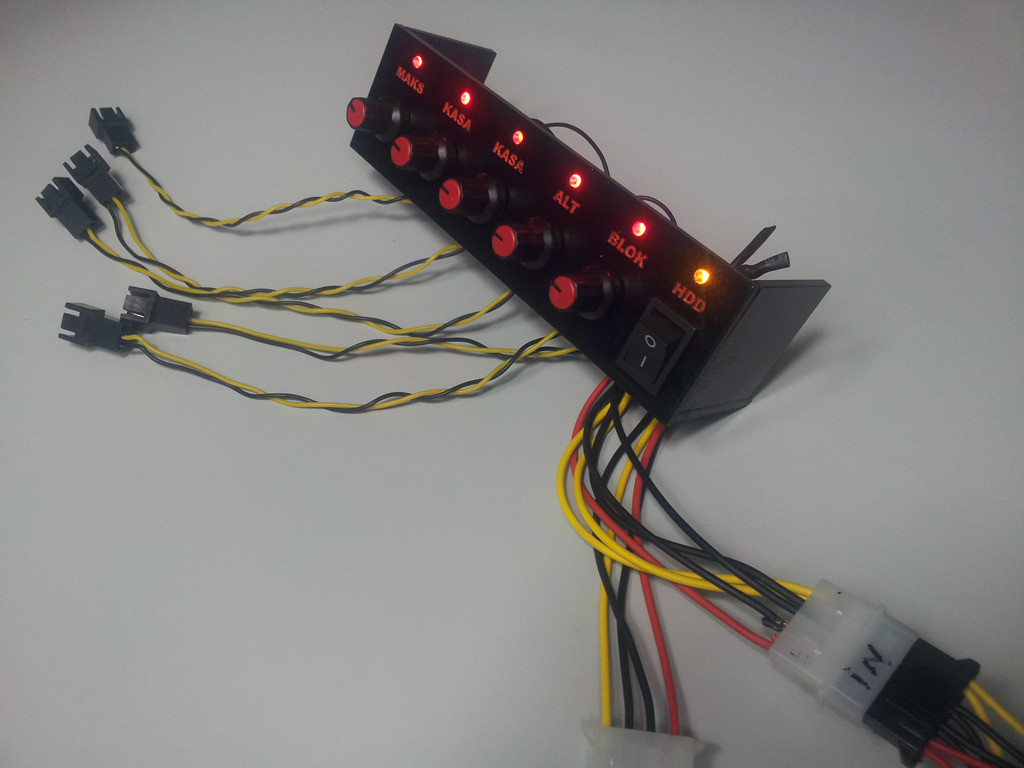
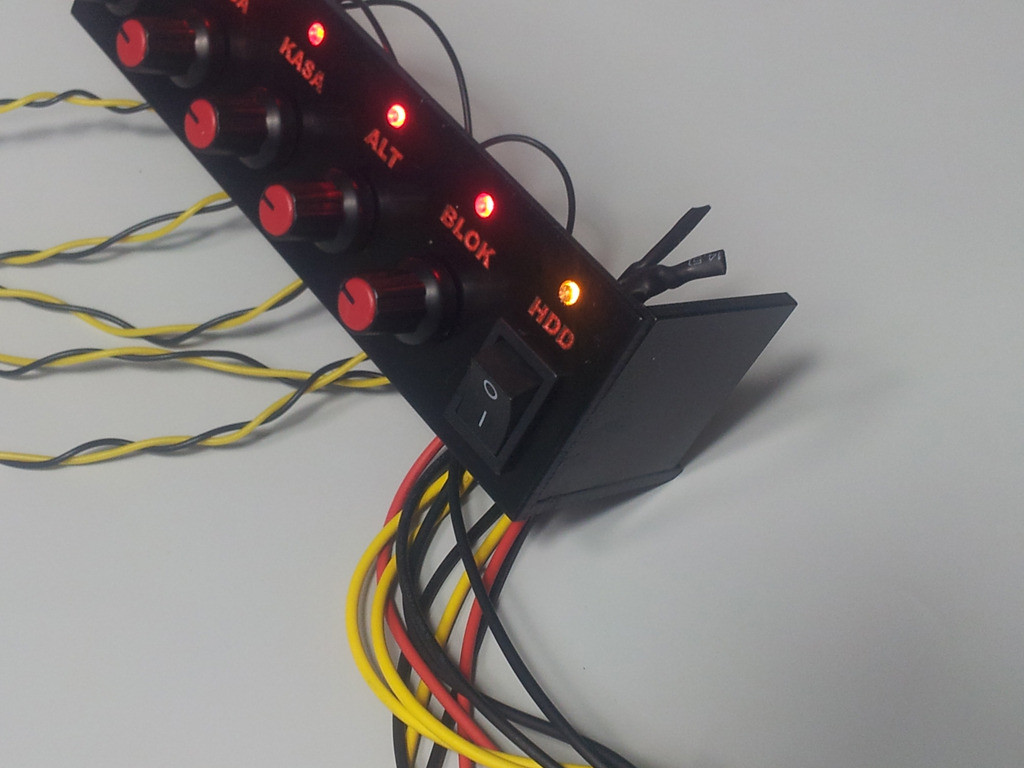
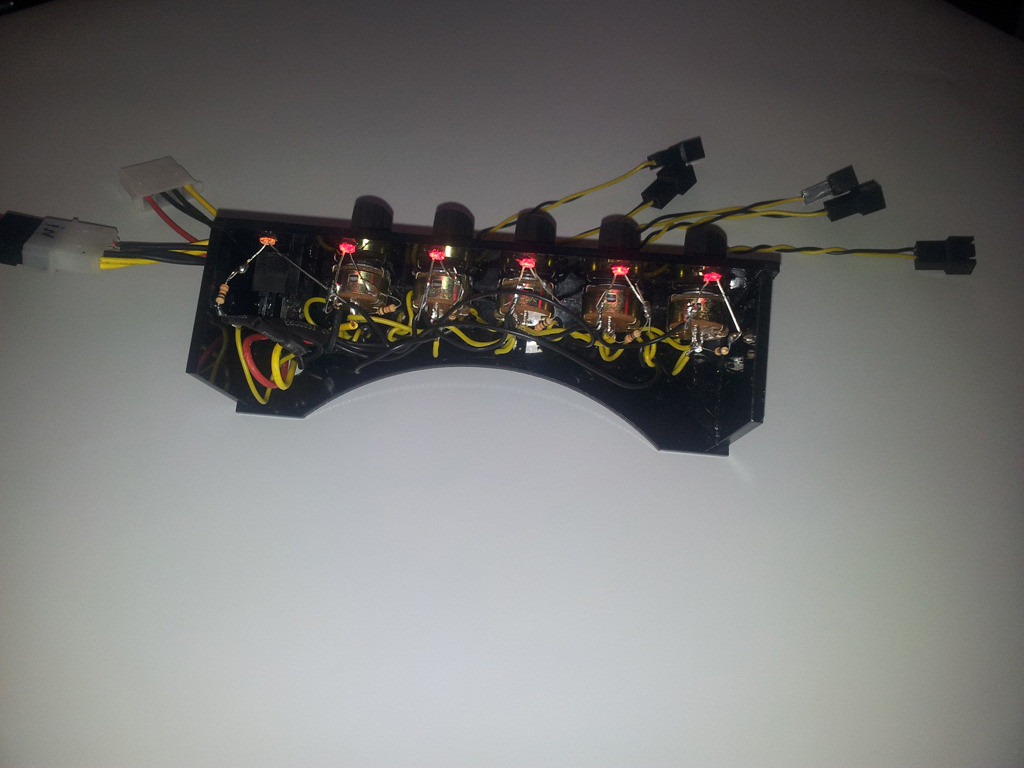
Worklog http://www.hardwareluxx.de/community/f143/4-way-hdd-switcher-1033308.html
Worklog http://www.hardwareluxx.de/community/f143/self-made-cosmos-ii-clear-panel-1034027.html#post22531803
Anhänge
-
 4hi8.jpg30,4 KB · Aufrufe: 116
 -
 9lml.jpg40,8 KB · Aufrufe: 147
 -
 j4c7.jpg58,3 KB · Aufrufe: 119
 -
 0wbg.jpg48,7 KB · Aufrufe: 130
 -
 pr3r.jpg59,8 KB · Aufrufe: 124
 -
 c7av.jpg67 KB · Aufrufe: 110
 -
 olql.jpg61,6 KB · Aufrufe: 120
 -
 8ru2.jpg56,3 KB · Aufrufe: 130
 -
 6co0s.jpg63,6 KB · Aufrufe: 125
 -
 1b.jpg62,2 KB · Aufrufe: 118
 -
 phksi.jpg65,4 KB · Aufrufe: 113
Zuletzt bearbeitet:


")


")